78 M32 - Digital Console User Manual 79
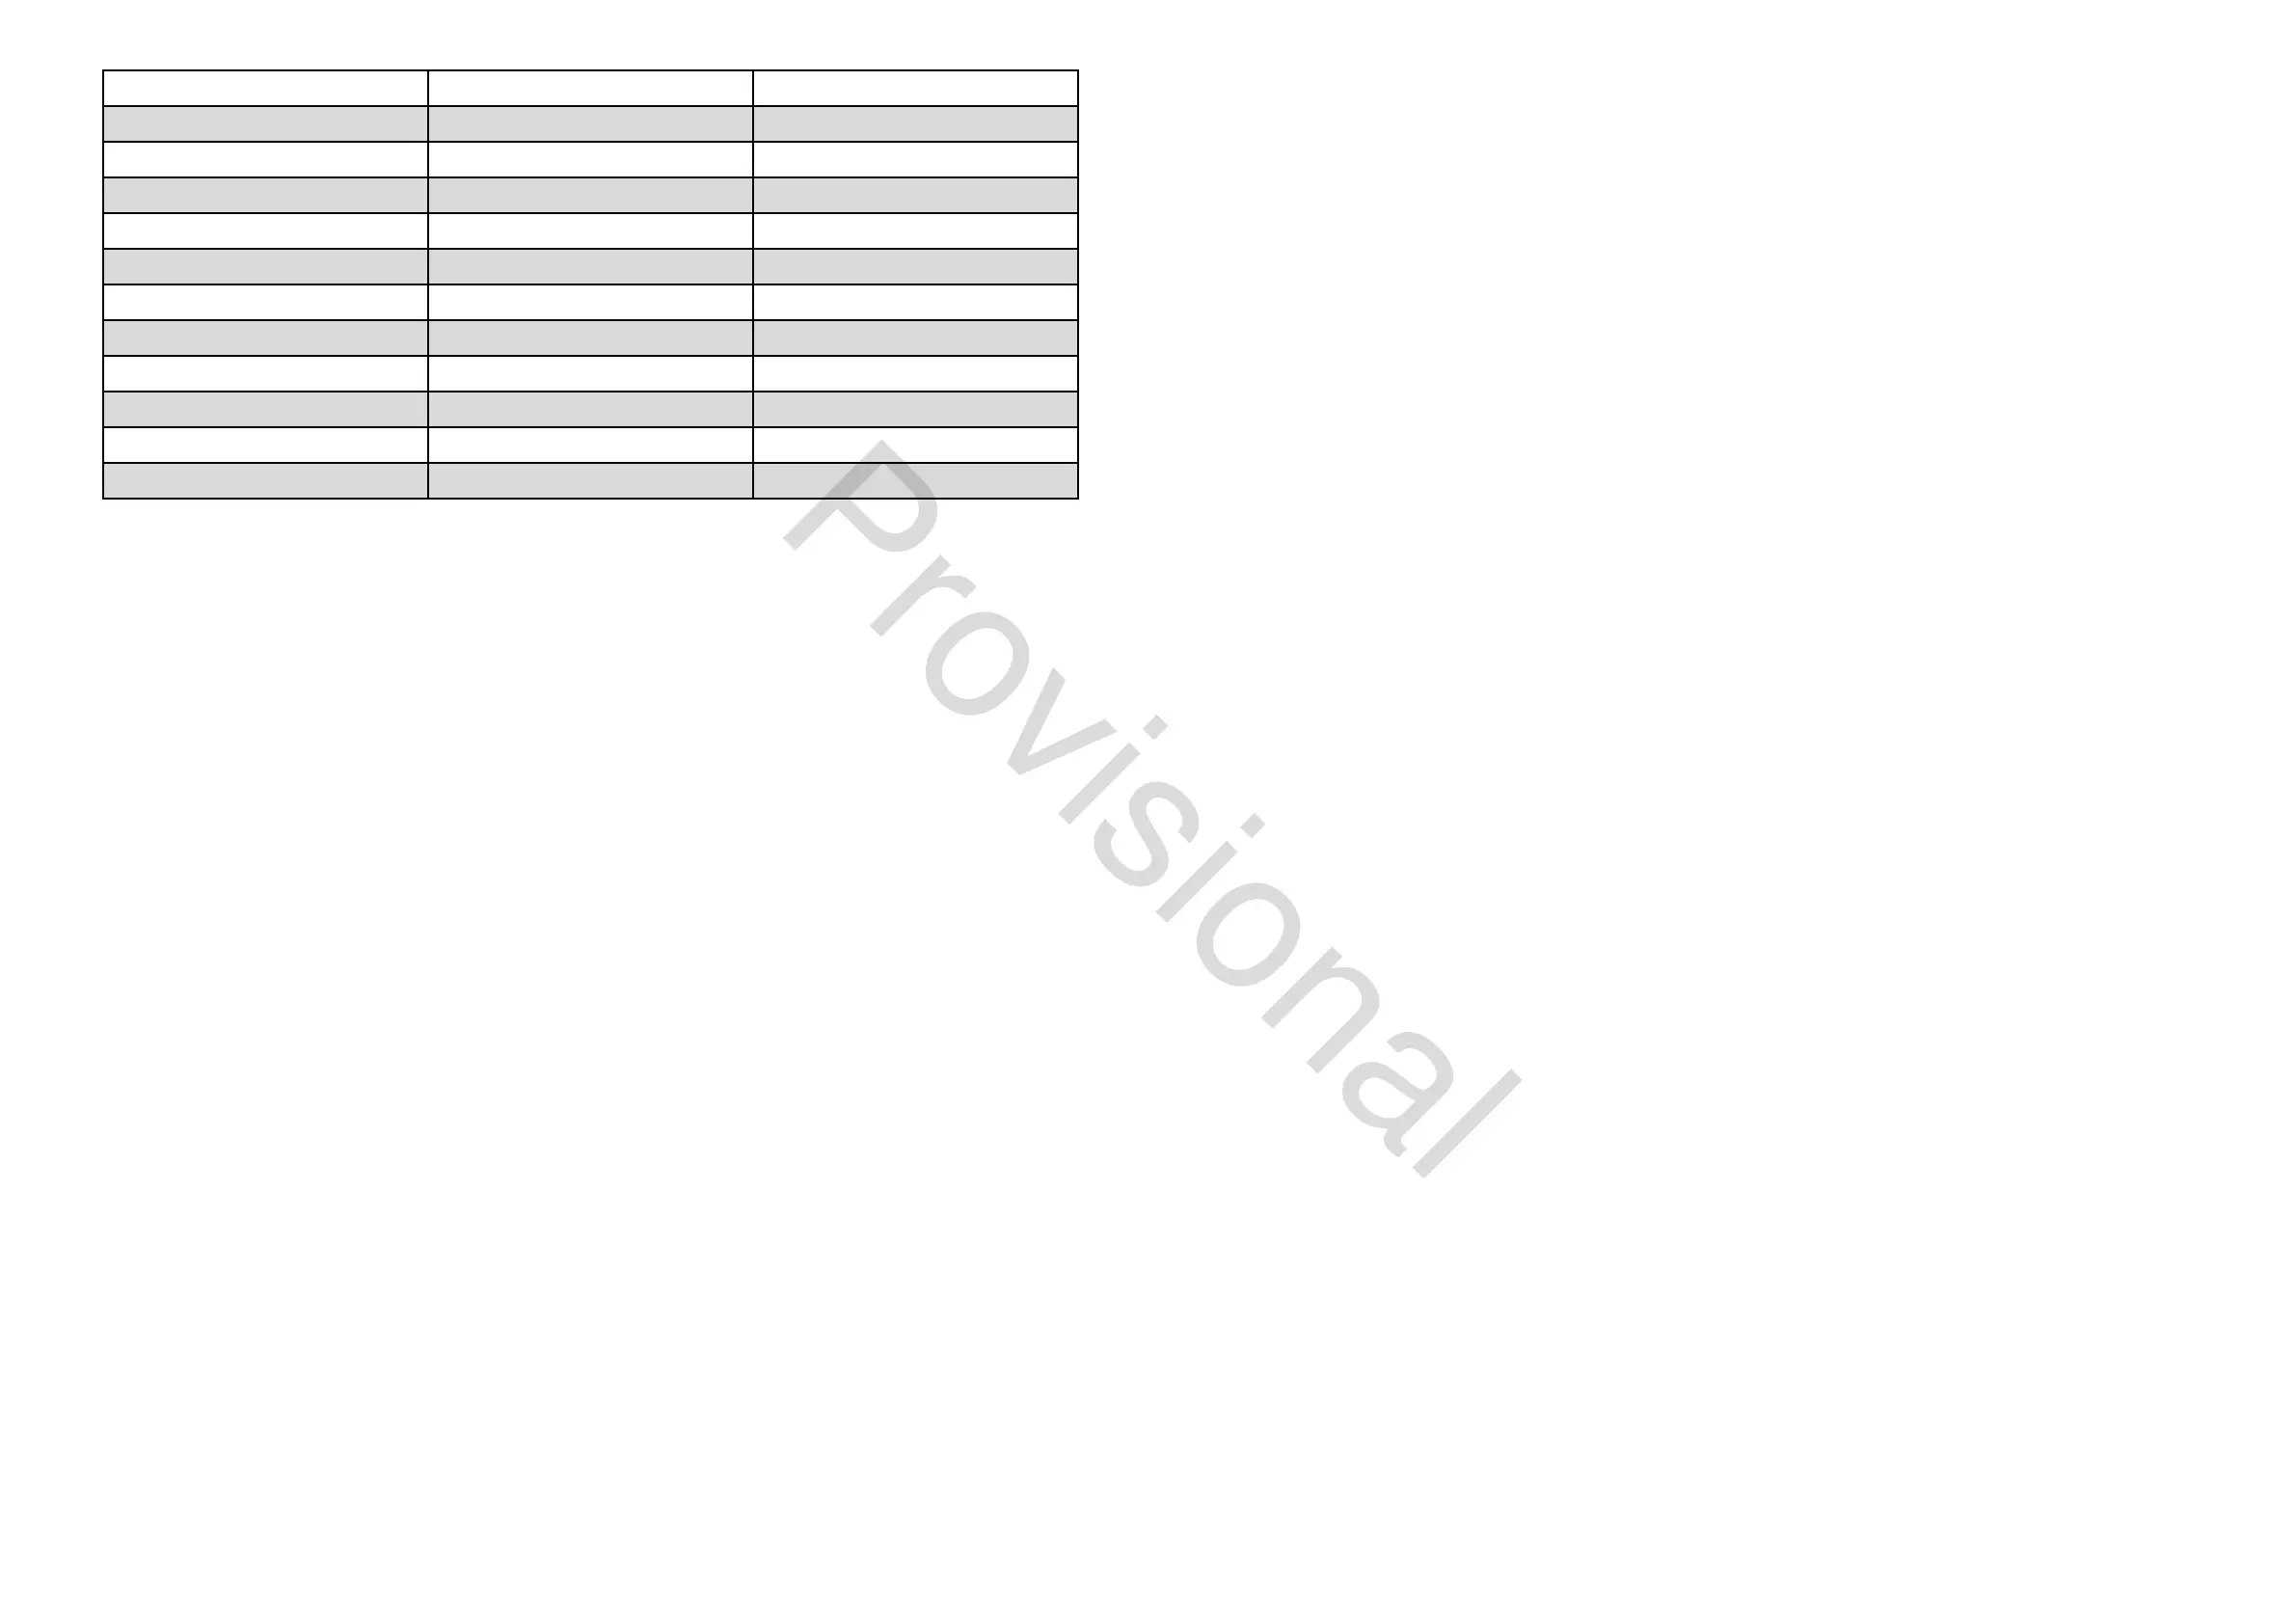
Reverse Reverb Dual DeEsser Stereo Exciter
Stereo Delay Stereo DeEsser Stereo Imager
Triple Delay Stereo Xtec EQ1 Edison EX1
Rhythm Reverb Dual Xtec EQ1 Sound Maxer
Stereo Chorus Stereo Xtec EQ5 Dual Guitar Amp
Stereo Flanger Dual Xtec EQ5 Stereo Guitar Amp
Stereo Phaser Wave Designer Dual Tube Stage
Dimension-C Precision Limiter Stereo Tube Stage
Mood Filter Stereo Combinator Dual Pitch Shifter
Rotary Speaker Dual Combinator Stereo Pitch
Tremolo / Panner Fair Comp Stereo TruEQ
Suboctaver
7. Tap the fth control to assign the selected eect to the currently highlighted eects slot.
8. Adjust the sixth control to scroll among the eight eects slots to select one for editing.
9. Tap the sixth control to go to the edit page for the currently highlighted eects slot.
fx1-8
The EFFECTS screen’s fx 1-8 tabs allow you to edit the parameters for the specic eect processor assigned to the corre-
sponding eects slot.
In order to more closely simulate the look and feel of the outboard processors that are no longer necessary with a digital
console, the individual eects processor screen provides a graphical representation of the eects processor’s real world
physical counterpart. This provides greater ease of use for the user than a simple text list of parameters.
To make adjustments on the EFFECTS screen’s editing tab, perform the following steps:
1. Adjust the six rotary controls to change the various eects parameters shown at the bottom of the screen.
2. Use the Up/Down navigation controls to switch the rotary controls to a second set of parameters for eects that
contain more than six adjustable parameters.
3. When the eects processor has been edited to your satisfaction, push the sixth control to go back to the EFFECTS
screen’s home tab.
4. See the Main Display - Internal Eects section for more details on specic eects and parameters.
TIP: For the Graphics EQ eects, tap the rst rotary control to implement the ‘Graphics EQ on Faders’ function. This allows
you to boost or cut the dierent EQ bands using the eight console output faders, eight faders at a time, with the relevant
EQ bands displayed on the channel LCD screens.
Mute Group
The M32’s MUTE GRP screen allows for quick assignments and control of the console’s six mute groups, and oers two
separate functions:
1. It mutes the active screen during the process of assigning channels to mute groups. This ensures that no channels are
accidentally muted during the assignment process of a live performance.
2. It oers an additional interface for muting or unmuting the mute groups in addition to the dedicated mute group
buttons on the console’s control surface.
When activated, the MUTE GRP screen only covers the bottom portion of the Main Display, allowing the middle portion to
continue displaying its usual screen content.
To assign channels to one of the six mute groups, perform the following steps:
1. Press the MUTE GRP button to switch the Main Display to the mute groups view.
2. Press and hold the desired mute group button (1-6) on the lower right-hand corner of the console.
3. While holding the mute group button, press the SEL button on any input or output channel, on any layer, that you
wish to assign to the mute group.
4. When you have assigned all the desired channels to the mute group, release the dedicated mute group button. The
individual channel MUTE buttons will resume their normal function.
To use the MUTE GRP screen to mute or unmute the groups, perform the following steps:
1. Tap any of the six rotary controls to mute the corresponding group, and thus mute all channels that are assigned to
that mute group.
2. Tap the control of a currently mute group to unmute that group.
3. When nished working with mute groups, tap the MUTE GRP button to exit the screen. The Main Display will
again show its full set of controls for the current page.
www.theaudiospecialists.eu