5 - 2
5 START-UP PROCEDURES
Part name Confirmation Items Check Reference
Q172DLX Servo external
signals interface module
/
Q173DPX Manual pulse
generator interface
module
(1) Check that the installation position of modules correspond to the
system setting.
Refer to the "Q173D(S)CPU
/Q172D(S)CPU Motion
controller Programming
Manual (COMMON).
(2) Check that the connection with external equipment is correct.
2.5.4
2.5.5
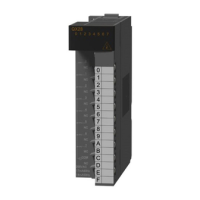
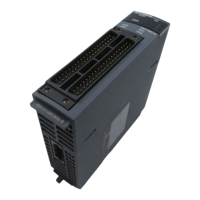
I/O module
(1) Check that the wire size of cables is correct.
Refer to the I/O Module
Type Building Block User's
Manual
(2) Check that the terminal block screws are tightened correctly.
(3) Check that the cables connected to each terminal of the terminal
block correspond to the signal names.
(4) Check that the external power supply is connected correctly.
(24VDC, 5VDC)
(5) Check that the 100VAC, 200VAC and 24VDC wires are each
twisted as closely as possible and run in the shortest distance.
4.4.1
(6) Check that the 100VAC, 200VAC and 24VDC wires are not bind the
cable together with and run close to the I/O wires.
(7) Check that the I/O wires are wired correctly.
SSCNET cable
(1) Check that the model name of SSCNET
cables is correct.
2.5.7
(2) Check that the SSCNET cable connectors are in the correct
connecting position.
(3) Check that the SSCNET cables are connected correctly.
4.2.1
(4) Check for looseness, rattling, or distorted connection.
(5) Check that the SSCNET cables have been secured at or above
the minimum bend radius.
(6) Check that the MR-J3BUS M or MR-J3BUS M-A have not come
in contact with wires/cables made from migratable materials
containing plasticizers.
Serial absolute
synchronous encoder
(Q171ENC-W8)
(1) Check that the amplitude, eccentricity, and axial displacement
relative to the machine side rotary shaft are within the permissible
values.
4.3
(2) Check that a flexible coupling is being used for coupling with the
machine side rotary shaft.
(3) Check that the modules are undamaged.
(4) Check that excessive shock is not being applied when mounting. 4.3
 Loading...