Down Port Controller Mounting Instructions Cha
ter Two: Installation
24
4.
Clean the sealing surfaces of the MFC and substrate using a clean room swab dampened
with a solvent such as isopropyl alcohol. Wipe the surfaces in a circular pattern with
light pressure. Blow clean the surfaces with filtered nitrogen.
Note
Clean all re-used sealing surfaces prior to resealing. The C-seals are not
reusable and should be discarded after use.
5.
Use filtered nitrogen to blow clean the controller and C-seal.
6.
Invert the controller and place the C-seal in the retainer, onto the controller bottom
surface.
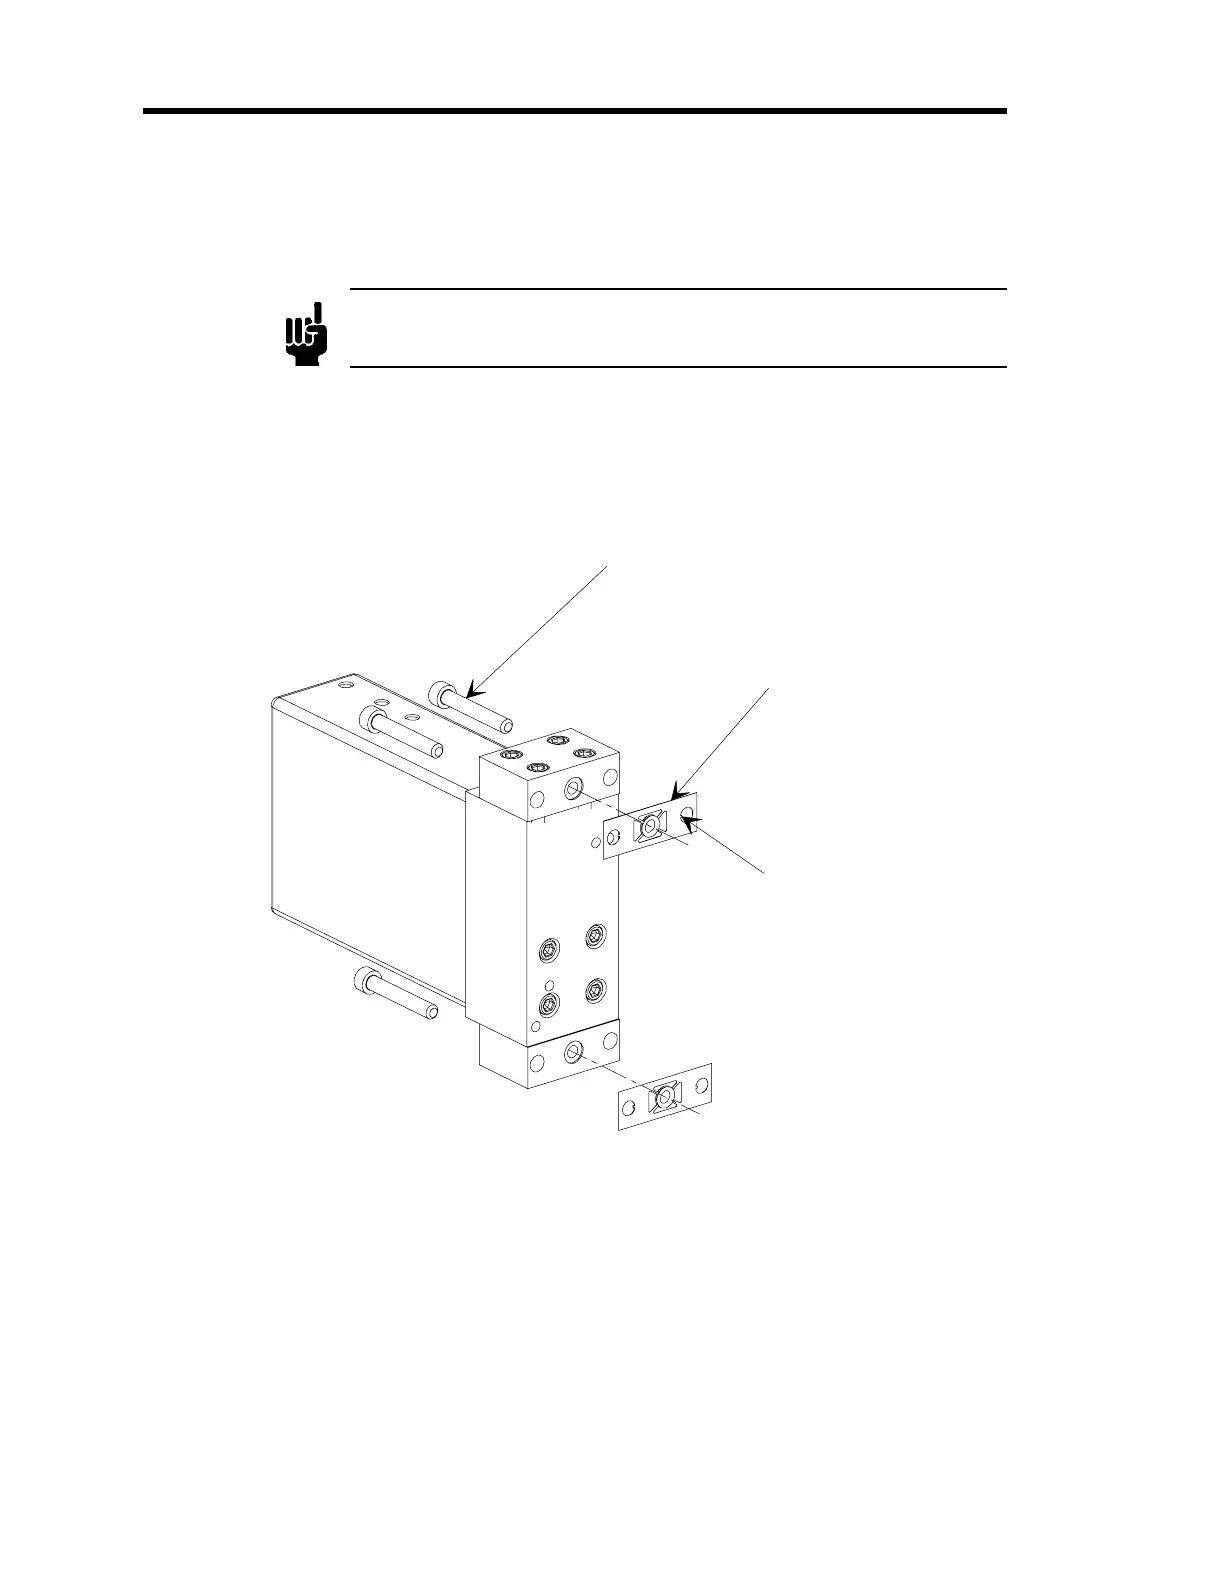
M5-0.8 x 30 mm Lon
Mountin
Screw
1 of 4
C-Seal and Retainer
Assembl
Screw Retainin
Tab
Figure 10: Exploded View of the C-Seal Components
7.
Align the C-seal in the counter bore and the two screw holes in the retainer, with the
screw holes in the controller.
8.
Insert the mounting screws through the controller and thread them through the retainer so
that the locking tabs in the retainer hold the screws and seal in place.
The controller has been designed for M5 x 30 mm socket head cap screws. You may use
10-32 UNF x 1.25 long socket head cap screws instead of the metric screws, however the
retainer will fit somewhat differently.