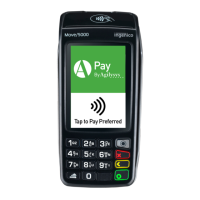
Moneris Core® Move/5000: Using Your Terminal 20
Void
Perform a void when a transaction has been entered incorrectly and needs to be cancelled and re-done.
The whole transaction will be voided -- you cannot perform a partial void.
Only transactions in the current batch can be voided. For example, if the purchase transaction that you
want to void is in a batch that is already closed, perform a refund instead.
To void a pre-authorization, perform a completion for $0 (refer to page 22).
1. From the Main menu, tap Transactions, then tap Void.
Respond to any security prompts (refer to page 9) that appear.
The Void menu appears.
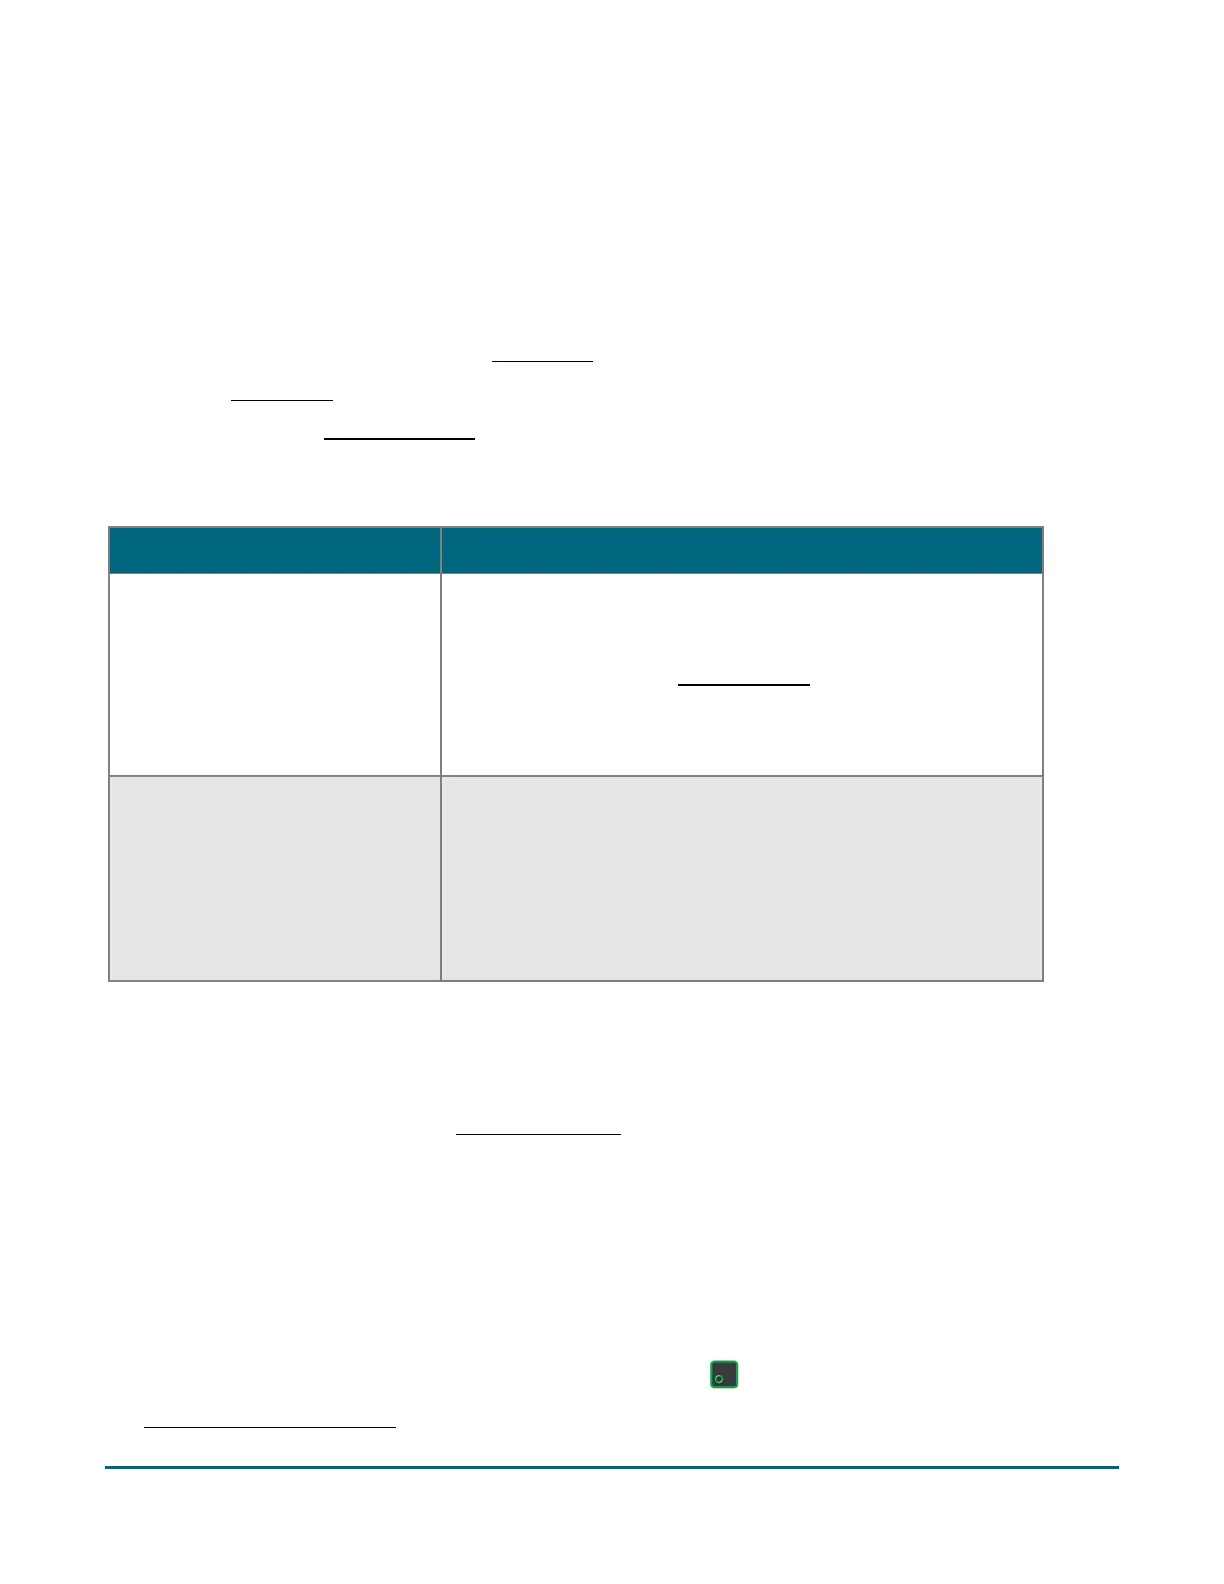
2. Follow the instructions in one of the columns in the table below.
Search for transaction to void
a. Tap Void last transaction.
The terminal displays the last
completed transaction that
can be voided.
a. Tap Search for transaction to void.
b. When prompted, enter the sequence number of the
transaction you want to void. To locate the sequence
number, refer to the receipt sample on page 31.
The terminal searches the current batch and displays the
transaction(s) that match the sequence number you
entered.
b. Tap OK to void the
transaction.
To cancel the Void operation,
tap Cancel.
c. Tap the appropriate transaction on the screen to proceed
with voiding it. If there is only one transaction, simply tap
OK.
To enter a different sequence number, tap Back.
To cancel the Void operation and return to the Purchase -
Enter amount screen, tap Cancel.
3. When prompted, pass the terminal to your customer so they can respond to the customer prompts.
The “Insert or swipe” prompt appears, showing the total void amount and the cards you accept.
4. The customer enters their card on the terminal.
The customer responds to any customer prompts (refer to page 27).
The “Processing your request” message appears.
5. Once the transaction is approved, the “How would you like your receipt?” prompt appears, showing the
customer the available options for receiving a receipt: 1 Email, 2 Text, 3 Print, and 4 None.
6. The customer selects a receipt format (or no receipt) by tapping one of the options on screen or by pressing
the corresponding number on the keypad.
The “Transaction Complete/Please pass terminal back to clerk” prompt appears.
7. The customer passes the terminal back to you. Press the green key to continue, if needed.
8. Process any printed receipts (refer to page 29).