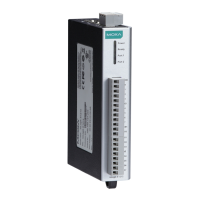
ioLogik E1200 Series Initial Setup
Hardware Installation
Connecting the Power
Connect the 12 to 36 VDC power line to the ioLogik E1200’s terminal block on the top panel. If power is properly
supplied, the Power LED will glow a solid amber color.
ATTENTION
Determine the maximum possible current for each power wire and common wire. Observe all electrical codes
dictating the maximum current allowable for each wire size. If the current exceeds the maximum rating, the
wiring may overheat, causing serious damage to your equipment. For safety reasons, we recommend an
average cable size of 22 AWG. However, depending on the current load, you may want to adjust your cable size
(the maximum wire size for power connectors is 2 mm).
Grounding the ioLogik E1200
The ioLogik E1200 is equipped with a grounding point on the terminal block located on the top panel.
Connect the ground pin ( ) if earth ground is available.
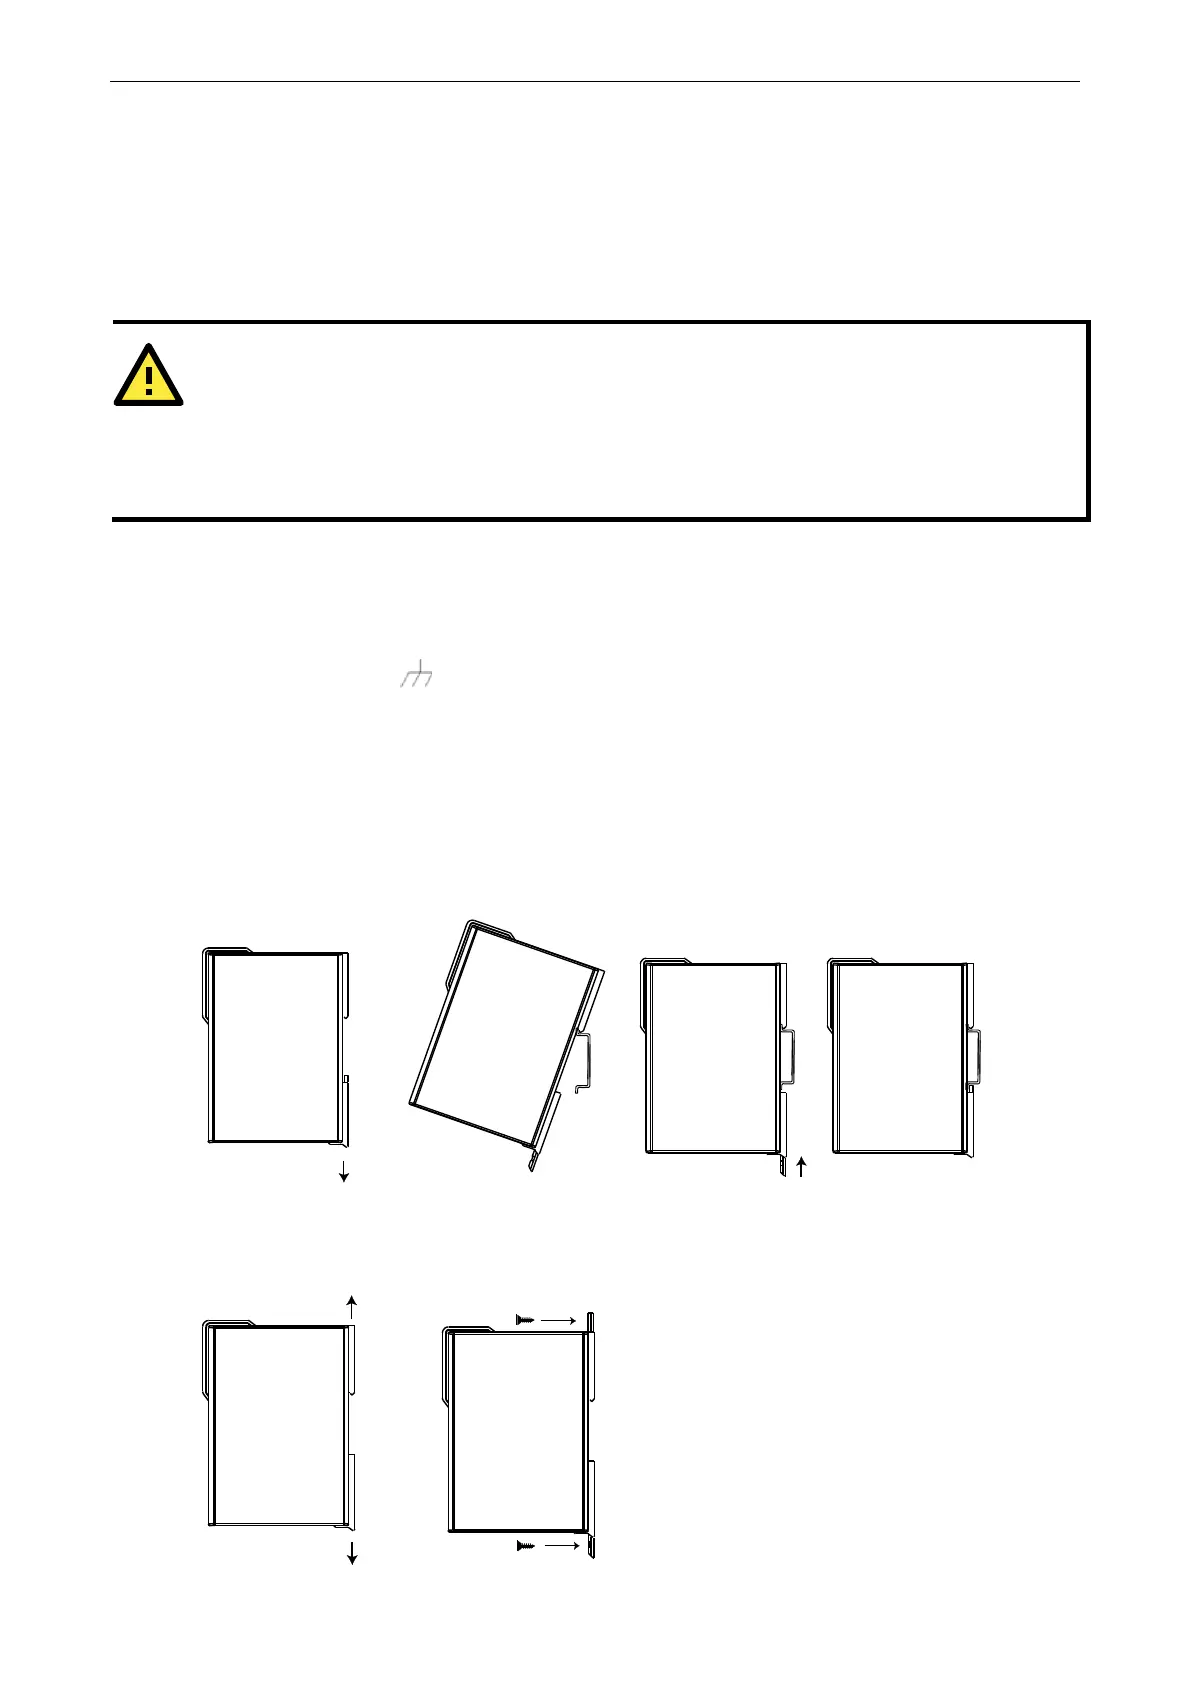
DIN Rail, Wall Mounting
There are two sliders on the back of the unit for DIN rail and wall mounting.
Mounting on a DIN rail:
Pull out the bottom slider, latch the unit onto the DIN rail, and push the slider back in.
Mounting on the wall:
Pull out both the top and bottom sliders and align the screws accordingly.
 Loading...