ioLogik E1200 Series Initial Setup
Connecting to the Network
The ioLogik E1200 has two built-in RJ45 Ethernet ports for connecting a standard direct or cross-over Ethernet
cable to either the host PC or another ioLogik E1200 device. For initial setup of the ioLogik E1200, it is
recommended that the ioLogik E1200 be configured using a direct connection to a host computer rather than
remotely over the network.
Configure the host PC’s IP address to 192.168.127.xxx (where xxx ranges from 001 to 253). When using
Windows, you will need to configure from the Control Panel.
ioLogik E1200 Default IP Address
Use the web console or ioSearch™ configuration utility to connect to the ioLogik E1200. Once the ioLogik E1200
has been detected, modify the settings as needed for your network environment, and then restart the server.
Refer to Chapters 3 and 4 for further details.
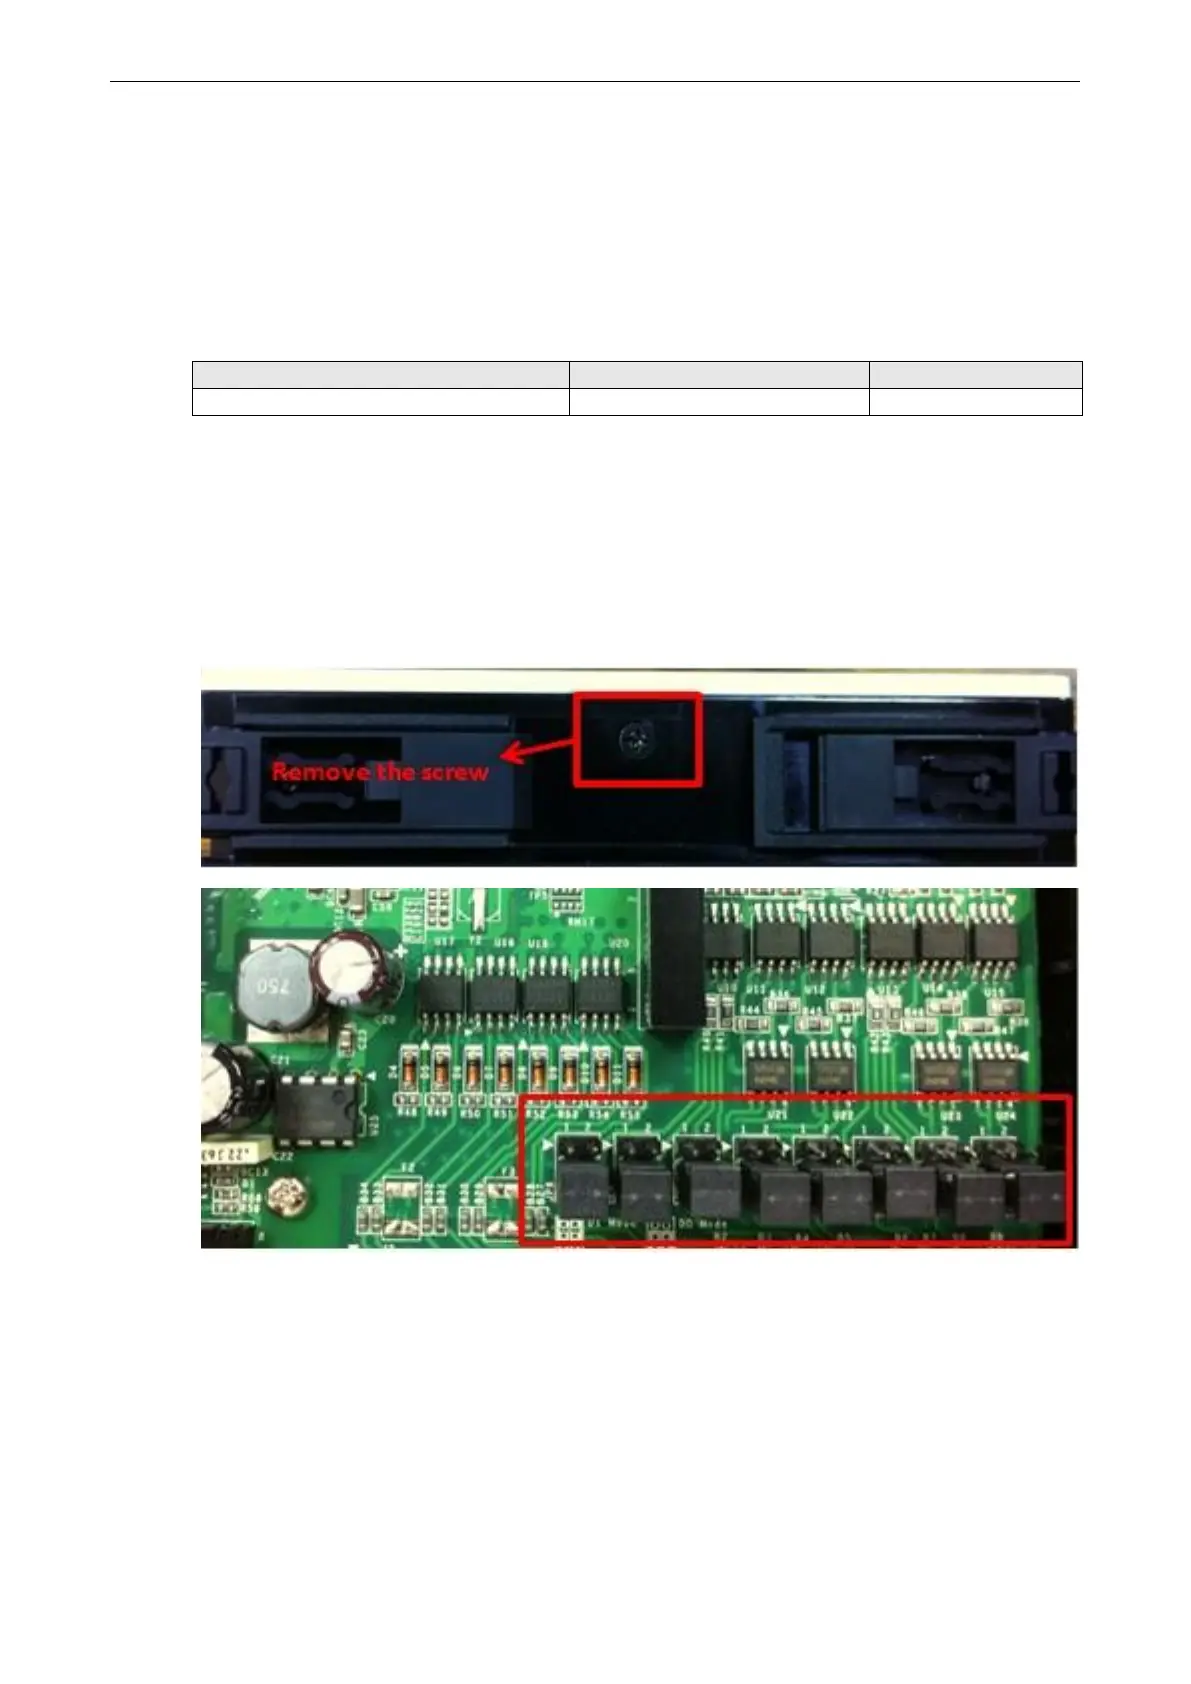
Jumper Settings (DIO and AI)
The ioLogik E1212, E1240, and E1242 models require configuration for the jumpers located inside the cover.
Remove the screw on the back panel and open the cover to configure the jumpers.
 Loading...