INSTALLATION GUIDE
6. PHYSICAL INSTALLATION OF THE APPLIANCE
6.1.2 Preparation of the racking cabinet or bay
You will need to set aside a minimum space in your cabinet or racking bay in order to install the
NETASQ appliance. Depending on the product, the minimum height requirements vary:
U30, U70: 1U in height, half-19’’in width
U120, U250 and U450: 1U in height, 19’’ in width
U1100 and U1500: 1U in height, 19’’ in width
U6000: 4U in height, 19’’ in width.
NG1000-A: 1U in height, 19’’ in width.
NG5000-A: 2U in height, 19’’ in width.
WARNING
Set aside a minimum vertical space between each element in the cabinet or racking
bay for proper air circulation.
6.1.3 Preparation of internet access
Before installing the NETASQ firewall, ensure that the devices that connect to the internet (if the
firewall has to be connected with the internet network) have been appropriately installed and
configured.
6.2 Placing the appliance in a bay
All NETASQ appliances can be installed in 19-inch cabinets or bays. U1100 and U 1500 products
have built-in brackets that allow the direct installation of the product. The NG1000-A, NG 5000-A
and U6000 appliances are sold with a rail system that allows integrating it into a bay.
U120, U250 and U450 products are sold with a fastening system that has to be added to the
product in order to install it. The system is available only by special order for the U30 and U70.
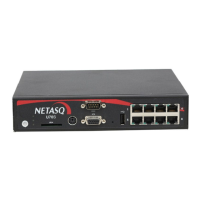
6.2.1 Installing a U30 or U70
6.2.1.1 View from the top
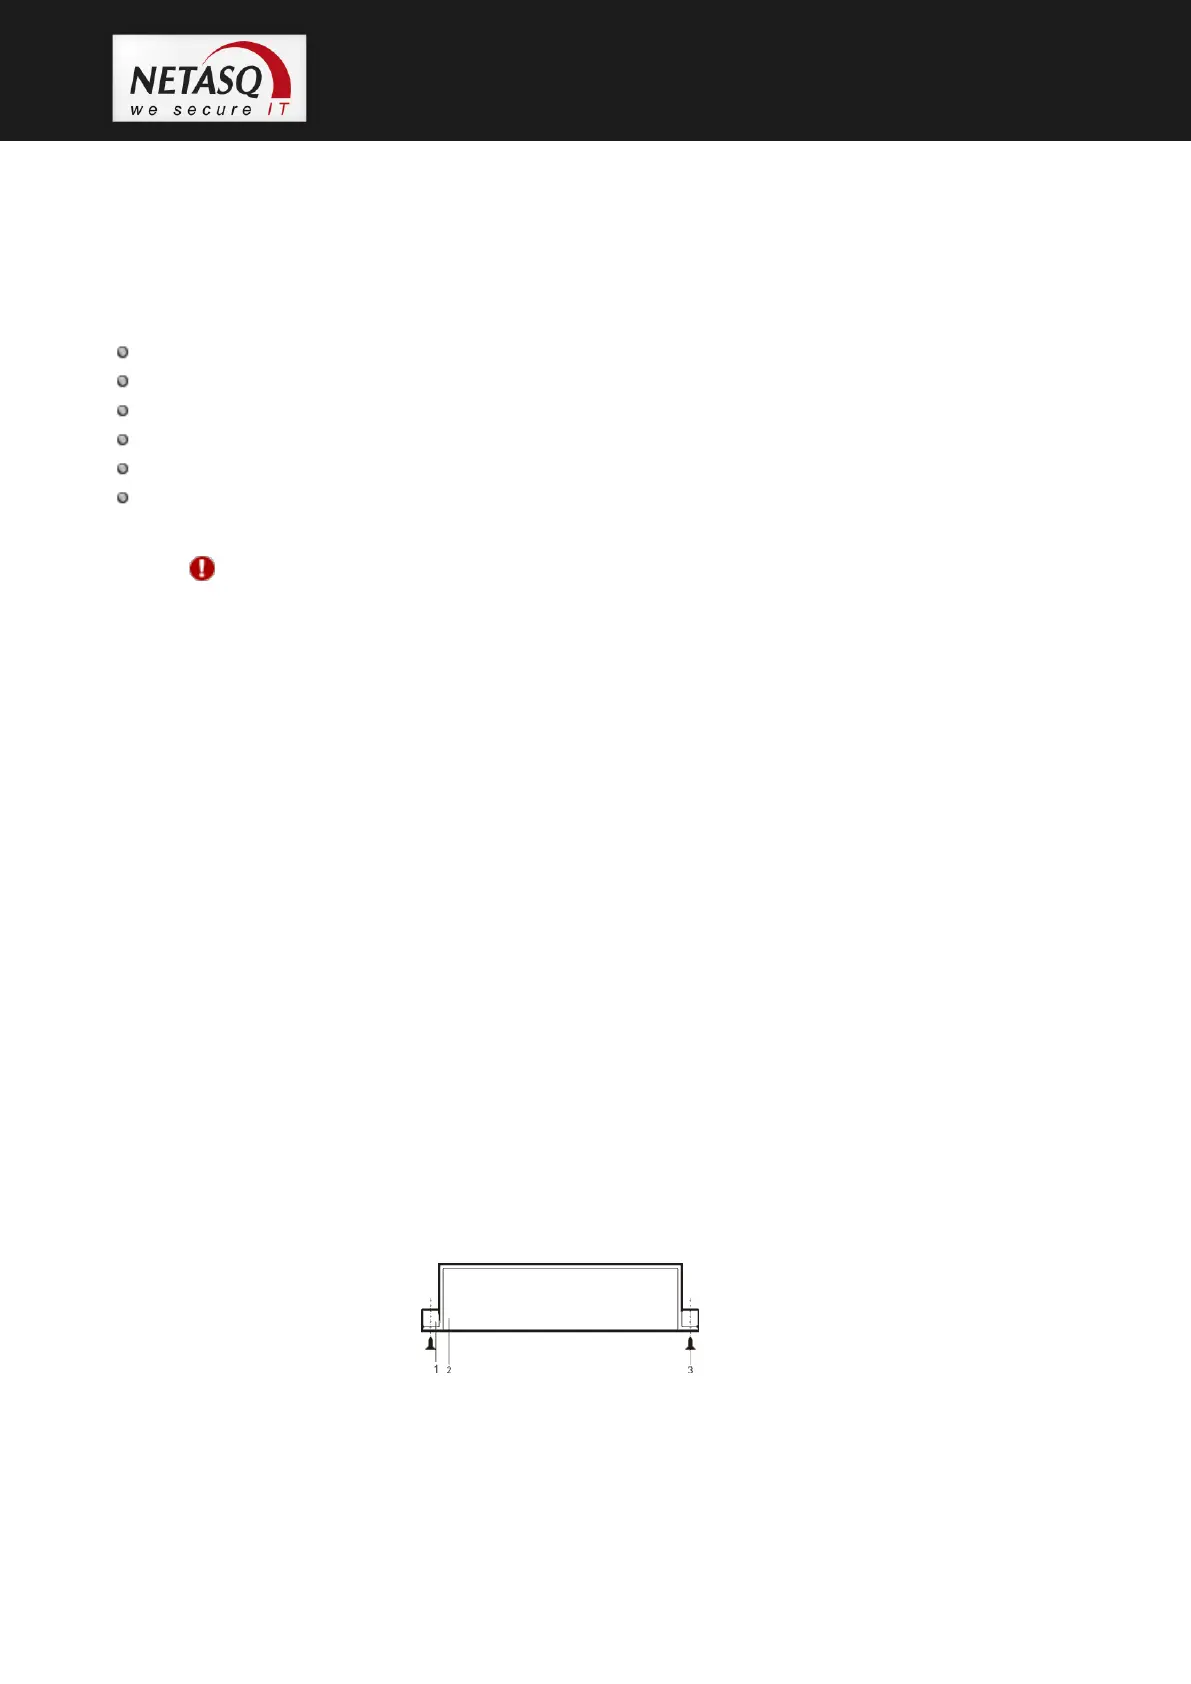
Figure 19: U30, U70: Installation in a bay – View from the top