VDSL/ADSL2+ Dual Band AC1600 Gigabit Gateway with VoIP – NF18ACV
UG01040 v 1.04 December 2018
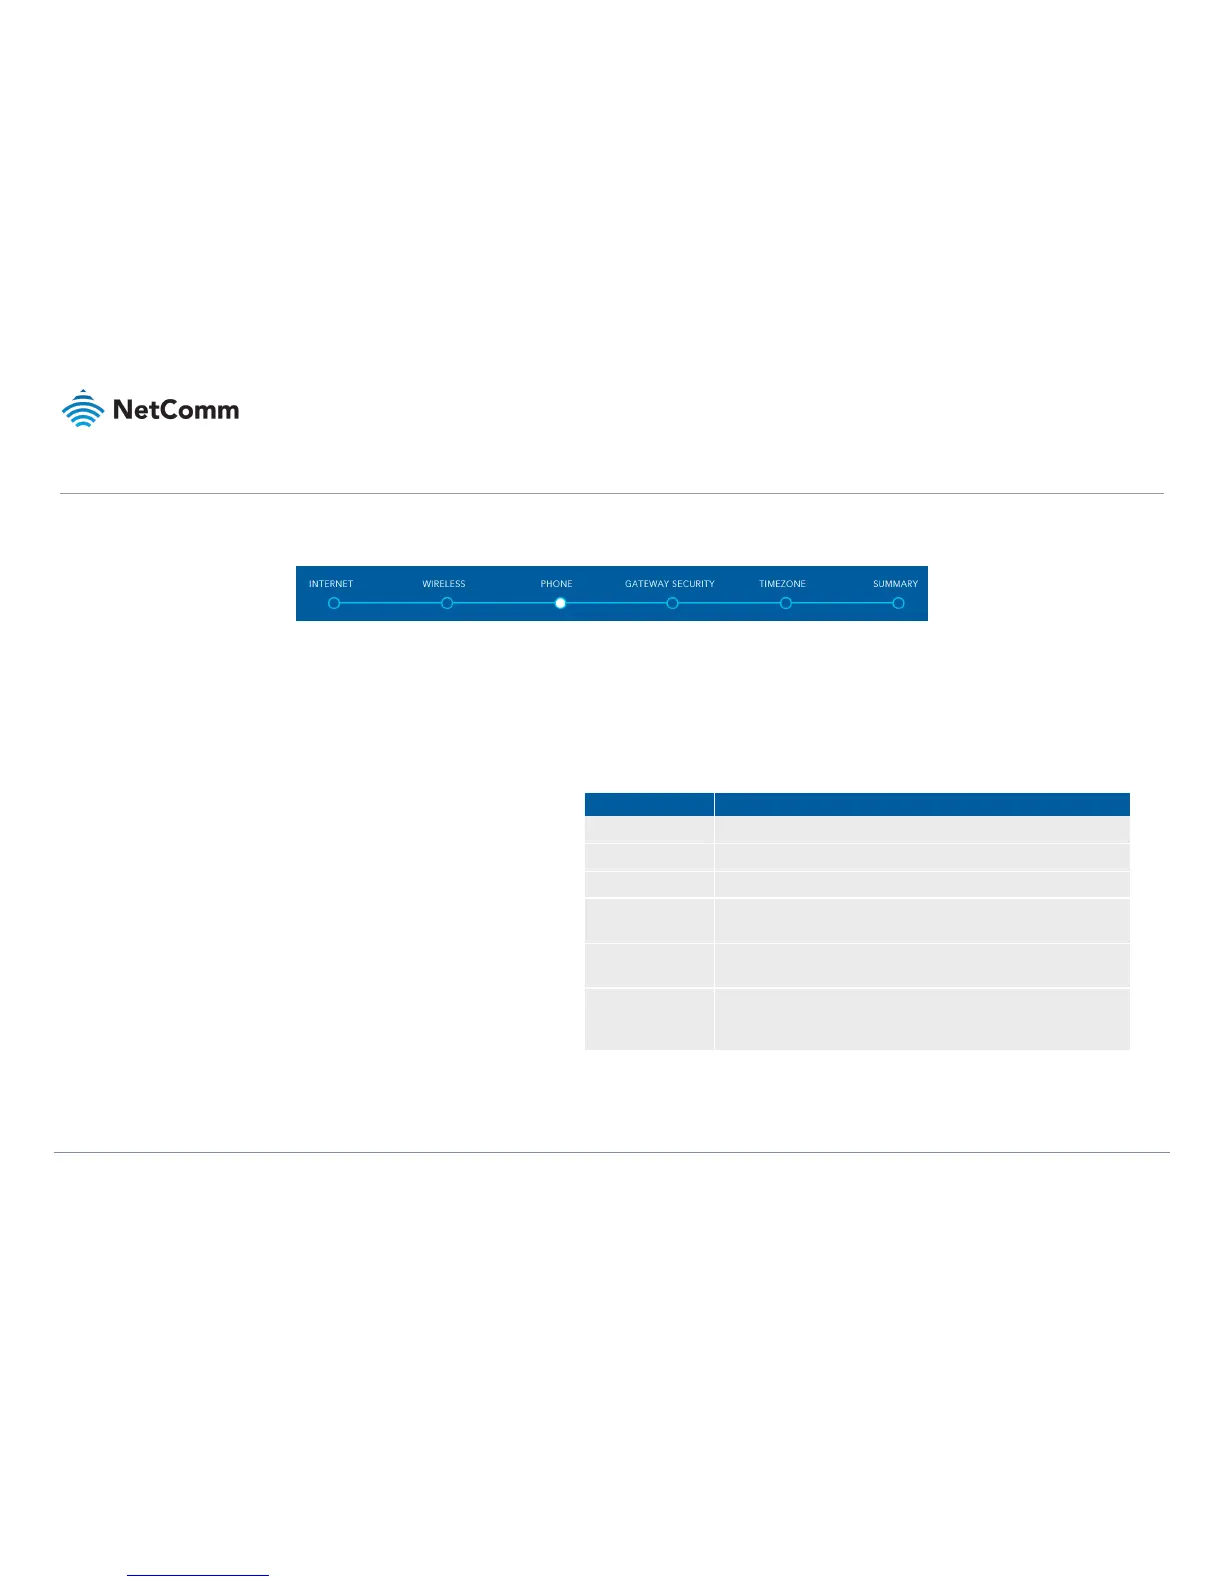
PHONE settings
Using the VoIP (Voice over Internet Protocol) telephone functionality with the NF18ACV is optional. For heavy telephone usage VoIP services can offer significant cost saving.
If you do not wish to use this service, feel free to skip this step.
Using a phone handset with your router
You can connect one or two phones via the TEL1 / TEL2 sockets located at the back of
the router. Each phone lines is separately defined in the device’s configuration.
Connect a standard or the base station of your cordless phone directly into the RJ11
sockets.
Phone service
Your ISP will generally pre-configure TEL1 port to work as the primary telephone port
so it connects to their phone network. They will also supply you with your phone
number.
If the device is not pre-configured then you will have to get the SIP details from your
ISP and enter them at this stage in the Basic Setup Wizard.
If the configuration is correctly set up and the router is connected to the internet then
the phone should work as soon as its plugged in.
SIP
SIP (Session Initiation Protocol) is a signalling protocol used for initiating, maintaining
and terminating real-time voice communication sessions in of Internet telephony.
PHONE LINE settings
Note often ISPs will preconfigure these settings prior to delivery of your NF18ACV gateway.
Otherwise, enter your VoIP service settings (SIP Username, Password, etc. see table at right) as supplied by
your VOIP service provider (VSP).
If you are unsure about a specific setting or have not been supplied information for a particular field, please
contact your VoIP service provider to verify if this setting is needed or not
Enter the telephone number supplied by your VOIP service provider (VSP).
If not preconfigured, enter the Username supplied by your VSP.
If not preconfigured, enter the Password supplied by your VSP.
If not preconfigured, enter the IP address of the proxy supplied by your
VSP.
If not preconfigured, enter the IP address of the Registrar Server supplied
by your VSP.
If this optional field is required, and if not preconfigured, enter the IP
address of the outbound proxy supplied by your VSP. Leave blank if this
information is not supplied by your VSP.
Click the Next > button to continue to the next step of the Basic Setup Wizard.