Add or Change the Name Label for a Port
By default, a port does not contain a port label.You can add or change the name label for a port. Adding
or changing a name label does not change the nature of a port, that is, it is just a label.
To add or change a name label for a port:
1. Open a web browser from a computer that is connected to the same network as the switch or to the
switch directly through an Ethernet cable.
2. Enter the IP address that is assigned to the switch.
The login page displays.
3. Enter the switch password.
The default password is password. The password is case-sensitive.
The HOME page displays.
The PORT STATUS pane displays on the right or the bottom of the HOME page, depending on the size
of your browser window.
A port that is in use shows as UP. A port that is not in use shows as AVAILABLE.
4. Select the port.
The pane displays detailed information about the port.
5. Click the EDIT button.
The EDIT PORT page displays for the selected port.
If the QoS mode on the switch is Port-based (the default setting), the Priority menu displays on the
page. If the QoS mode is 802.1P/DSCP, the Priority menu does not display.
6. In the Port Name field, type a name label for the port.
The name label can be from 1 to 16 characters.
7. Click the APPLY button.
Your settings are saved.
Optimize the Switch Performance
35
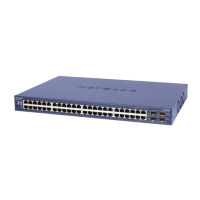
8-Port Gigabit Ethernet Smart Managed Plus Switch Model GS908E