This chapter explains how to properly connect power, external
control devices, monitors and audio visual sources to your NewTek
3Play™ system.
It also reviews registration for warranty purposes and technical
support. After completing this short section, you’ll be all set to
continue into the Walkthrough chapter that follows it.
To begin, let’s review ‘what came in the box’:
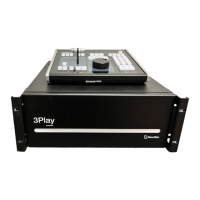
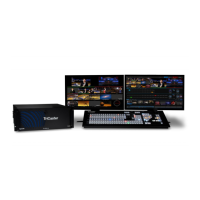
3Play™ and Control Surface
Storage Media
o 3Play 4800 – Package of four 2TB hard drives
o 3Play 440 – Package of two 3TB hard drives
A/C power cable(s) and 6’ USB cable
NewTek mouse and keyboard
3Play Quick Start Guide
Registration reminder card
BNC removal tool
DVI to VGA adapter
Keys to front panel of rack mount case (2)
Attachable rubber feet for desktop use (4)
NewTek TriCaster™ brochure and 3Play Welcome letter
3.1 COMMAND AND CONTROL
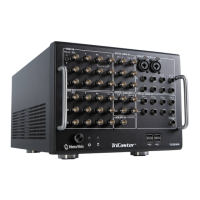
1. Connect an external computer monitor to the Interface port on 3Play’s backplate (use
an adapter if necessary).
Note: The user interface requires a minimum screen resolution of 1600 x 1050.
2. Connect the mouse and keyboard to USB ports on 3Play.
3. Connect the A/C power cord(s) from the three-prong connection(s) on 3Play’s backplate
to an external power receptacle (see Tip below).
4. Turn on the computer monitor.
5. Press the Power switch located on 3Play’s faceplate.