2 Assembly and installation
BU 0800 en-4521 21
2 Assembly and installation
No options can be retrofitted. All options must be recorded by NORD when ordering and before the
production process. For wall mounting, the device has lugs that are freely accessible from the outside.
The electrical connection of mains, motor and signal cables is only possible via respective plug
connectors.
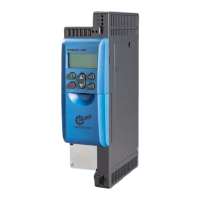
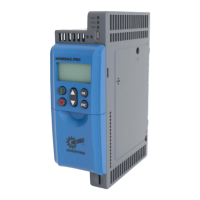
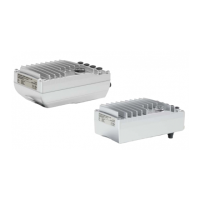
2.1 Installation
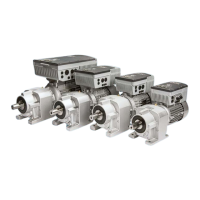
Depending on the version, the devices are mounted on the motor or are installed close to the motor at
the wall on a metal frame. Due to their protection class, a control cabinet is not required.
Ventilation: •
The devices require sufficient ventilation for protection against overheating and
must therefore not be covered.
• In case of wall mounting, the devices can be placed next to each other.
the required distances for the connection cable routing.
Installation
position:
• see Figure 1: Installation positions, motor with mounted frequency inverter
following restrictions also apply to wall-mounted devices of the SK 3xxP series i
the same way.
− M3 is not permissible! (Danger of possible heat accumulation)
− M2 and M4 are only possible with power reduction.
Figure 1: Installation positions, motor with mounted frequency inverter
Restrictions for installation positions M2 and M4
Type
Motor mounting on IE5+
motor
Motor mounting on IE3
motor
Wall mounting
SK 300P-450-340-A — — No derating No derating No derating No derating
 Loading...