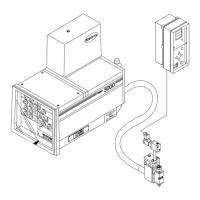
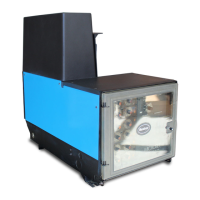
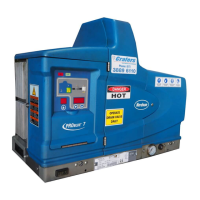
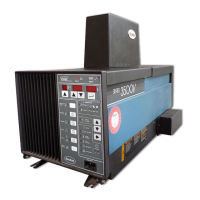
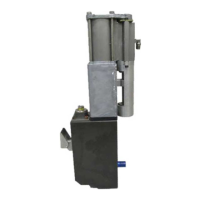
Opening the electrical enclosure
door
Installation
3-12
Part 1107600_03
2014 Nordson Corporation
Configuring the Electrical Service
AltaBlue melters are shipped from the factory without an attached power
cable and without a designated service‐type. To configure the melter to
function in your facility, you must connect a power cable to the melter and
designate the service type by installing a Nordson‐supplied voltage plug into
the melter.
To connect a power cable to the melter
WARNING! Risk of electrocution! Install a lockable power disconnect switch
between the electrical service and the melter. Failure to install or properly
use the disconnect switch when servicing the melter can result in personal
injury, including death.
1. Select a 10 mm
2
(8 AWG) power cable that meets applicable electrical
codes and standards. The maximum amperages of AltaBlue TT melters
operating at a specified voltage are shown in Table3‐2.
Table 3‐2 Maximum Amperages
Model Voltage (VAC) Maximum Amperage
A4 200-240, 1‐phase 17
NOTE: The voltage tolerance is 10 percent. For 200-240 VAC systems,
the voltage must be 180-264 VAC.
2. Open the electrical enclosure door.
See Figure 3‐5.
3. Route the power cable between the power disconnect switch and the
melter and then through the PG‐21 or 1‐inch conduit penetration on the
floor of the electrical compartment.
4. Connect the power cable lead to terminal X2 on the relay board.
5. Connect the ground lead from the power cable to the ground lug that is
located on the chassis. The ground lug is marked PE/G.
 Loading...
