Installation
3-19
Part 1089210A04
E 2010 Nordson Corporation
Power Supply Configuration
Once the power supplies and lampheads are mounted and all connections
made, the last step is to configure the power supply for your application,
using the front panel display and keys and the configuration menus.
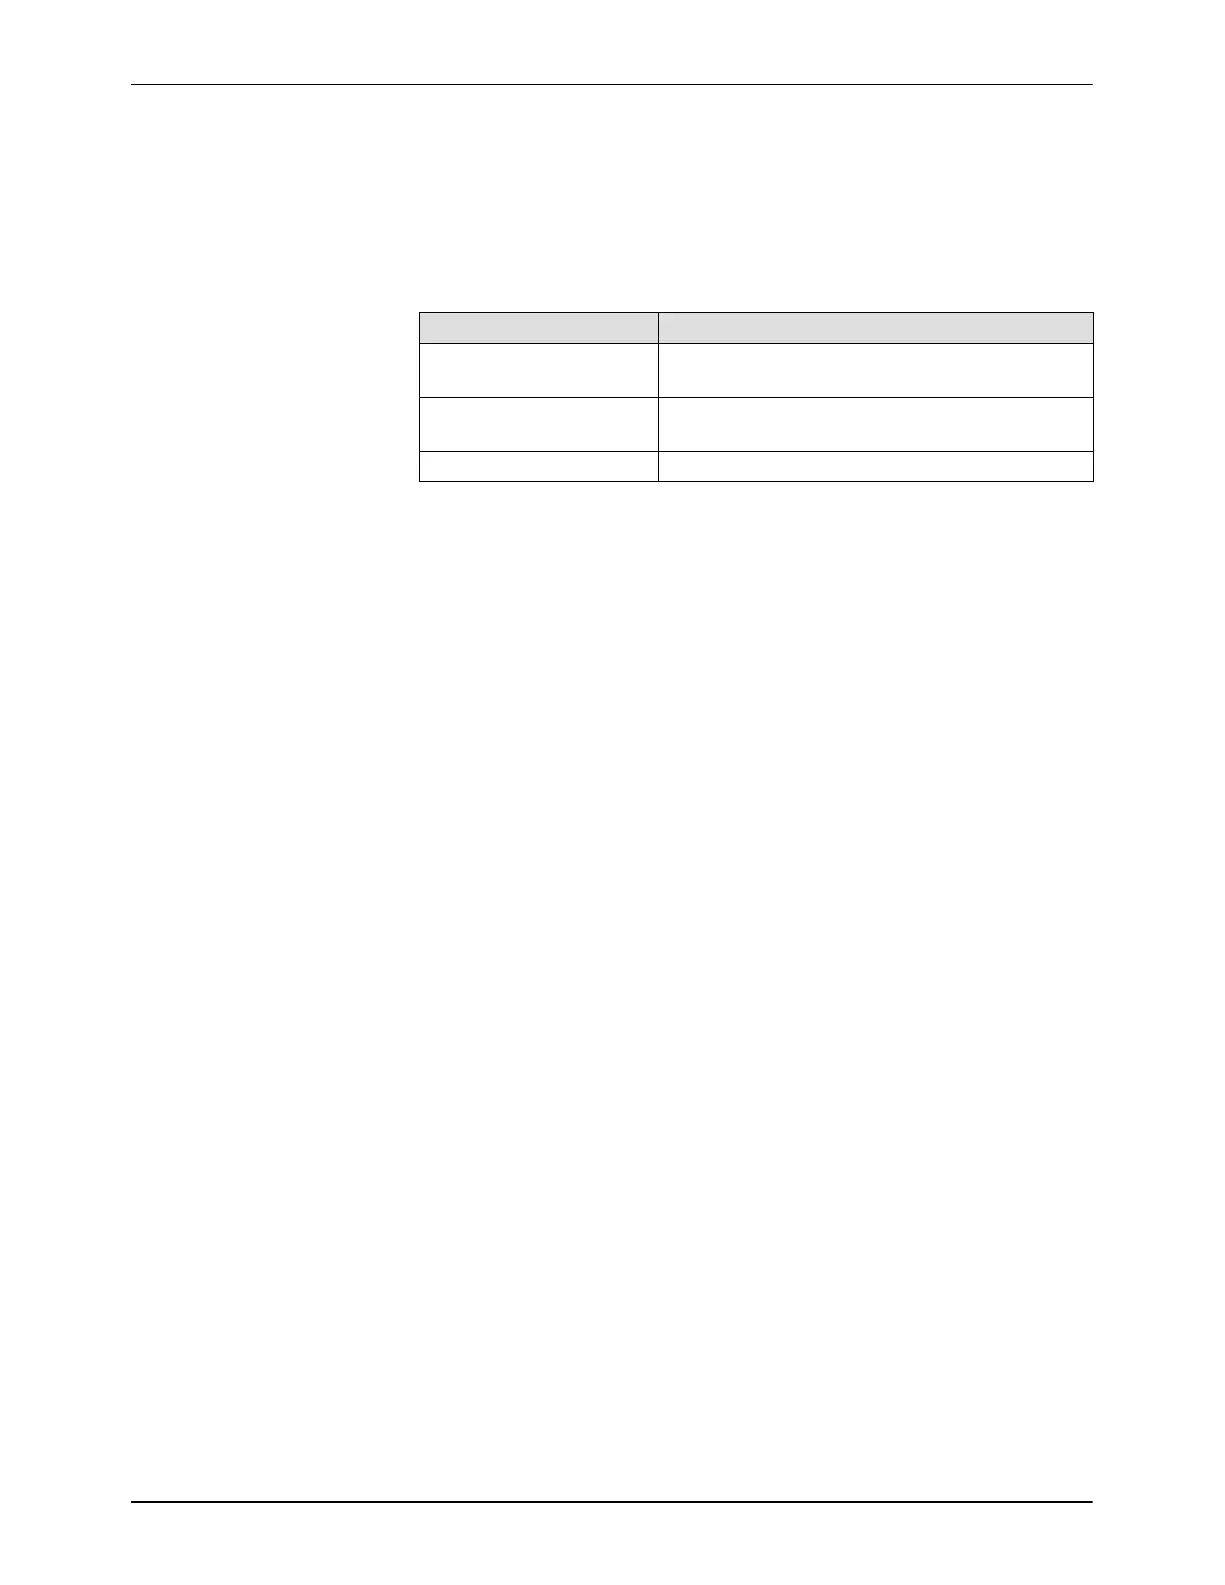
Use these keys to configure the power supply:
Key Function
Nordson Oval Press for 10−15 seconds to enter the
configuration menu.
SET−SAVE Set choice and advance to next configuration
setting.
UP/DOWN Scroll through setting choices.
1. Move the front power switch to the ON position. The system display will
go through a power-up test, then display the installed software version
numbers.
2. Press the Nordson Oval for 10−15 seconds to enter the configuration
menu. The configuration settings will be displayed in the order listed in
Table 3-6.
3. Press the UP or DOWN keys to scroll through the choices available for
each setting. Press the SET−SAVE key to save the displayed choice
and advance to the next setting.
4. The last display is PWROFF. Turn the power supply power switch to the
OFF position to set the configuration in flash memory.
NOTE: The only configuration setting not done through the system
software is the Remote I/O Machine Stop Interlock function. Refer to page
3-8 for this setting.