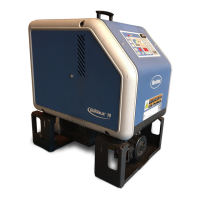
Filling the tank
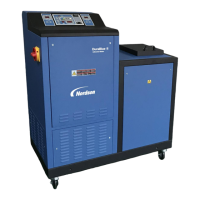
Component keys
(tank, hose, and applicator)
Operation
4-2
Part 1126931_01
2018 Nordson Corporation
Filling the Tank
CAUTION: Before filling the tank, ensure that tank and material are clean
and free of foreign substances. Foreign substances can hinder functioning or
even cause damage to the melter or accessories.
CAUTION: Cease operation before the tank is completely empty. If there is
too little material in the tank, the material can overheat. Overheated material
can char, collect on surfaces and cause malfunctioning.
1. Use a scoop to pour material into the tank, leaving a minimum of
2.54 cm (1 in.) of space between the top of the material and the top of the
tank.
2. Close the lid after filling the tank.
About Heated Components
The melter contains three groups of heated components. These are the tank
group, which contains tank, the grid, and the reservoir; the hose group; and
the applicator group. Component groups are represented on the control
panel by the component keys shown to the left.
Heated components within each group are identified by their position
number. The position of the tank group is fixed at 1. Hose and applicator
position numbers are automatically assigned based on the hose/applicator
receptacle they are connected to.
NOTE: In some installations, auxiliary devices (such as a heated air
manifold) may be connected to a hose/applicator receptacle. In such cases,
you should label (or otherwise identify) the auxiliary device as to the hose or
applicator position number that represents the device. The control panel will
identify such devices as a hose or applicator, regardless of what the device
actually is.
 Loading...