E-10 Section 1
Media Setting
12-20 lb paper ........................... 1
20-24 lb bond paper .................. 2
Labels ........................................ 3-4
Envelopes .................................. 4-5
2-part form (with carbon) ......... 1-2
3-part form (with carbon) ......... 2-3
4-part form (with carbon) ......... 3-4
5-part form (with carbon) ......... 4-5
6-part form (with carbon) ......... 5
Note: For dedicated, bottom-feed printing of extra-thick
continuous forms (requires optional push and/or
pull tractor), the printhead gap range can be
expanded to take forms up to 0.031" (0.79 mm)
thick. For more information, call Okidata Faxable
Facts (1-800-654-6651) and follow the recorded
message to have document # 2361 faxed to you.
To switch from single-sheet feed to continuous forms:
1. Press
FF/LOAD to remove the single-sheet paper.
2. Lower the paper separator into the continuous-forms
position and swing the wire feed guide over onto the
pull-up roller.
3. Move the paper lever to the position marked “REAR” or
“BOT,” as appropriate.
4. If necessary, load continuous-form paper.
5. Press
FF/LOAD.
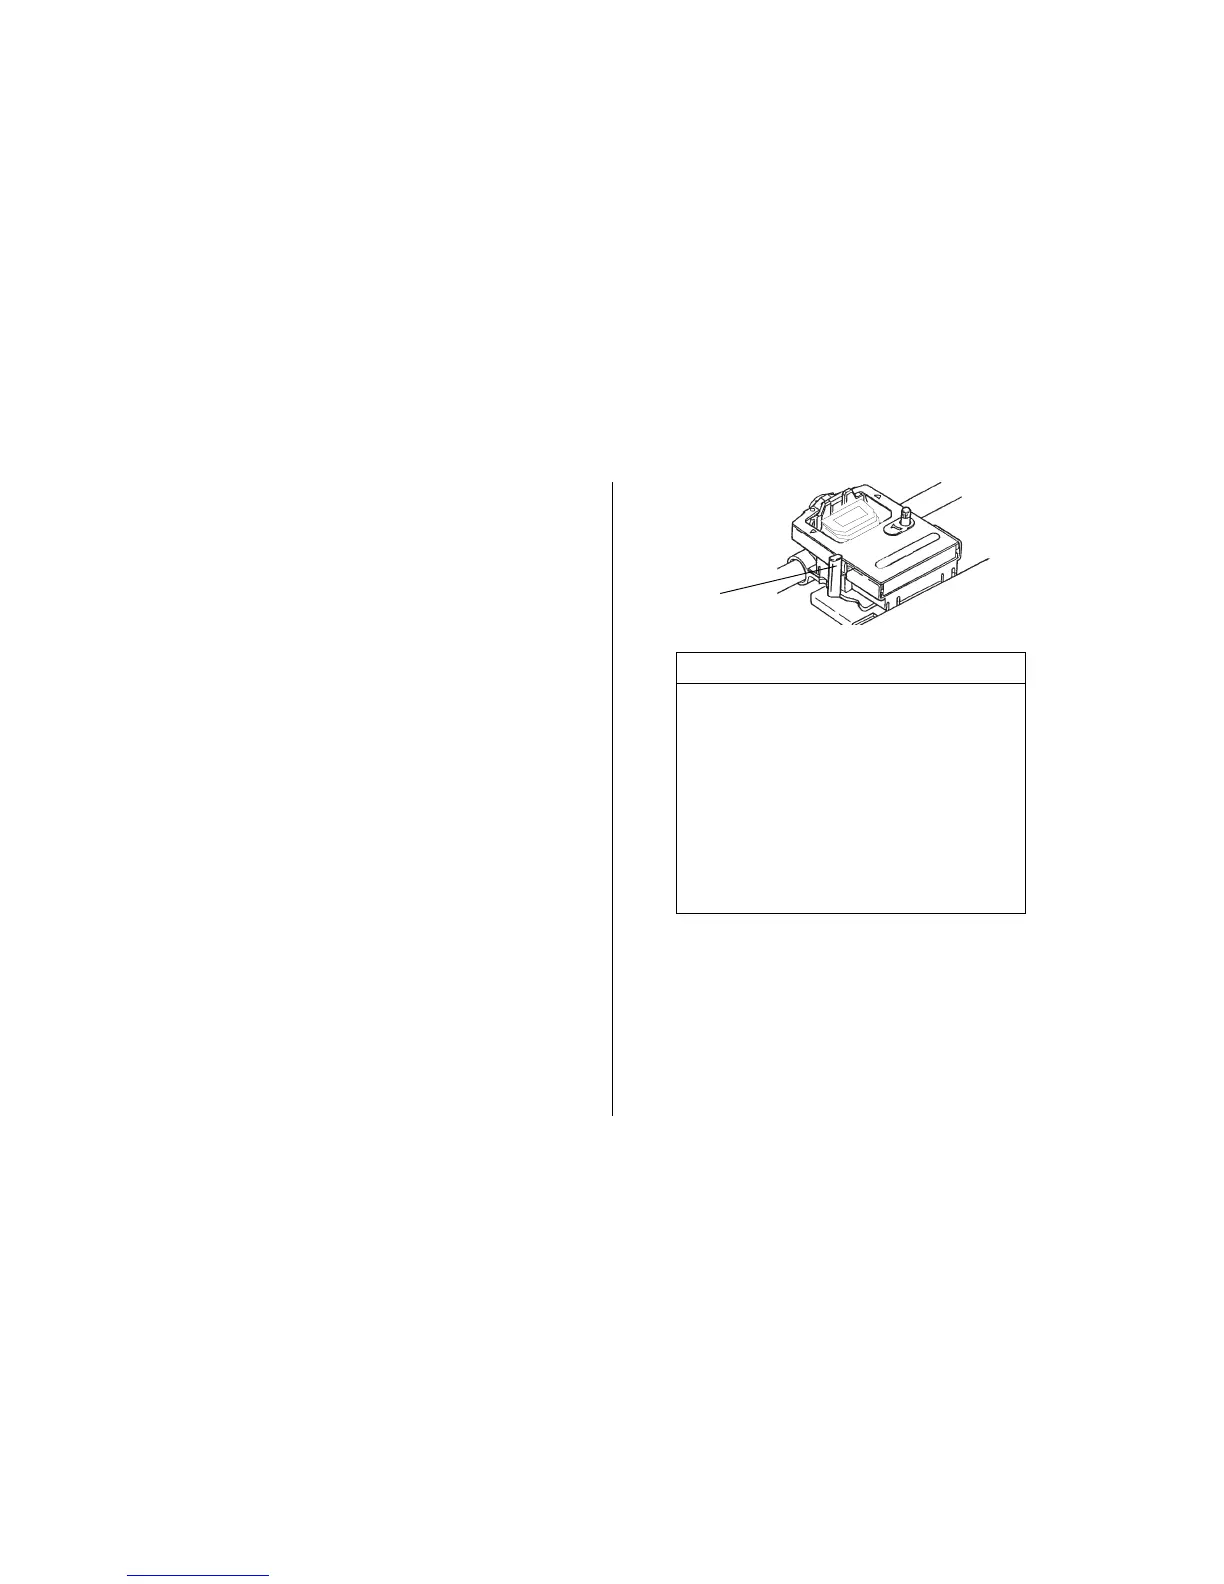
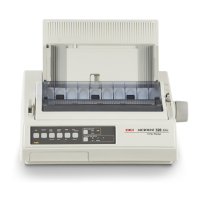
Setting the Printhead Gap
The printhead gap is the distance between the printhead
and the platen.
Note: Make sure the printer is turned off before you
open the access cover.
To adjust the gap, open the access cover and move the blue
lever (➊) to the recommended setting from the table.
➊