4-9
Printing from PC > Using Print Box
Saving Document to a Print Box
Use the procedure below to save a document in the Print Box created on the Host PC. Print Box can be selected
from [Box 01] to [Box 10]. To use the other boxes or to change the default box name, configure the settings on
Client Tool. Refer to Default Settings on the PC Client Tool) on page 7-16.
In addition, a PIN code can be set for a Print Box. Since the PIN code must be entered when printing at the machine,
security is enhanced.
1
Start Client Tool on the Host PC.
Refer to Accessing Client Tool on page 2-18.
2
Display the screen on your PC.
1 Click [File] and select [Print] in the application.
2 Select the machine from the "Name" menu and click the [Properties] button.
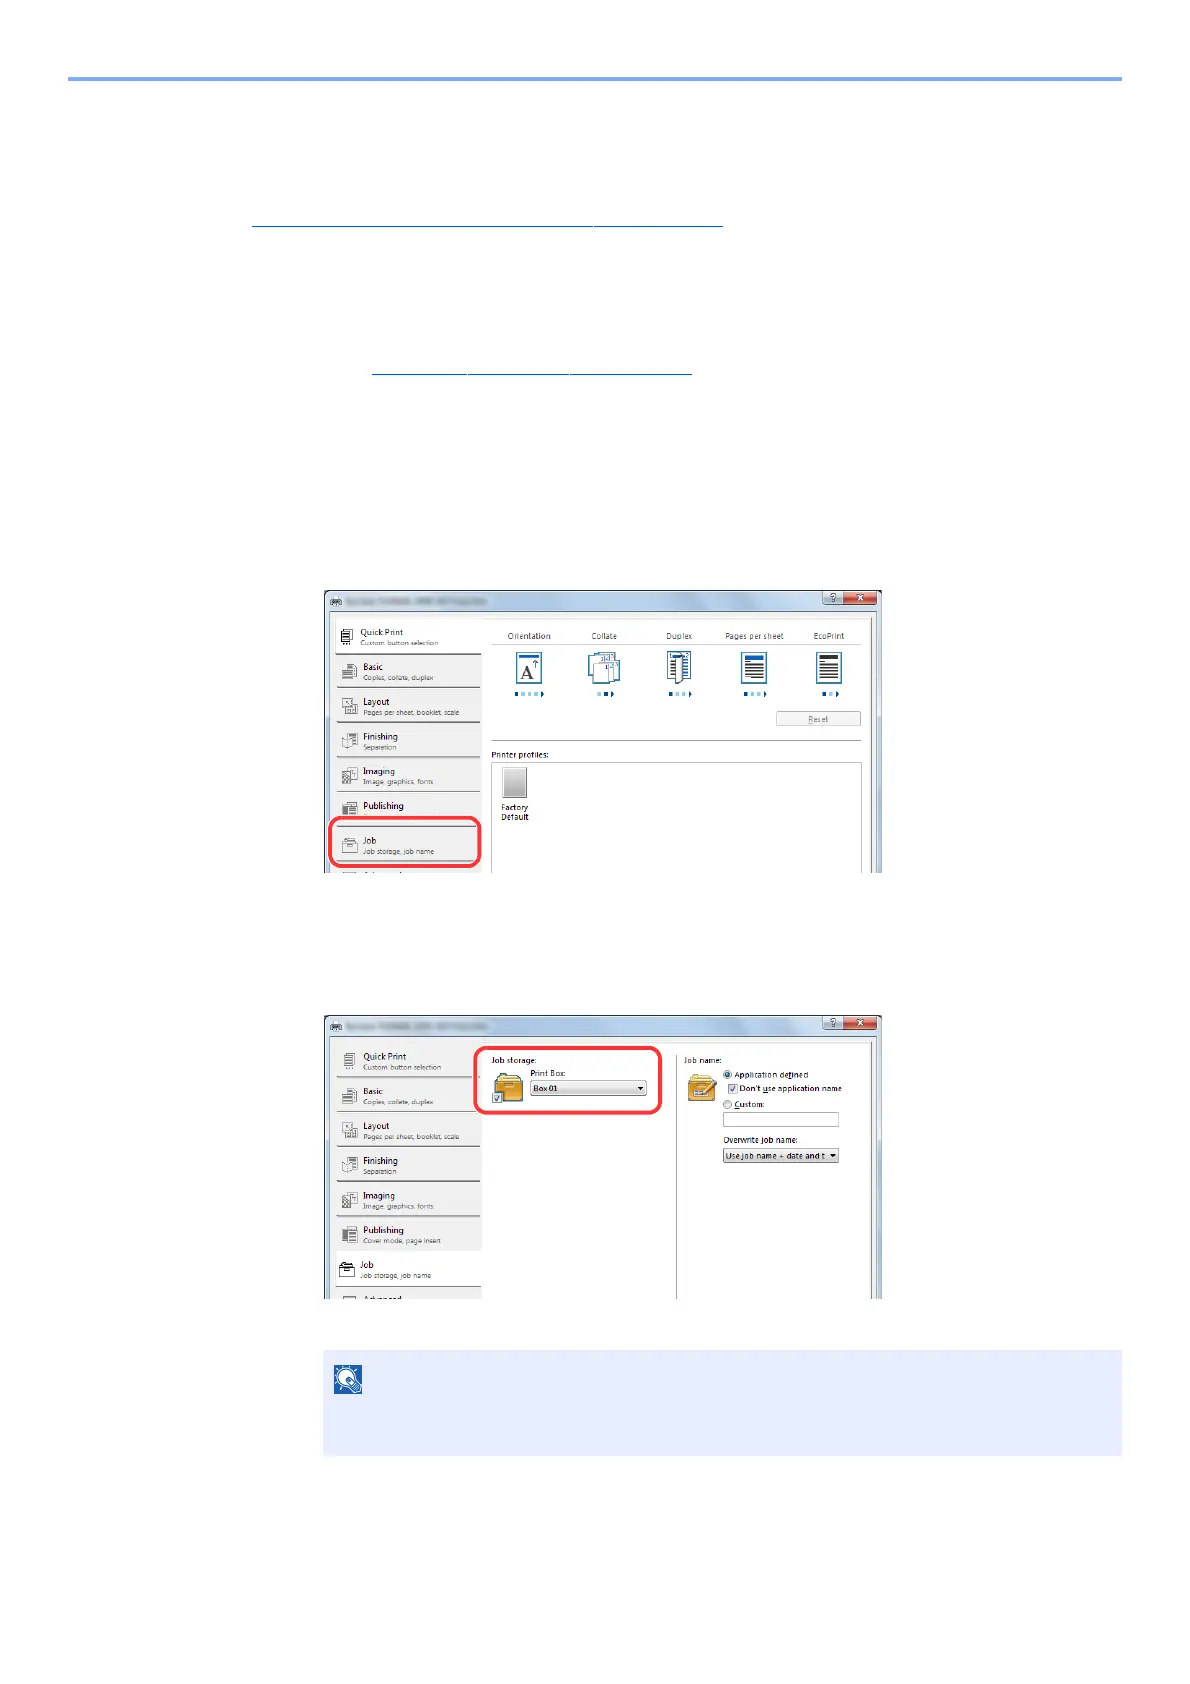
3 Select the [Job] tab.
3
Configure the settings.
1 Select [Print Box] then select the Print Box where the print job should be stored from the
[Box 1] to [Box 10].
2 As necessary, set the job name for the print job.
4
Start printing.
Select [OK] to return to the "Print" screen and click [OK] to start storing.
Note that the same job name is set and the job is overwritten if [Custom] and [Replace
existing file] are set.
 Loading...