104104
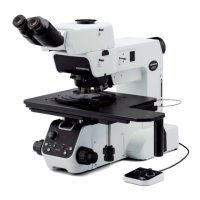
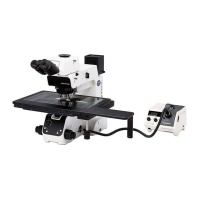
10-3 Connection with PC
· Be sure to connect cables when the main switch of the microscope and the power supply of PC are
turned OFF.
· Cables are vulnerable when bent or twisted. Never subject them to excessive force.
· Connect the cables in the correct orientation paying attention to the shape of the connector.
· You cannot connect PC to the microscope frame using both the USB cable and the RS-232C cable.
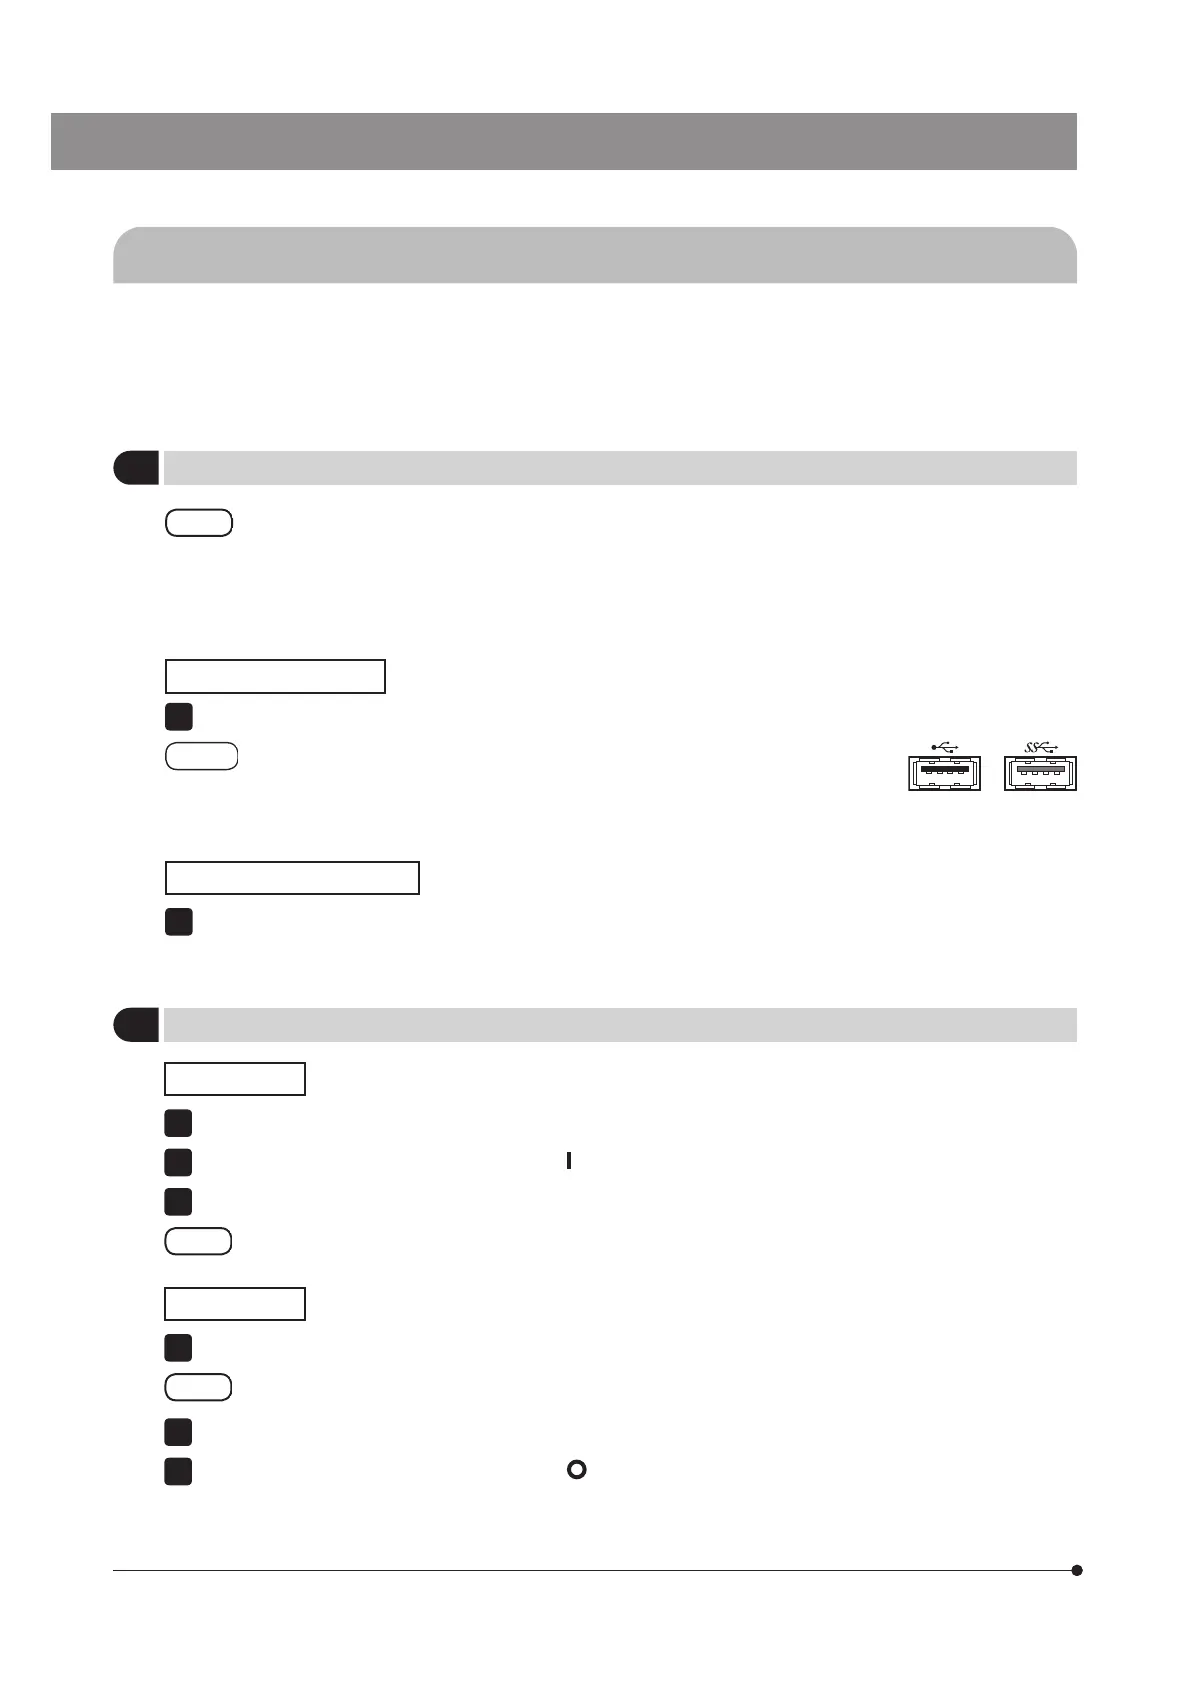
Connecting the USB cable
Connect the connector of the USB cable to the USB 2.0 connector of PC.
Some PCs are equipped with both USB 2.0 and USB 3.0 connectors. Be
sure to connect the USB cable to the USB 2.0 connector. If it is connected to
the USB 3.0 connector, the operations are not ensured. (For some USB 3.0
connectors, the color of the terminal part is blue or "SS" is printed on.)
Connecting the RS-232C cable
Connect the connector of the RS-232C cable to the RS-232C connector of PC.
1
To control this system from PC, PC must be connected to the microscope frame with the interface cable (USB cable or
RS-232C cable). In addition, the application software to control this system must be installed on PC.
1
Connecting the interface cable
Start procedures
Turn ON the power of PC and logon the operating system. Wait until the desktop appears.
Set the main switch of the microscope frame to
(ON).
Start the application software.
The REMOTE indicator on the front panel turns ON in blue.
Exit procedures
Exit from the application software.
The REMOTE indicator on the front panel turns OFF.
Shutdown the operating system.
Set the main switch of the microscope frame to
(OFF).
1
2
2
3
2
Start procedures / Exit procedures