16
Setting and Wiring Hardware Section 2-3
supplied. In the examples shown here, the power is supplied from one com-
munications power supply, and communications cables are connected using
T-branch Taps.
Refer to the DeviceNet Operation Manual (W267) for details on methods of
supplying communications power.
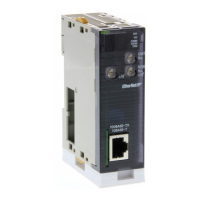
Note Use the OMRON Connectors shown below when using Thick Cables and
multi-drop connections for wiring.
2-3 Setting and Wiring Hardware
Use the following procedures to mount, set, and wire the hardware.
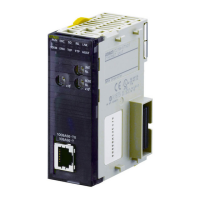
2-3-1 Mounting and Setting the Master Unit
Settings The components, functions, and switch settings for the C200HW-DRM21-V1
Master Unit mounted to a C200HX PLC are shown as an example in the fol-
lowing diagram. For information on switch settings and other Master Units,
refer to the operation manual for the Master Unit.
XW4B-05C4-T-D
(Without set screws)
XW4B-05C4-TF-D
(With set screws)
Indicators
Rotary switch
This switch sets the Master's single-digit hexadecimal
unit number. Here, set this switch to 0.
Front-panel DIP switch
These pins have the following functions:
Pins 1 and 2: Baud rate
Pin 3: Continue/stop communications for error
Pin 4: Reserved (Always OFF.)
Here, all pins are turned OFF to set the baud rate to
125 Kbps and to continue communications for errors.
Communications connector
Rear-panel DIP switch
These pins have the following
functions:
Pins 1 to 6: Node address
Pins 7 and 8: Reserved (Always OFF.)
Here, all pins are set to OFF to set the
node address to 01
Front panel
Rear panel

 Loading...