136
Analog I/O Terminals Section 4-8
so that you do not distort it. Press the cover in until there is no gap between
the cover and connector plug.
Connecting and Disconnecting the Cable Connector
Connecting
With terminal number 1 toward the front, insert the Cable Connector into the I/
O connector on the Slave until it clicks into place.
Disconnecting
Lift up on the lock lever as shown in the following diagram and remove the
Cable Connector to disconnect it.
Note Cable Connectors (XS8A-0441/0442) are not provided with the Sensor Termi-
nals and must be purchased separately.
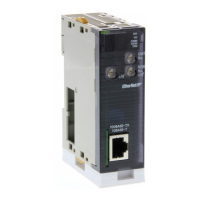
4-8 Analog I/O Terminals
4-8-1 Node Address and Baud Rate Setting
This section describes the Slaves’ node address setting, baud rate settings,
and hold/clear outputs for communications error setting. These settings are
made using the following pins on the DIP switch.
Node address setting: Pins 1 through 6
Baud rate setting: Pins 7 and 8
Slave-specific setting: Pins 9 and 10
(Refer to the descriptions of individual Slaves.)
Lock lever
8
ON
7654321
Baud rate setting
Node address setting
109
Slave-specific setting:
Refer to the descriptio
of individual Slaves.

 Loading...