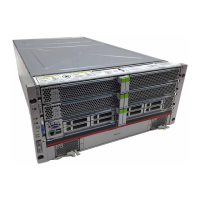
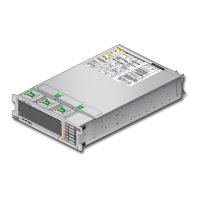
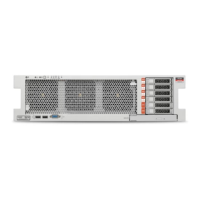
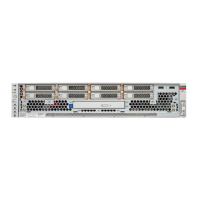
Installing the Server Into a Rack
This section describes how to install the server into a rack using the rail assembly in the
rackmount kit.
Note - In this guide, the term "rack" means either an open rack or a closed cabinet.
Description Links
Complete all installation prerequisite tasks. “Installation Prerequisites” on page 38
Check that your rack meets the requirements
for installation of this server.
“Rack Requirements” on page 38
Review safety precautions. “Safety Precautions” on page 39
Verify that you have received all components
of the rackmount kit.
“Rackmount Kit Contents” on page 40
Stabilize the rack. “Stabilize the Rack for Installation” on page 41
Install mounting brackets onto the server. “Install Mounting Brackets Onto the Server” on page 42
Mark the rackmount location. “Mark the Rackmount Location” on page 43
Attach the tool-less slide-rail assembly to the
rack.
“Attach Tool-less Slide-Rail Assemblies” on page 47
Install the server into the slide-rail assembly. “Connect AC Power Cables Before Installing Tool-less Slide-Rails
in Sun Rack II 1042” on page 45
(Optional) Install the cable management arm
for routing server cables.
■ “Install the Cable Management Arm” on page 56
■ “Remove the Cable Management Arm” on page 66
(Optional) Install the Shipping Bracket With
Cable Trough for shipping the server in a rack.
“Install the Shipping Bracket With Cable Trough
(Optional)” on page 52
Related Information
■
“Installation Procedure” on page 13
■
“Preparing for Server Installation” on page 15
Installing the Server Into a Rack 37
 Loading...


