Fan and Button Board
20 900-0054-01-00 Rev A
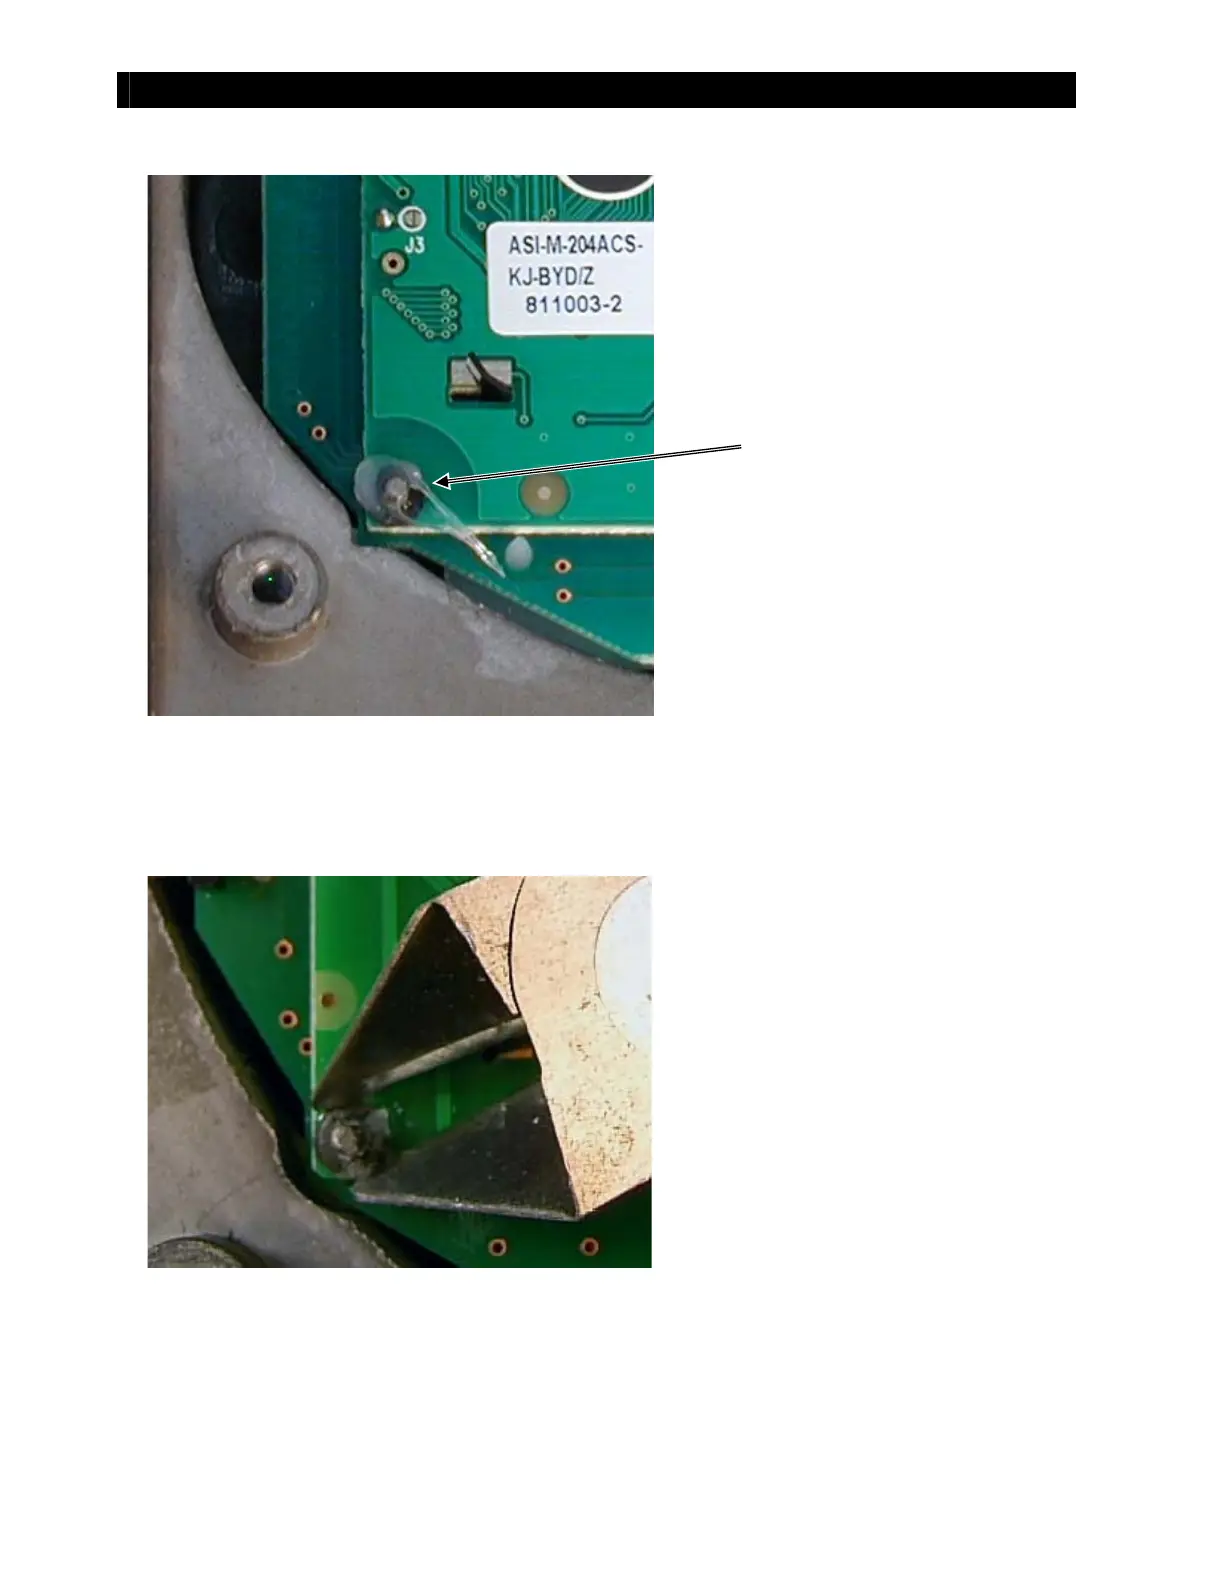
Figure 24 Exposing the Button Board Mounting Peg
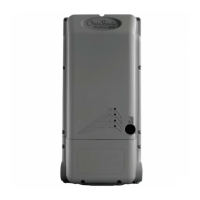
Figure 25 Gripping the Push-nut
Continued on next page.
The button board is mount ed to the
heat sink on four met al pegs at t he
corners of t he board. It is ret ained in
place by push-nuts which slide over
each peg, and which are covered in
t urn by silicone sealant .
To expose t he pegs:
1. Remove the silicone sealant from
all four pegs.
Once the push-nuts are exposed,
t hey will need t o be removed without
damaging the metal pegs. The push-
nut is very t hin and does not have
much of an edge. Using a sharp set
of wire cutt ers, remove the push-nuts
by squeezing t hem on eit her side so
that they deform.
To remove t he push-nut :
1. Carefully grip the push-nut on
either side with the wire cutters.
Be sure not to damage the peg or