Reassembly
28 900-0054-01-00 Rev A
Reconnecting the Heat Sink to the Power Board
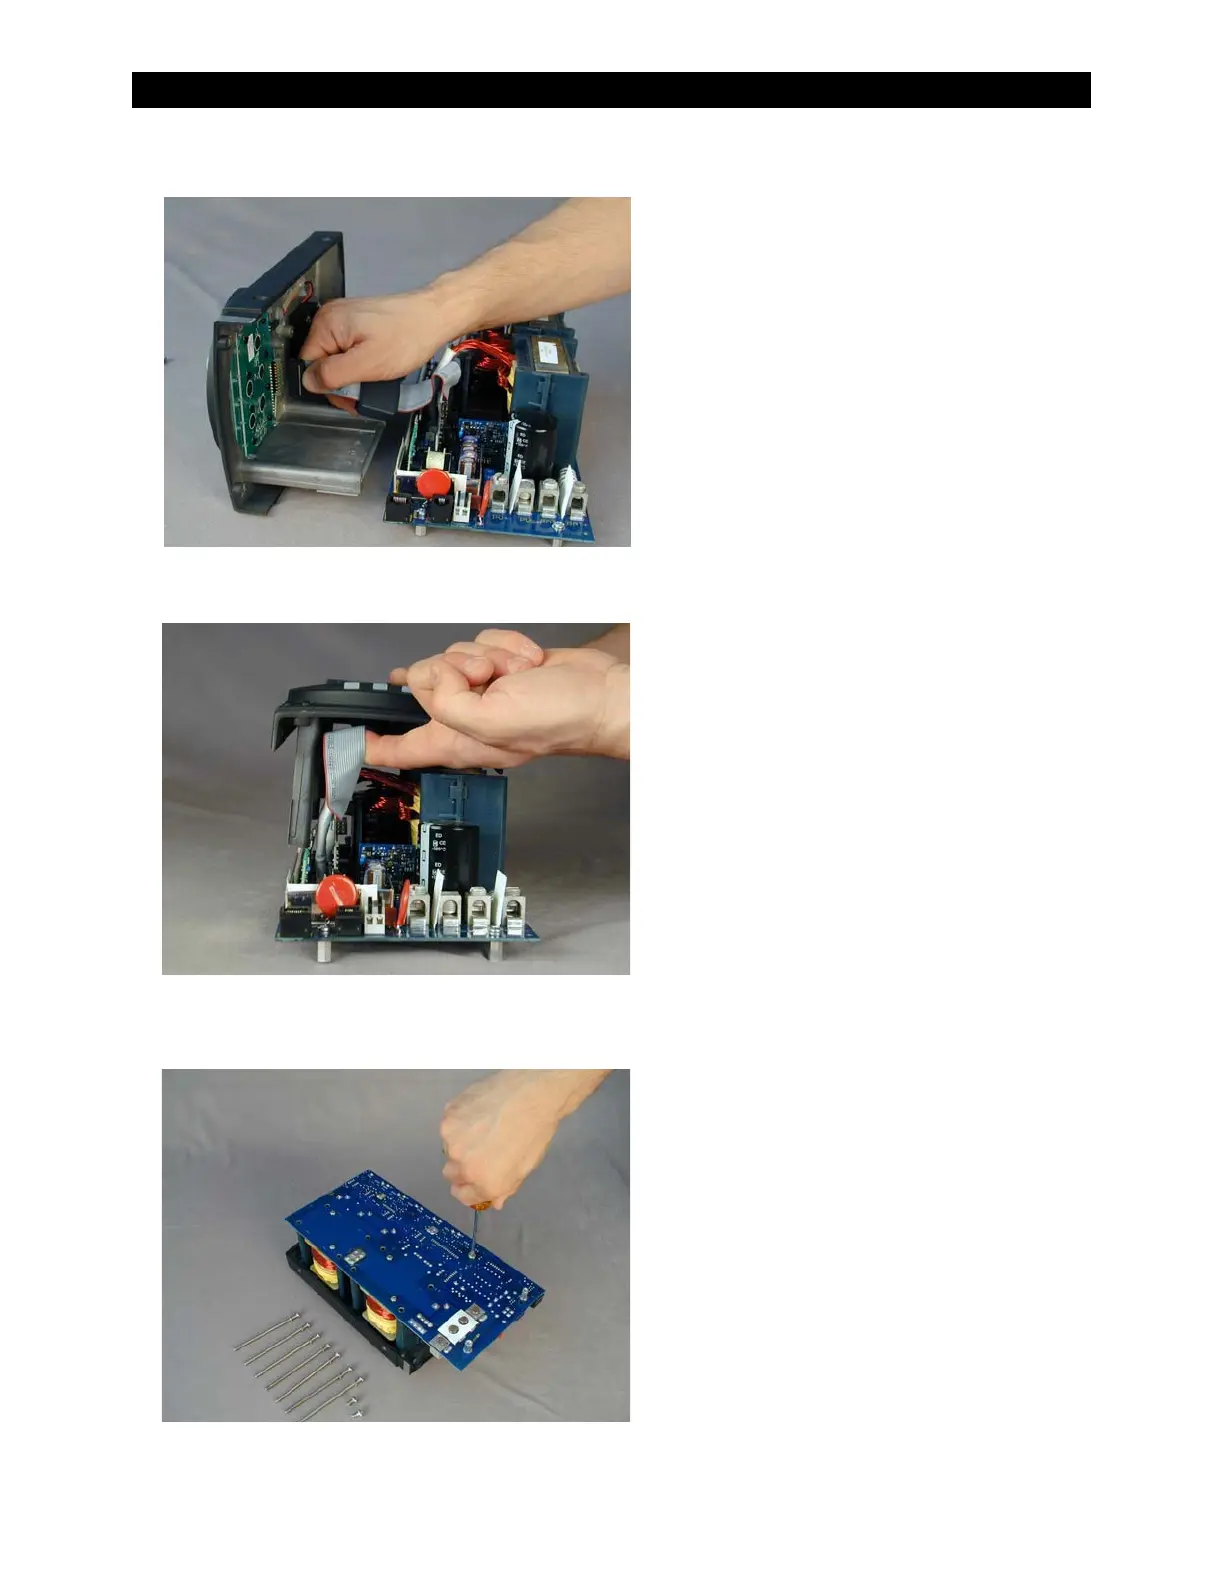
Fi g u r e 40 Rei n st al l i n g Ri b b on Cab l e
Figure 41 Gently Pulling On Ribbon Cable
Figure 42 Installing and Tightening Screws
2. Set and align t he heat sink ont o t he
power board.
3. While aligning t he heat sink, tuck one
finger under the ribbon cable and pull
as indicat ed in Figure 41. This will take
up t he slack in t he ribbon cable. It
keeps the cable from int erfering with
t he alignment of t he heat sink and t he
power board.
4. Set t he unit upside down, and align
the power board screw holes against
the heat sink screw holes.
5. Reinstall al l the screws that had been
removed previously and hand-
tighten them.
Continued on next page.
1. With the cont rol board secured to the
power board, connect the ribbon cable.
CAUTI ON!
The ribbon cable is not keyed.
Do not inst all it backward. In t he correct
orient ation, the red stripe must face t he
heat sink side wall.
In Figure 40, t he cable is oriented so t hat
t he red st ripe is on t he bottom.