127
6. Recording Images that Suit Your Subjects and Purposes
∫ Setting the position and size of the light source ([Sunshine])
1 Touch [ ] and then select [ ].
2 Press 3/4/2/1 to move the centre position of the light source.
• The position of the light source can also be moved by touching the screen.
3 Adjust the size of the light source by rotating the
Control dial.
• The display can also be enlarged/reduced by pinching out/pinching in.
• To reset the light source setting to the default, press [DISP.].
4 Press [MENU/SET] to set.
1 Press 1.
2 Rotate the control dial to adjust the setting.
• Press [MENU/SET] to return to the recording screen.
Point for when placing the centre of the light
source
A more natural appearance can be created by placing
the centre of the light source outside the image.
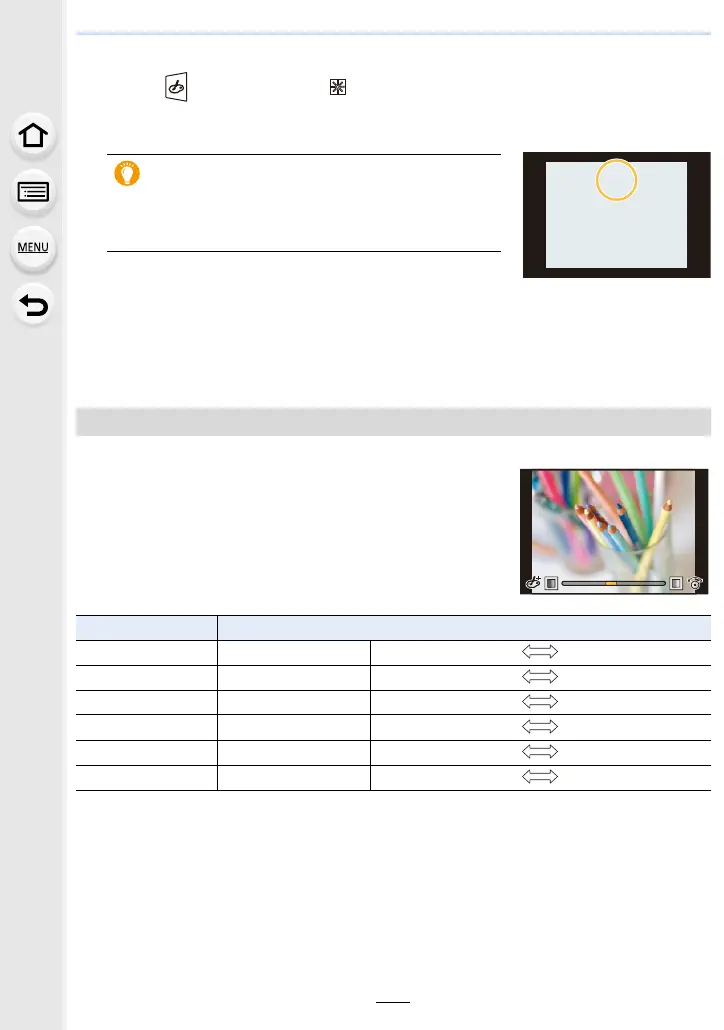
Adjust the effect to fit your preferences
Image effect Items that can be set
[Expressive] Freshness Understated colours Pop colours
[Retro] Colour Yellowish tinge Reddish tinge
[Old Days] Contrast Low contrast High contrast
[High Key] Colour Pinkish tinge Aquamarinish tinge
[Low Key] Colour Reddish tinge Bluish tinge
[Sepia] Contrast Low contrast High contrast
 Loading...