Chapter 3 Basic Operations — Switching on/off the projector
42 - ENGLISH
4) Press the power <v/b> button.
f The power indicator <ON (G)/STANDBY (R)> lights in green and the image is soon projected on the screen.
Note
f A warm-up period of up to approximately ve minutes may be necessary until an image is displayed when the projector is switched on at
around 0 °C (32 °F).
The temperature indicator <TEMP> lights in red during the warm-up period. When the warm-up is completed, the temperature indicator
<TEMP> turns off and the projection starts. Refer to “When an indicator lights up” (x page 148) for the indicator status display.
f If the operating environment temperature is low and warm-up takes more than ve minutes, the projector will judge that a problem has
occurred and the power will automatically be set to standby mode. In such case, increase the operating environment temperature to 0 °C
(32 °F) or higher, turn off the main power, and then turn on the power again.
f When the [PROJECTOR SETUP] menu → [ECO MANAGEMENT] → [STANDBY MODE] is set to [ECO], it takes longer for the projection to
start after the power is turned on, compared to when set to [NORMAL].
f When the [PROJECTOR SETUP] menu → [ECO MANAGEMENT] → [QUICK STARTUP] is set to [ON], and the power is turned on before
the specied time elapses after the projector enters the standby mode, an image will be projected approximately one second after the power
is turned on.
The specied time is a time set in the [PROJECTOR SETUP] menu → [ECO MANAGEMENT] → [QUICK STARTUP] → [VALID PERIOD].
f When the power is turned on or an input signal is switched, you may here a high-frequency driving sound. This is not a malfunction.
f If the power was turned off at the previous use by pressing the <OFF> side of the <MAIN POWER> switch or by using the breaker directly
while projecting, the power indicator <ON (G)/STANDBY (R)> lights up in green and an image is projected after a while when the power
is turned on by pressing the <ON> side of the <MAIN POWER> switch or by turning the breaker on with the power plug connected to the
outlet. This applies only when the [PROJECTOR SETUP] menu → [INITIAL STARTUP] is set to [LAST MEMORY].
When the initial setting screen is displayed
When the projector is switched on for the rst time after purchase, as well as when the [PROJECTOR SETUP]
menu → [INITIALIZE] → [ALL USER DATA] is executed, the [INITIAL SETTING] screen is displayed after
projection starts. Set them according to the circumstances.
In other occasions, you can change the settings by menu operations.
If you press the <MENU> button while the [INITIAL SETTING] screen is displayed, you can go back to the
previous screen.
Same operation is available by pressing the <RETURN> button.
Note
f It may be necessary to adjust with the focus ring and the zoom ring on the lens section of the projector to clearly display the menu screen
when using the projector for the rst time.
Refer to “Adjusting the image” (x page 48) for details.
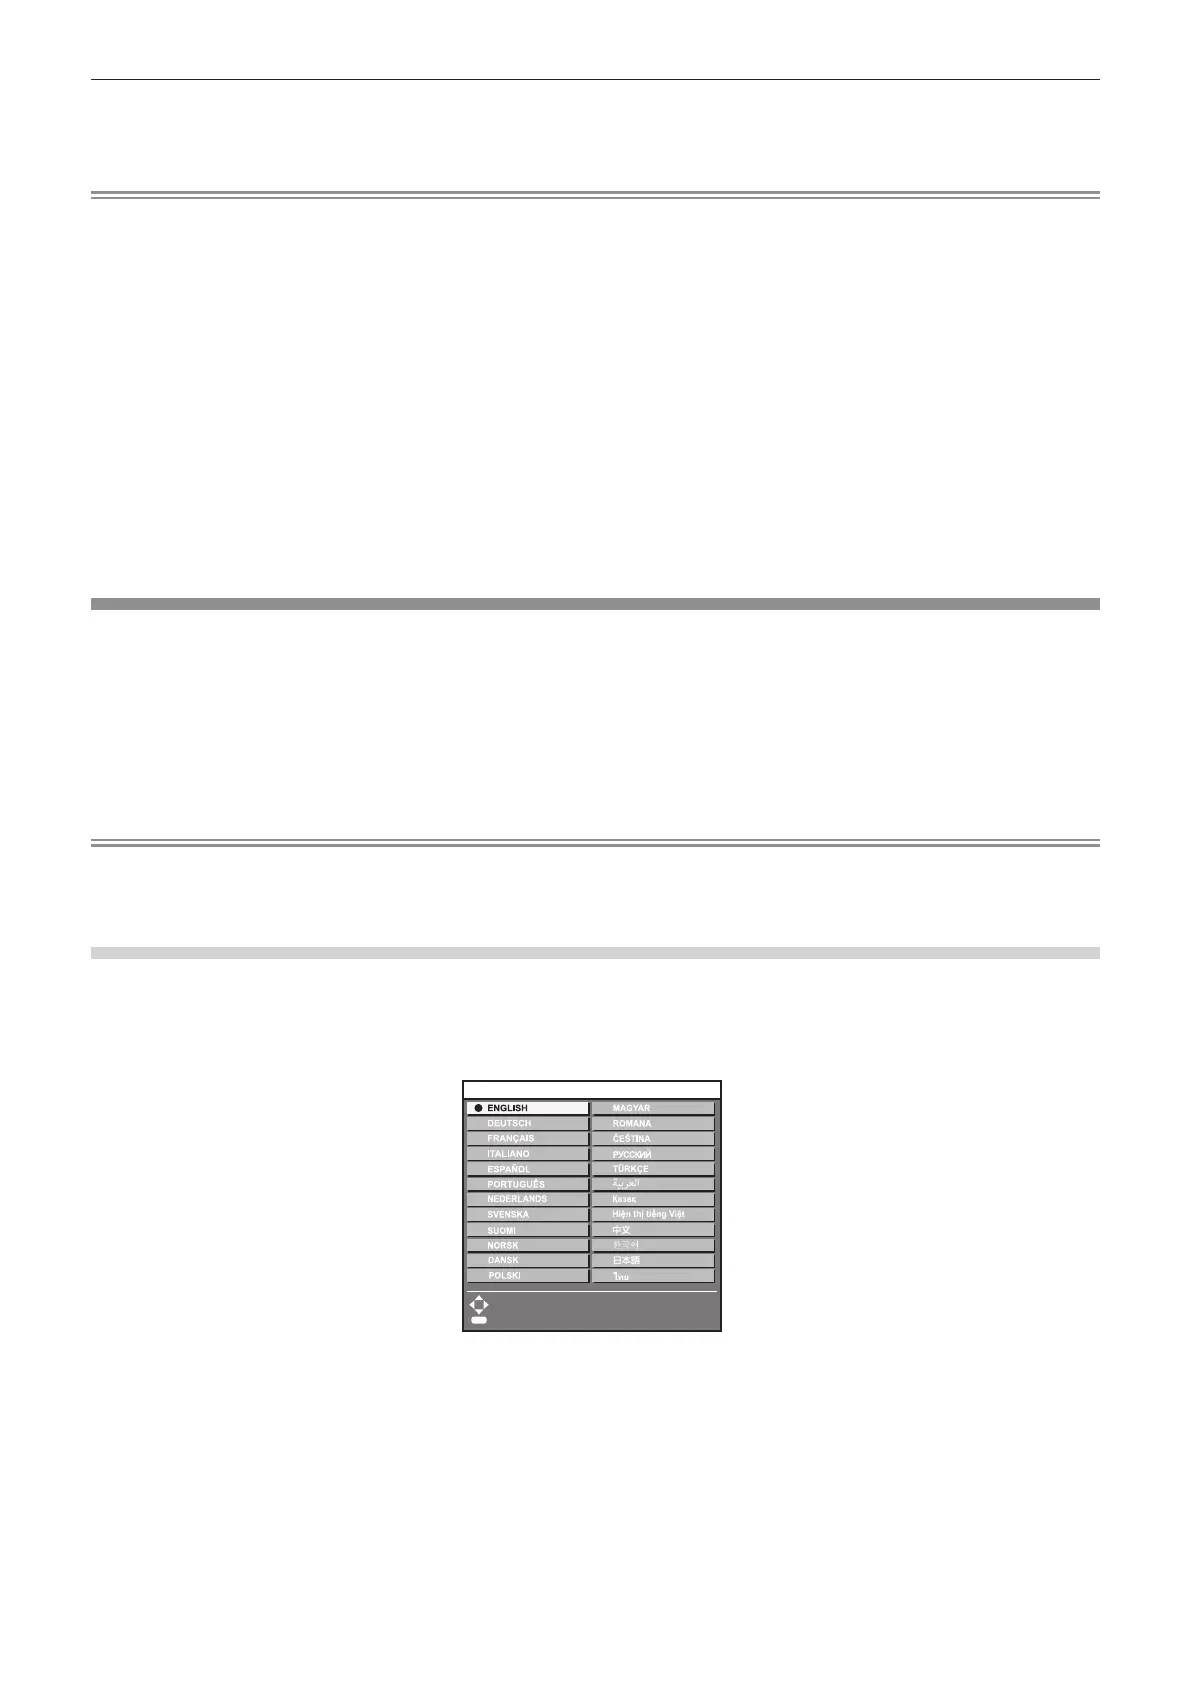
Initial setting (display language)
Select the language to show on the screen.
After completed the initial setting, you can change the display language from the [DISPLAY LANGUAGE] menu.
1) Press asqw to select the display language.
1/6
INITIAL SETTING
SELECT
SET
ENTER
2) Press the <ENTER> button to proceed to the initial setting.

 Loading...


