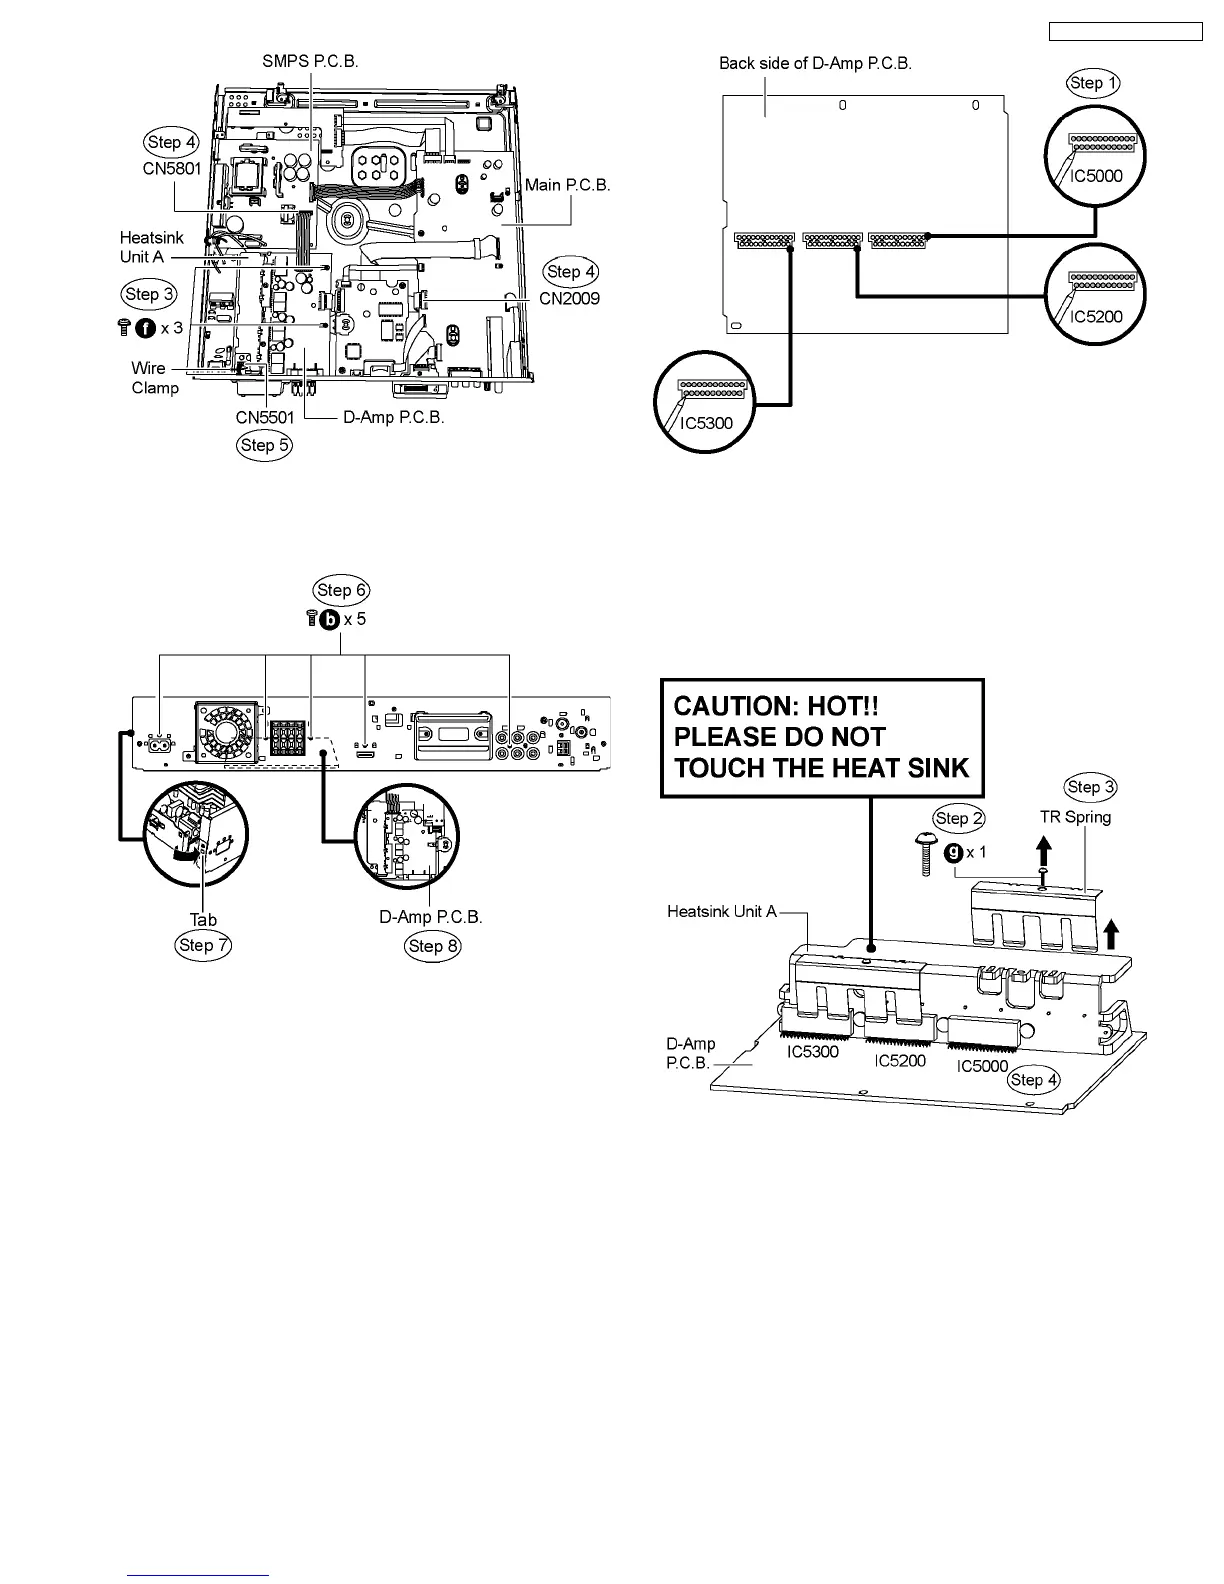
Step 6 Remove 5 screws on the rear panel.
Step 7 Release the tab in the direction of the arrow.
Step 8 Remove D-Amp P.C.B.
Caution: Be careful of the Heatsink Unit A, which has high
temperature after prolonged use, when removing D-Amp
P.C.B.
10.14. Disassembly of Digital Amp IC
(IC5000)
·
Follow (Step 1) to (Step 3) of Item 10.3.
·
Follow (Step 1) to (Step 3) of Item 10.4.
·
Follow (Step 1) to (Step 4) of Item 10.5.
·
Follow (Step 1) to (Step 4) of Item 10.7.
·
Follow (Step 1) to (Step 4) of Item 10.8.
·
Follow (Step 1) to (Step 8) of Item 10.13.
Step 1 Desolder pins of the digital amp IC (IC5000) on the back
side of D-Amp P.C.B.
Step 2 Remove 1 screw from the top of the heatsink unit A.
Step 3 Remove the TR spring in the direction of arrow.
Step 4 Remove the digital amp IC (IC5000) from the heatsink
unit A.
Caution: Handle the heatsink unit A with caution due to its
high temperature after prolonged use. Touching it may
lead to injuries.
Note : For disassembly of the digital amp ICs (IC5200 &
IC5300), repeat the (Step 1) to (Step 4). Refer to the diagrams
of D-Amp P.C.B. (Item 10.13.) for location of the parts.
10.15. Disassembly of DVD Module
P.C.B.
·
Follow (Step 1) to (Step 3) of Item 10.3.
·
Follow (Step 1) to (Step 3) of Item 10.4.
·
Follow (Step 1) to (Step 4) of Item 10.5.
·
Follow (Step 1) to (Step 4) of Item 10.7.
·
Follow (Step 1) to (Step 4) of Item 10.8.
·
Follow (Step 1) to (Step 8) of Item 10.13.
61
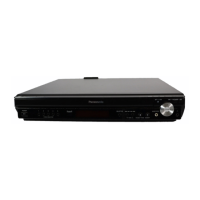
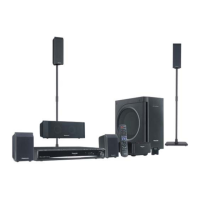
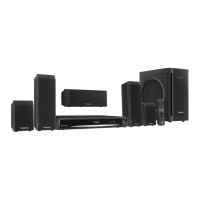
SA-PT750P / SA-PT750PC