Setting the powered elevator height
WARNING! Never place hands, clothes or foreign objects into the mechanism of the powered
elevator.
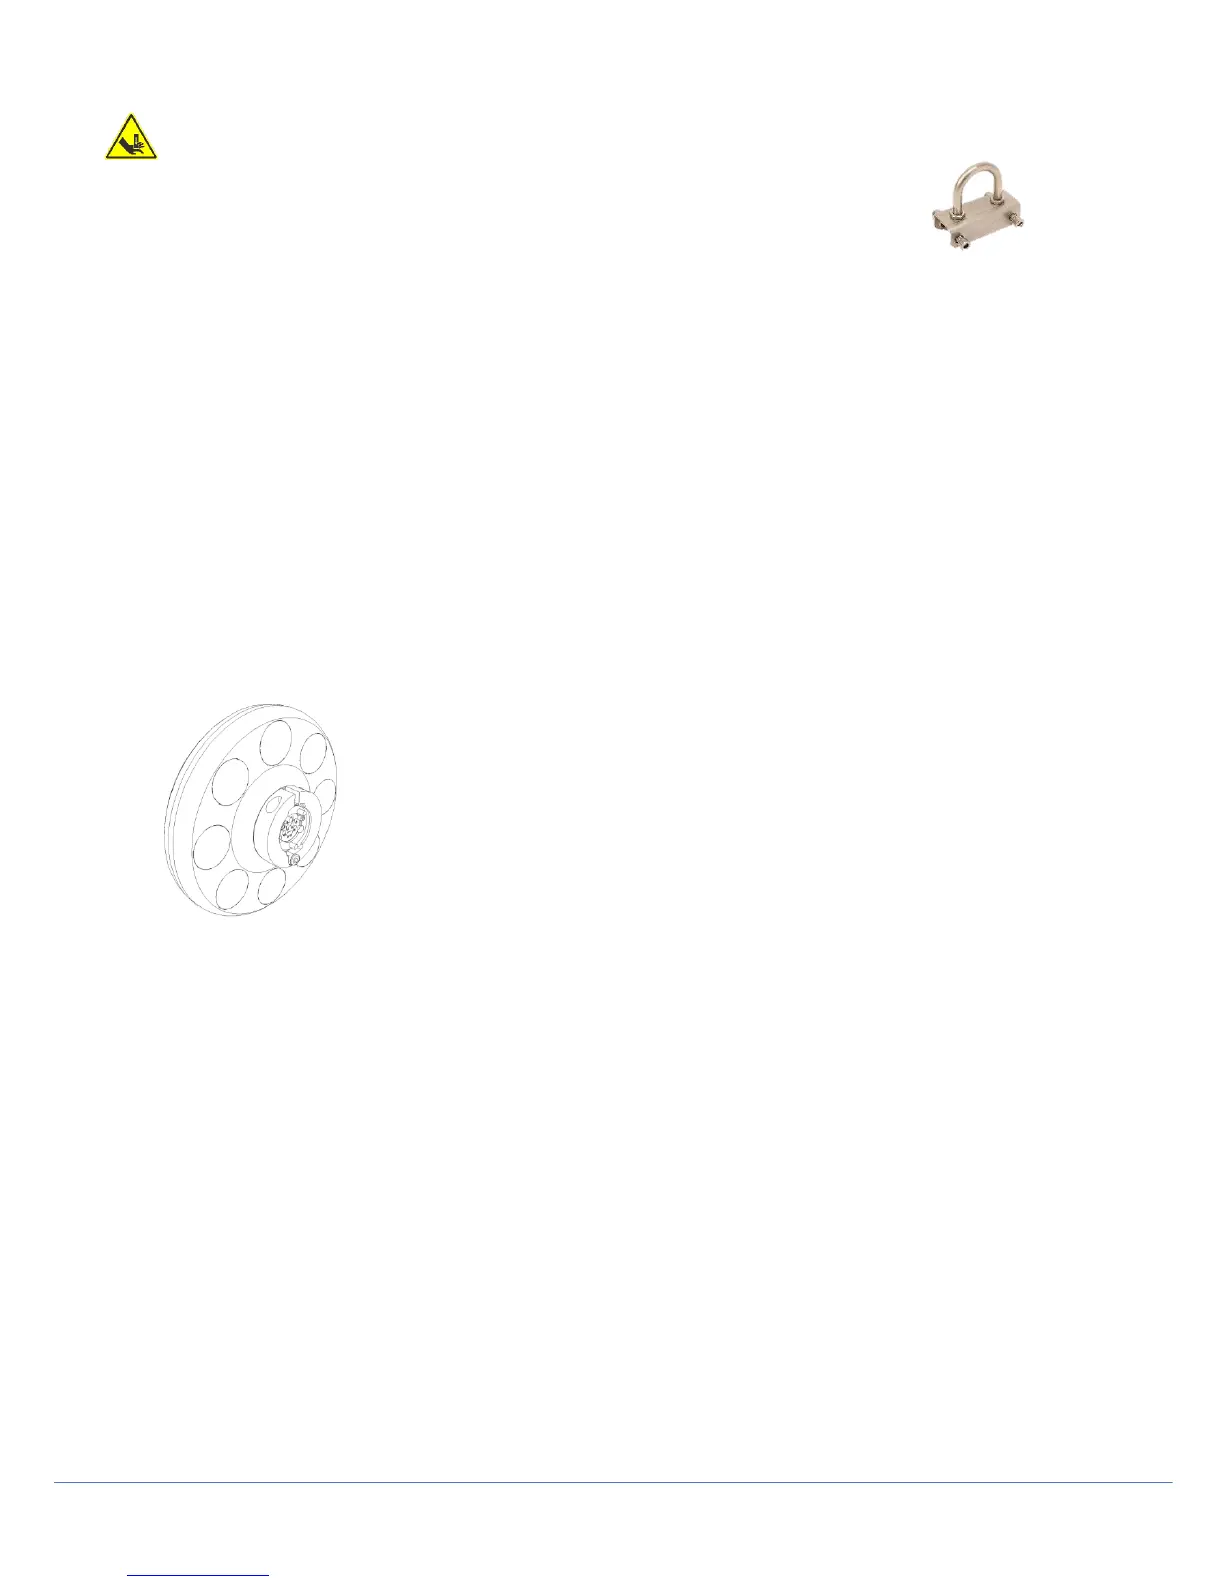
CAUTION! Do not lift the crawler using the powered elevator, unless using the supplied lifting eye
(shown at right)
The P356 powered elevator can be used to centre the system camera in the pipe. being surveyed.
The elevator can be controlled by:
Using the dedicated keys on the keypad or the keys or on the left joystick pod to manually raise or lower the
camera.
Pressing F2 and using the and arrows to set the camera to a percentage of the elevator’s maximum
elevation.
NOTE: When reversing the system, it is recommended to set the elevator to it’s minimum height unless centering is
required.
NOTE: in some configurations and pipe materials, steering sensitivity may be affected at high camera elevations
Auxiliary Lighthead
This can be used to offer additional LEDs to provide the camera with more light. With more light you can deploy the
crawler in larger pipes or in pipes made from light-absorbent material that would otherwise reduce visibility. The
lighthead is fitted between the camera and the crawler or between the camera and the elevator. The lighthead provides
up to an additional 850 lm.
Figure 2.13: Auxiliary lighthead