P350 flexitrax Operation Manual 35
3.8 Company Details Settings
The P350 controller allows you to customize your
system by storing your company details and logo on the
controller. These details are used to personalize
reports and the video title screen.
NOTE: Video titles are optional.
Once you save your company’s information you will not
need to enter it again unless you perform a factory
reset.
To set your company details:
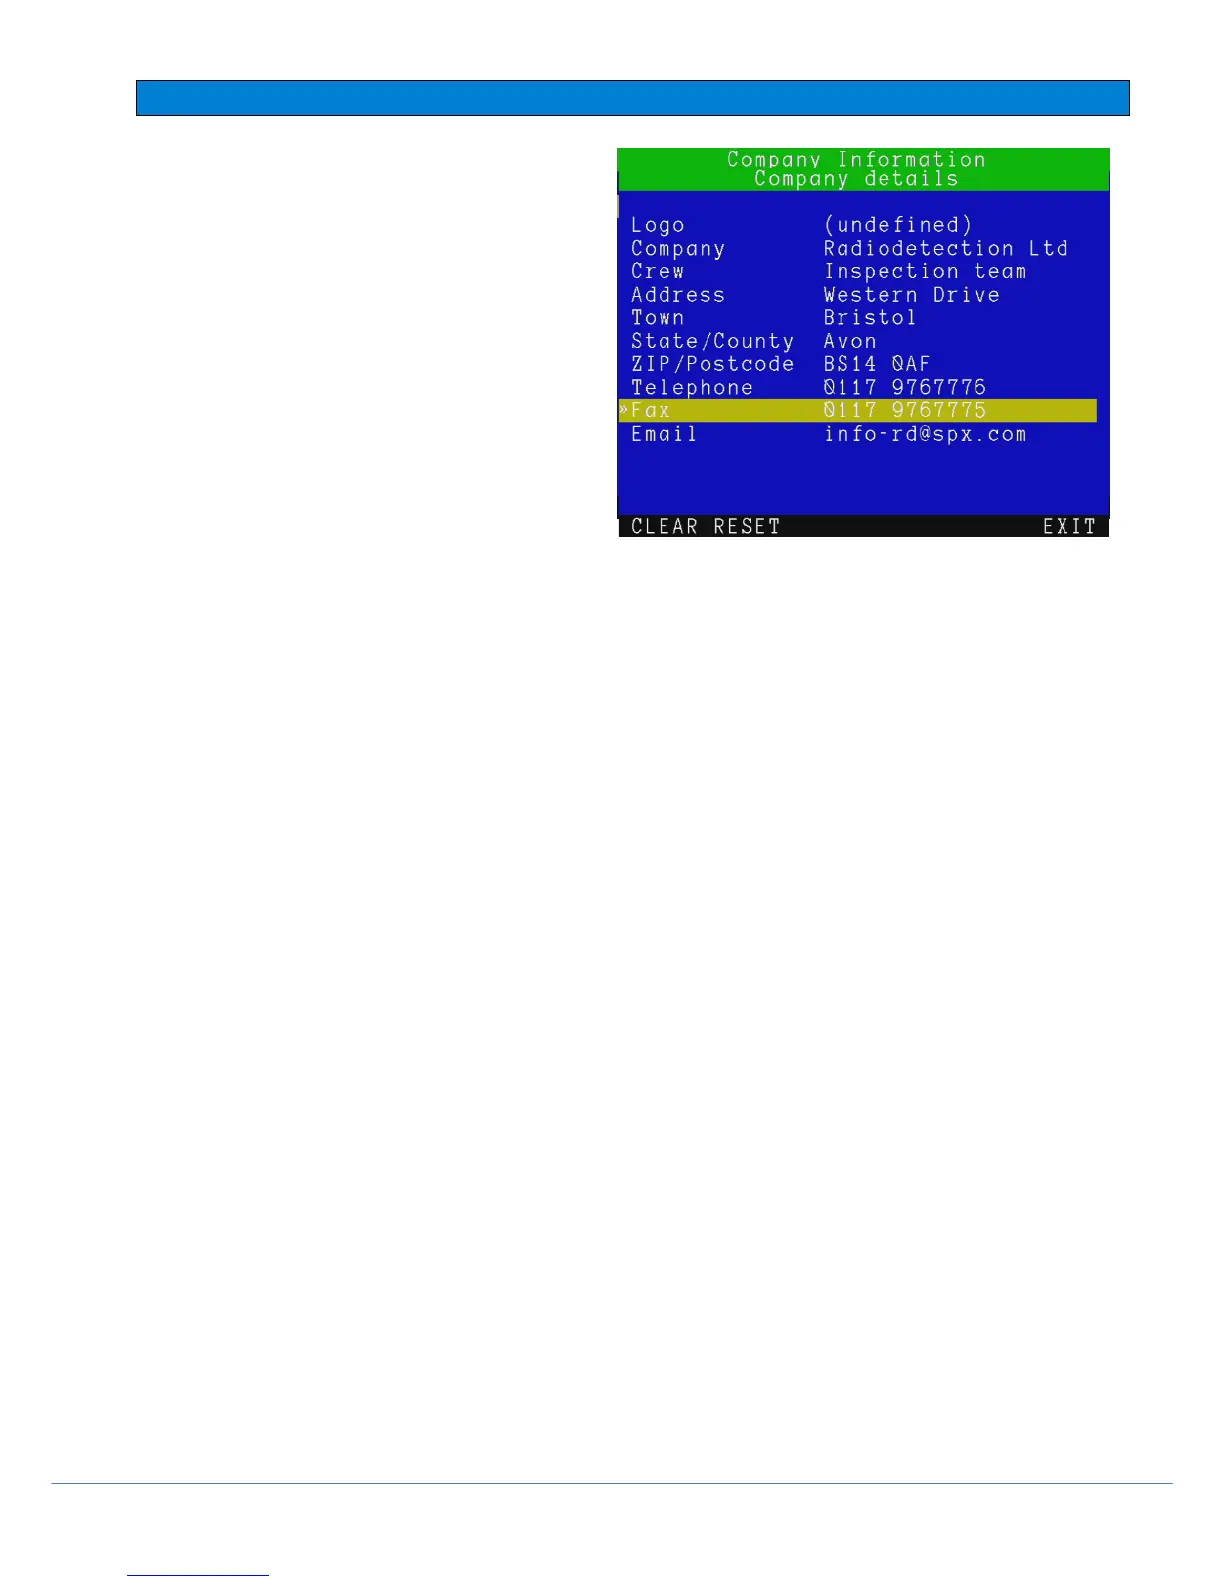
There are 10 company fields to fill out:
Logo: use this field to enter your company logo
(See below).
Company: use this field to store your company
or trading name (30 characters).
Crew: use this field to record the name of the
crew or individual who is in charge of the P350 system (30 characters).
Address: use this field to record your company’s street address (30 characters).
Town: use this field to record your company’s city or town (30 characters).
State / County: use this field to record your company’s State or County (20 chararacters).
ZIP / Postcode: use this field to record your company’s ZIP or postcode (10 chararacters).
Telephone: use this field to record your company’s contact telephone number (20 chararacters).
Fax: use this field to record your company’s fax number (20 characters).
Email: use this field to record your company’s contact email address (30 characters).
Press CLEAR to delete the selected field data.
Press RESET to delete all data.
Adding your company logo
To enter your company logo, copy a JPEG version of it (32KB maximum) into the root of your memory storage device
and insert it in the controller.
NOTE: The root directory refers to the top-level directory or folder of your memory storage device.
1. Browse the root of the memory storage device.
2. Press SHOW to check the highlighted JPEG logo.
NOTE: The controller can only display pictures with width and height in multiples of 16 pixels. Pictures of other sizes
will not be displayed by the controller but will work in the final report.
3. Press BROWS to continue browsing.
4. Press USE to select the desired logo file and return to the company setup menu.
5. Press CANCL to cancel the operation and exit.
 Loading...