P350 flexitrax Operation Manual 59
5.2 Creating Reports with observations
This is a very useful feature, allowing you to create videos, pictures and observations on-site. Load these automatically
into our free Microsoft Word template report using our companion software FlexiSight Manager. This can reduce the
number of office staff required by getting virtually all the work complete on site by one operative. Ensure you have set
up your company details (Section 3.8 Company details Settings), then begin.
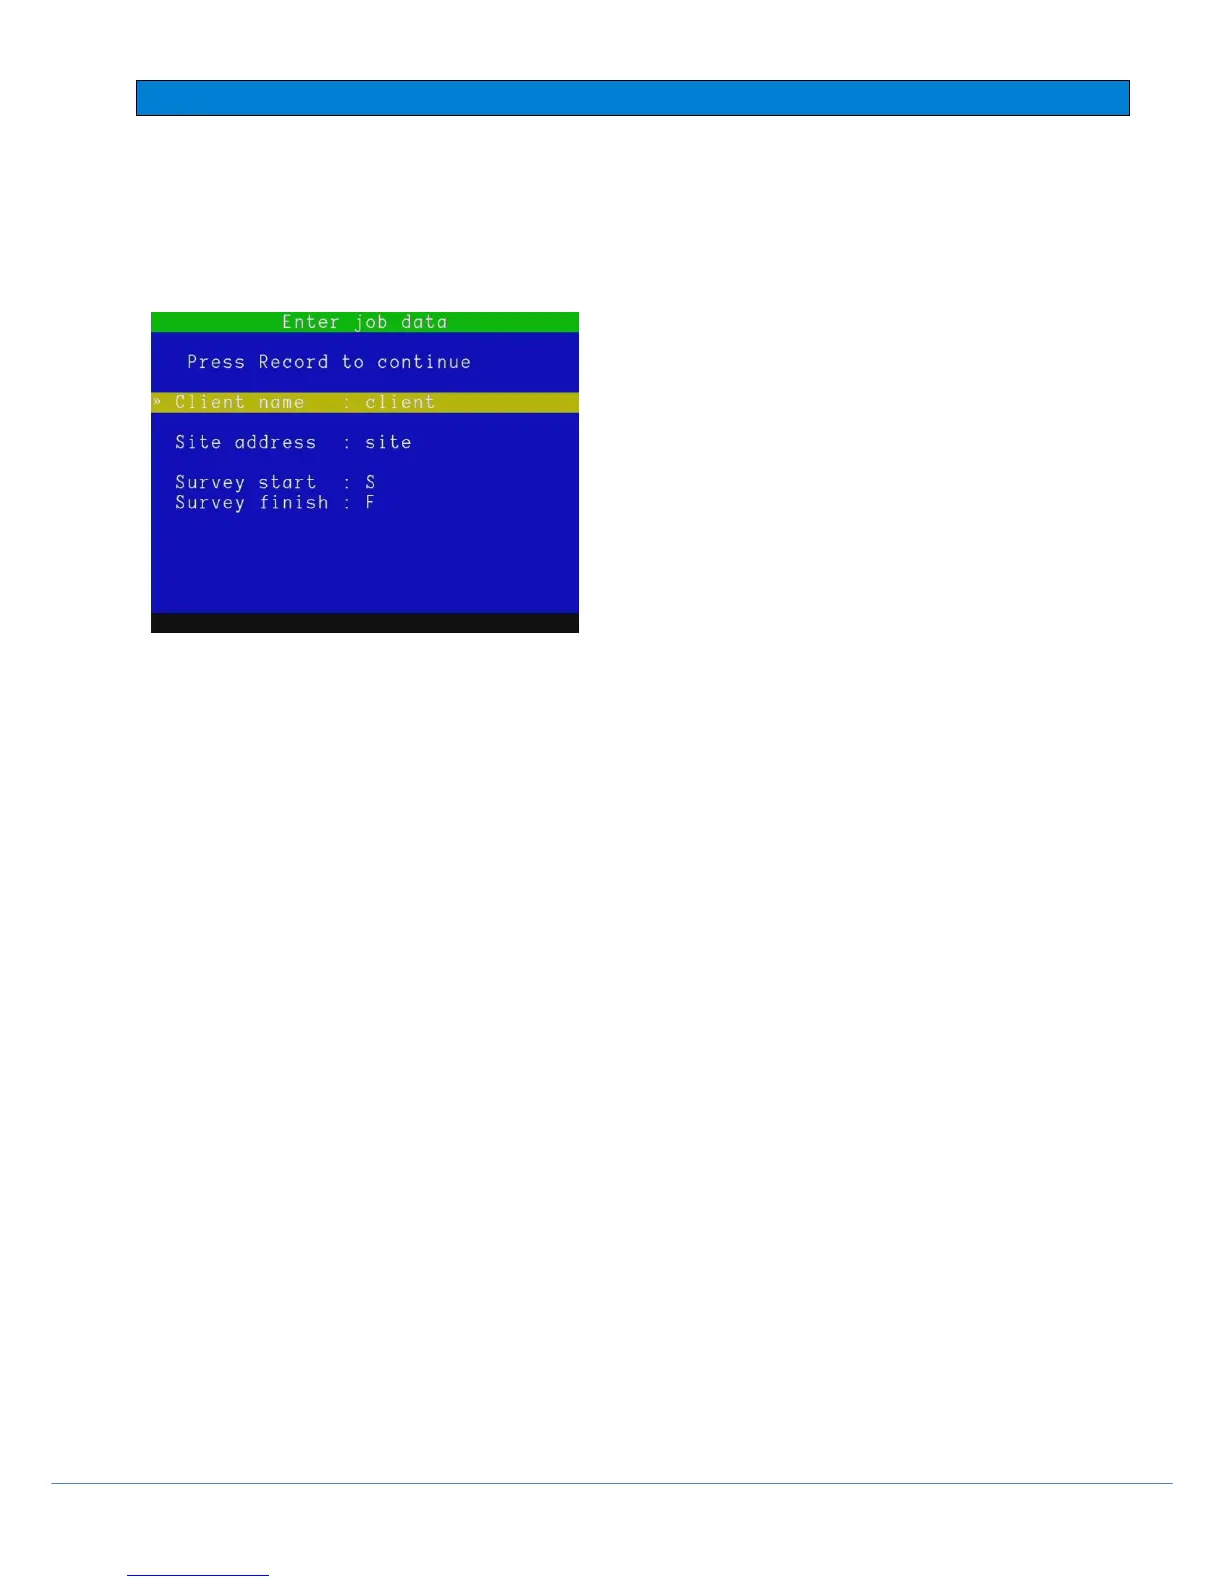
Pressing ● to record will show you the Enter job data window:
Figure 5.2 Enter job data window
Using the keyboard, ENTER and ▲and ▼ buttons, fill in your
Client name, Site address and Survey start / finish locations.
Once complete, press the record ● button to continue recording.
The files will now be saved in a Client folder (to avoid having
them all mixed together, as well as allowing the observations to
be added).
You may have activated some Text pages to be shown as the
introduction to your video. These will display and automatically
hide.
You may encounter interesting defects along the way and wish
to record a note of these. Pressing ENTER on the keyboard to
log an Observation to the survey.
Observation fields:
1. Video: File name. This is filled automatically.
2. Video Time: Video time reference. This is filled automatically.
3. Photo: Press OK to add a saved picture to your observation (browse files for pictures of the defect). See
next page.
4. Distance: Counter distance value This is filled automatically.
5. Cont. Defect: A defect which extends further than 1m from your current position.
6. Code: Defect Code. Select from the WRC defect codes, the PACP or create your own custom codes using
Flexisight Manager.
7. Joint: Note if the defect relates to a pipe joint.
8. Material: Pipe’s material; choose between WRCs MSSC 3 pipe materials ID (by default).
9. Band: Medium or large. This is associated to specific WRC codes.
10. Dimension 1: Pipe dimension 1 associated to the defect code entered (10 characters).
11. Dimension 2: Pipe dimension 2 associated to the defect code entered (10 characters).
12. %: Defect code Percentage value.
13. Clock at/from: Defect position.
14. Clock to: Defect position.
15. Remarks: General remarks (30 characters maximum).
16. Grade: Grade the severity of your defect from 1-5 as per industry standard definitions.
Adding a photo to an observation.
In the Photo field, press OK. Select the photo in the browser screen and select SHOW to view, select USE to
attach the photo, or BROWS to return to the browser. Press ◄ or ESC to exit.
NOTE: An error message will appear if the picture is not suitable. This may happen if you are trying to use an
incompatible photo.
 Loading...