19.2.6 URL Logging
Click enable, and the enter the ip address and port (if applicable) where your remote syslog
server is located.
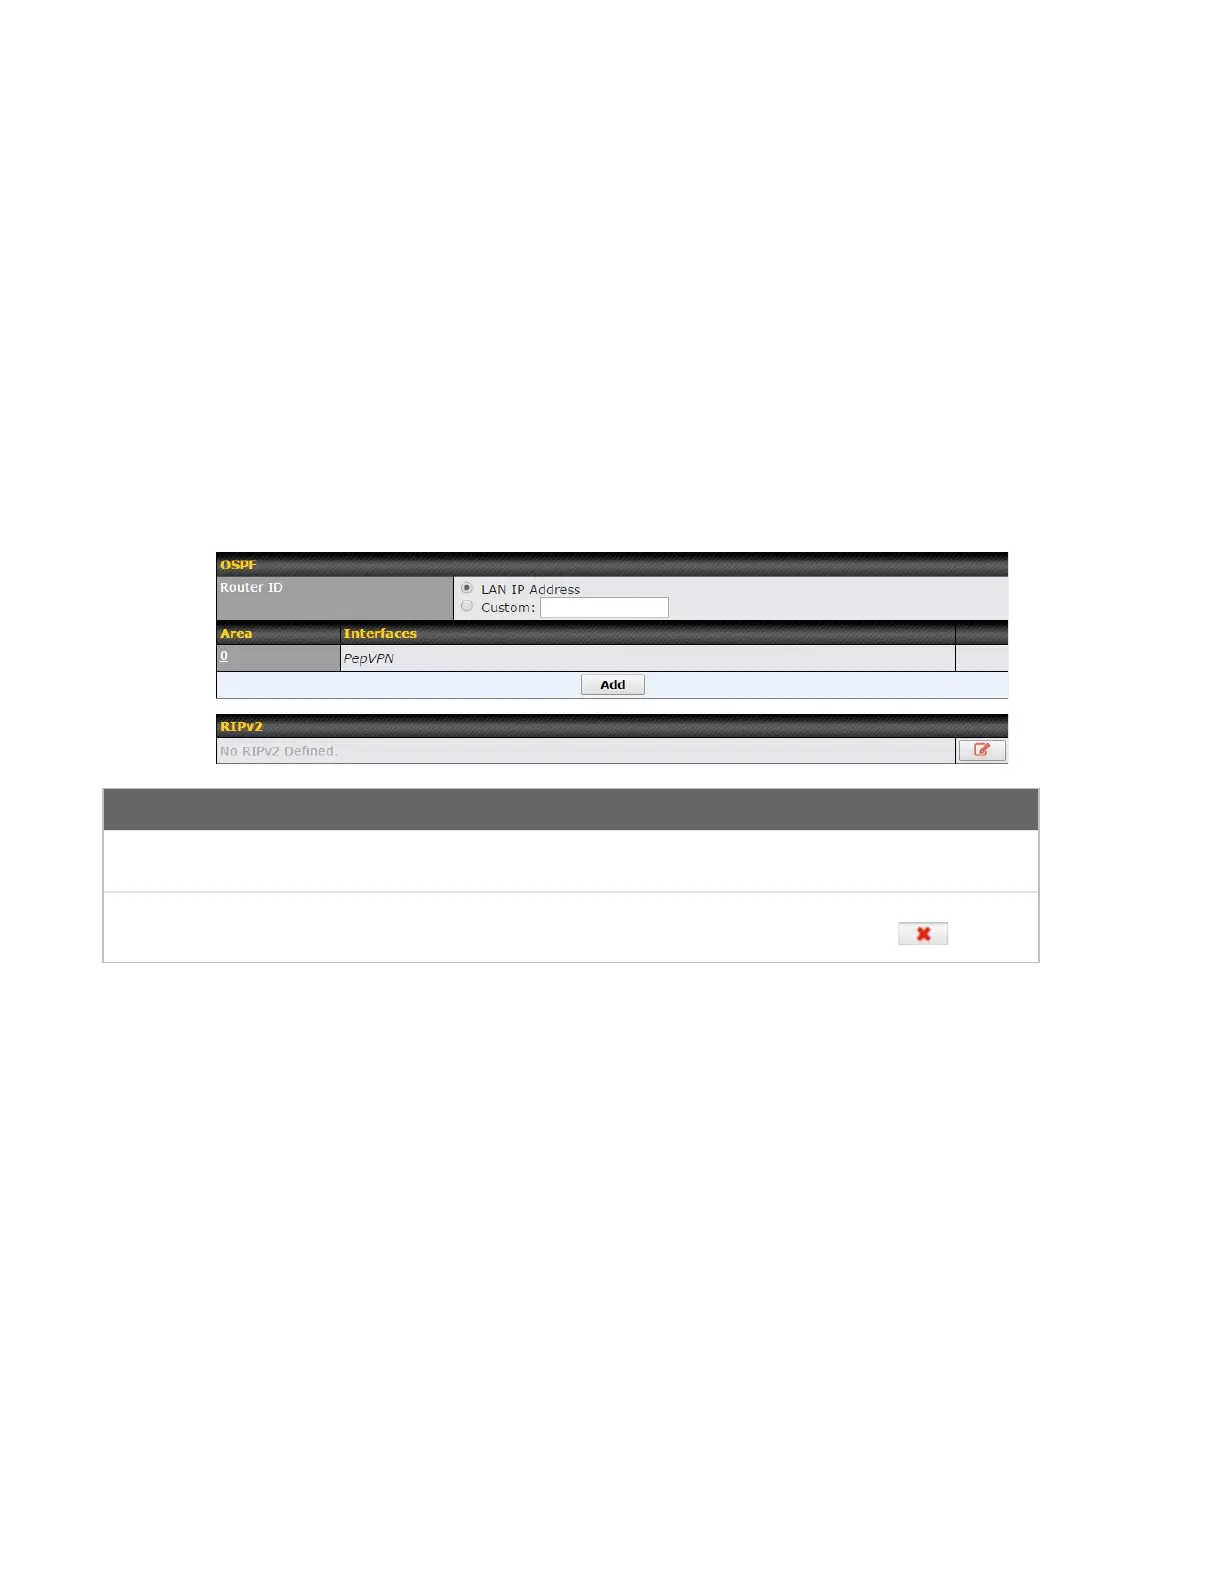
20 OSPF & RIPv2
The Peplink Balance supports OSPF and RIPv2 dynamic routing protocols. Click the Network
tab from the top bar, and then click the OSPF & RIPv2 item on the sidebar to reach the
following menu:
This field determines the ID of the router. By default, this is specified as the LAN IP
address. If you want to specify your own ID, enter it in the Custom field.
This is an overview of the OSPFv2 areas you have defined. Click on the area name to
configure it. To set a new area, click Add. To delete an existing area, click .