6.3 Configuring the Network Environment
To ensure that the Pepwave router works properly in the LAN environment and can access the
Internet via WAN connections, please refer to the following setup procedures:
● LAN configuration
For basic configuration, refer to Section 8, Connecting to the Web Admin Interface.
For advanced configuration, go to Section 9, Configuring the LAN Interface(s).
● WAN configuration
For basic configuration, refer to Section 8, Connecting to the Web Admin Interface.
For advanced configuration, go to Section 9.2, Captive Portal.
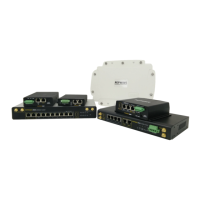
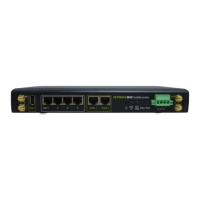
7 Mounting the Unit
7.1 Wall Mount
The Pepwave MAX 700/HD2/On-The-Go can be wall mounted using screws. After adding the
screw on the wall, slide the MAX in the screw hole socket as indicated below. Recommeneded
screw specification: M3.5 x 20mm, head diameter 6mm, head thickness 2.4mm.
The Pepwave MAX BR1 requires four screws for wall mounting.
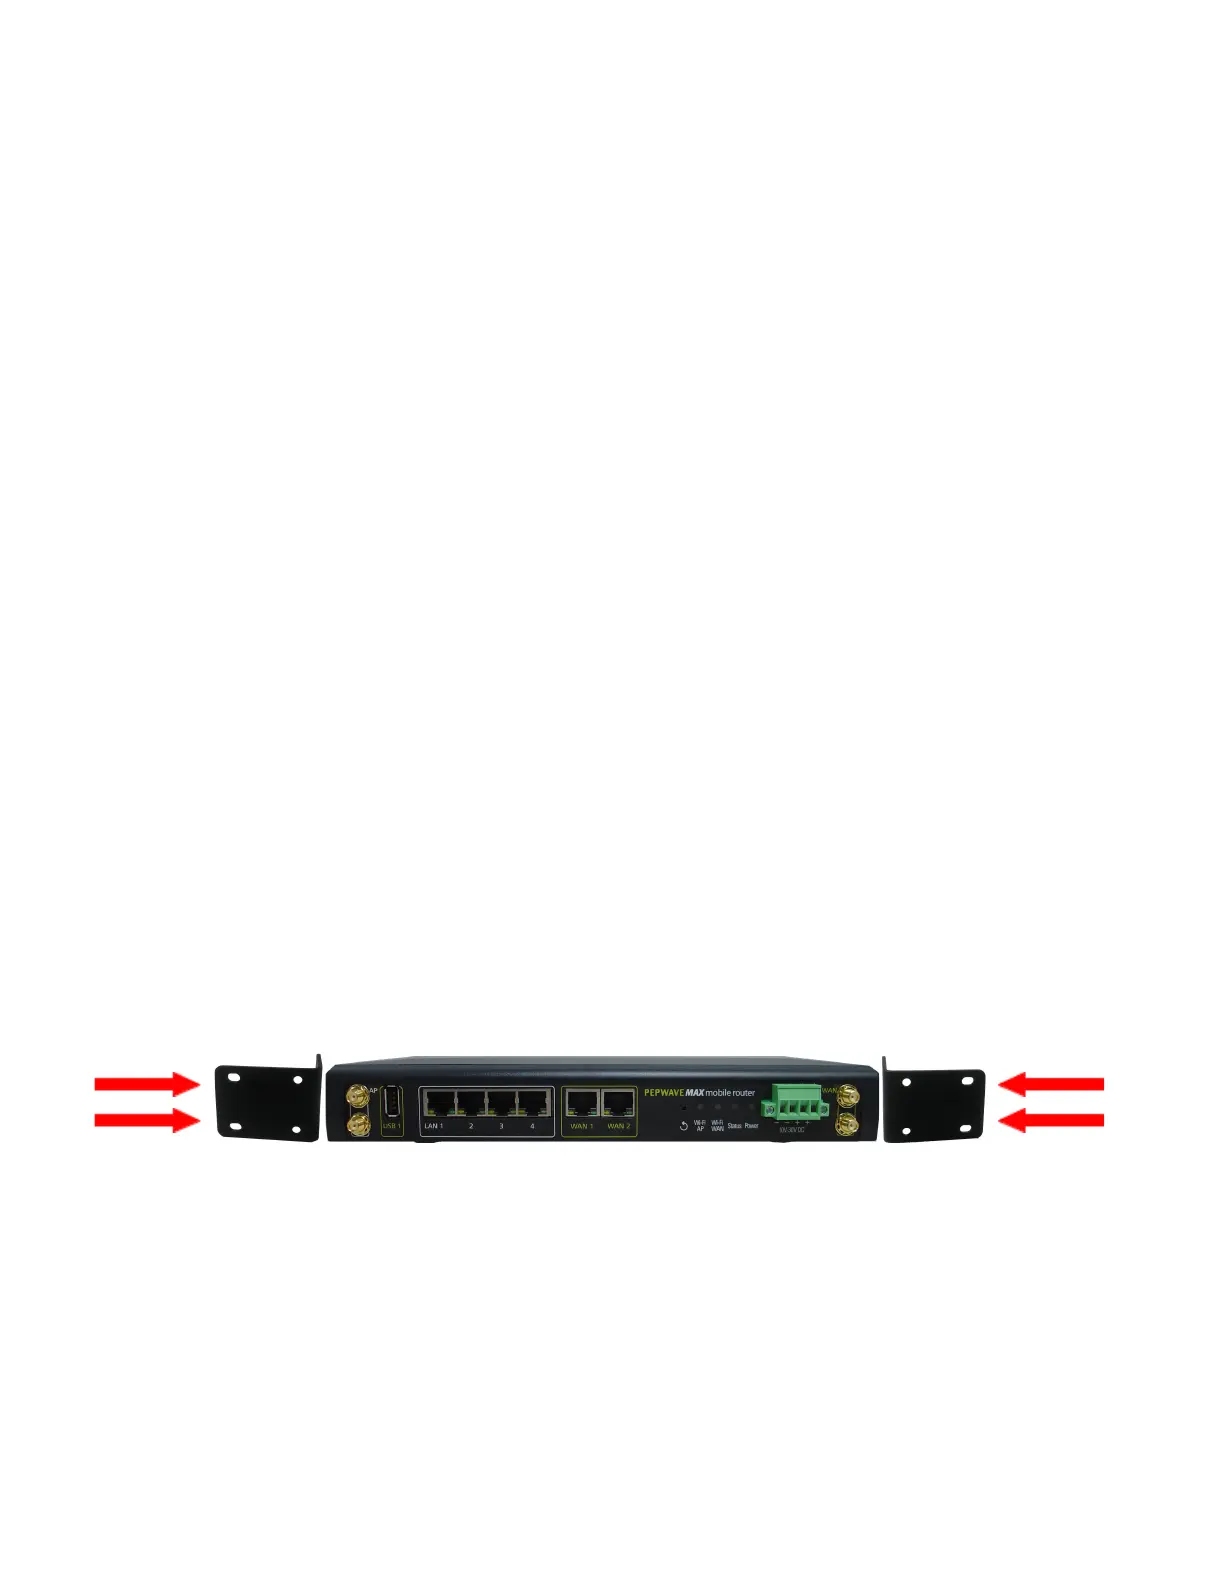
7.2 Car Mount
The Pepwave MAX700/HD2 can be mounted in a vehicle using the included mounting
brackets. Place the mounting brackets by the two sides and screw them onto the device.
7.3 IP67 Installation Guide
Installation instructions for IP67 devices can be found here: