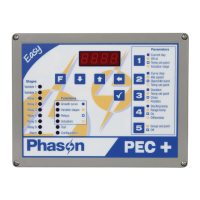
Chapter 2: Installing your PEC Plus Phason
14 2009-06-15
Mounting your PEC Plus
1. Select a location for your PEC Plus. Make sure you have enough cable and wire to reach all the
equipment (fans, heaters, misters, curtains, etc.) that you want to control.
2. Remove the screws from the front cover and then gently lift it off.
3. Mount the enclosure to a wall using the four screws provided with the control. Insert the screws
into the large holes in each corner of the box and tighten.
Connecting equipment to your PEC Plus
Follow these instructions when installing your PEC Plus and connecting equipment to it.
Use the electrical knockouts for bringing wires or cables into or out of your PEC
Plus enclosure. Do not make additional holes in the enclosure; this can damage
the watertight seal or control components and void the warranty.
Your PEC Plus’ test modes are useful for testing your equipment after installing and
configuring it. For more information, read
Testing settings and equipment on page
63.
Connecting actuators
You can connect up to two actuators to a PEC Plus. Actuators are used for control elements that
are not OFF or ON. Instead, they vary by a percentage. For example, inlets can be opened various
distances from 0 percent to 100 percent.
Typically, linear actuators are connected directly to
the inlets, or by cables and pulleys. Inlets are
generally located in the ceiling or walls. Inlet systems
are usually spring loaded to aid in closing the inlet,
or counter weighted to aid in opening the inlets.