Chapter 5: Monitoring and maintaining your PEC Plus Phason
70 2009-06-15
To save your settings
1. Loosen the four screws in the PEC Plus enclosure and then gently
remove the cover. Make sure not to disconnect the ribbon cable.
2. Insert the PEC+ Saver into the connector marked SAVER on the
inside top-left of the cover.
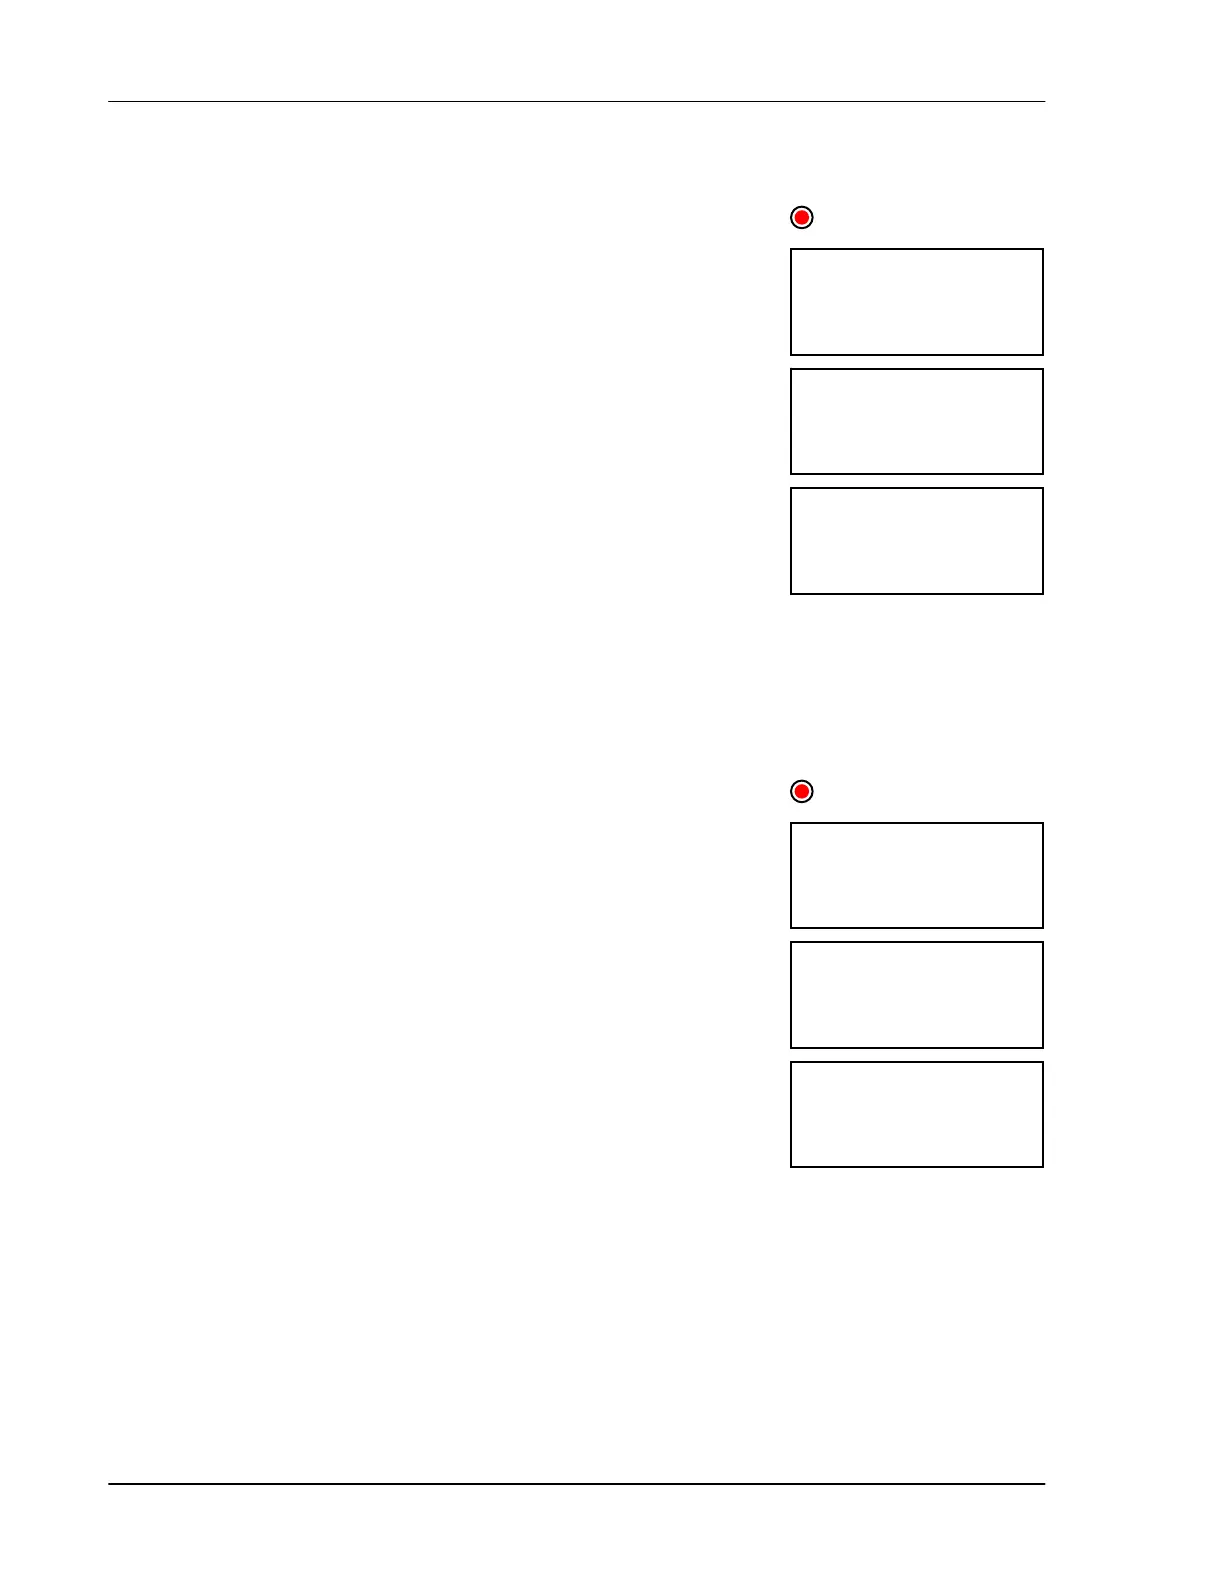
3. Press Function until the LED for CONFIGURATION is lit.
4. Press Up or Down until saue is displayed and then press Select.
The display shows no. If the PEC+ Saver is not in correctly, the
display shows err3.
5. Press Up or Down to change the no to yes and then press Select.
The control saves the settings to the PEC+ Saver. When complete,
the display shows d0ne.
6. Press Back twice to return to the main display.
7. Remove the PEC+ Saver.
8. Replace the cover and then tighten the four screws.
To restore your settings
1. Loosen the four screws in the PEC Plus enclosure and then gently
remove the cover. Make sure not to disconnect the ribbon cable.
2. Insert the PEC+ Saver into the connector marked SAVER on the
inside top-left of the cover.
3. Press Function until the LED for CONFIGURATION is lit.
4. Press Up or Down until rest is displayed and then press Select.
The display shows no. If the PEC+ Saver is not in correctly, the
display shows err3.
5. Press
Up or Down to change the no to yes and then press Select.
The control restores the settings from the PEC+ Saver. When
complete, the display shows d0ne.
6. Press Back twice to return to the main display.
7. Remove the PEC+ Saver.
8. Replace the cover and then tighten the four screws.
Saue
CONFIGURATION
No
d0ne
Rest
CONFIGURATION
No
d0ne