English
20
COAXIAL
DIGITAL OUT
CVBS OUT
S-VIDEO OUT
VIDEO OUT AUDIO OUT
AUDIO
ANTENNA-IN
TV-OUT
TO TV
EXT1
TO VCR/SAT
EXT2
COMPONENT
VIDEO OUT
P
B
P
R
Y
R
L
VHF/UHF
RF IN
VHF/UHF
RF OUT
SCART OUT
SCART IN
S-VIDEO IN
TV
SCART IN
A
B
C
D
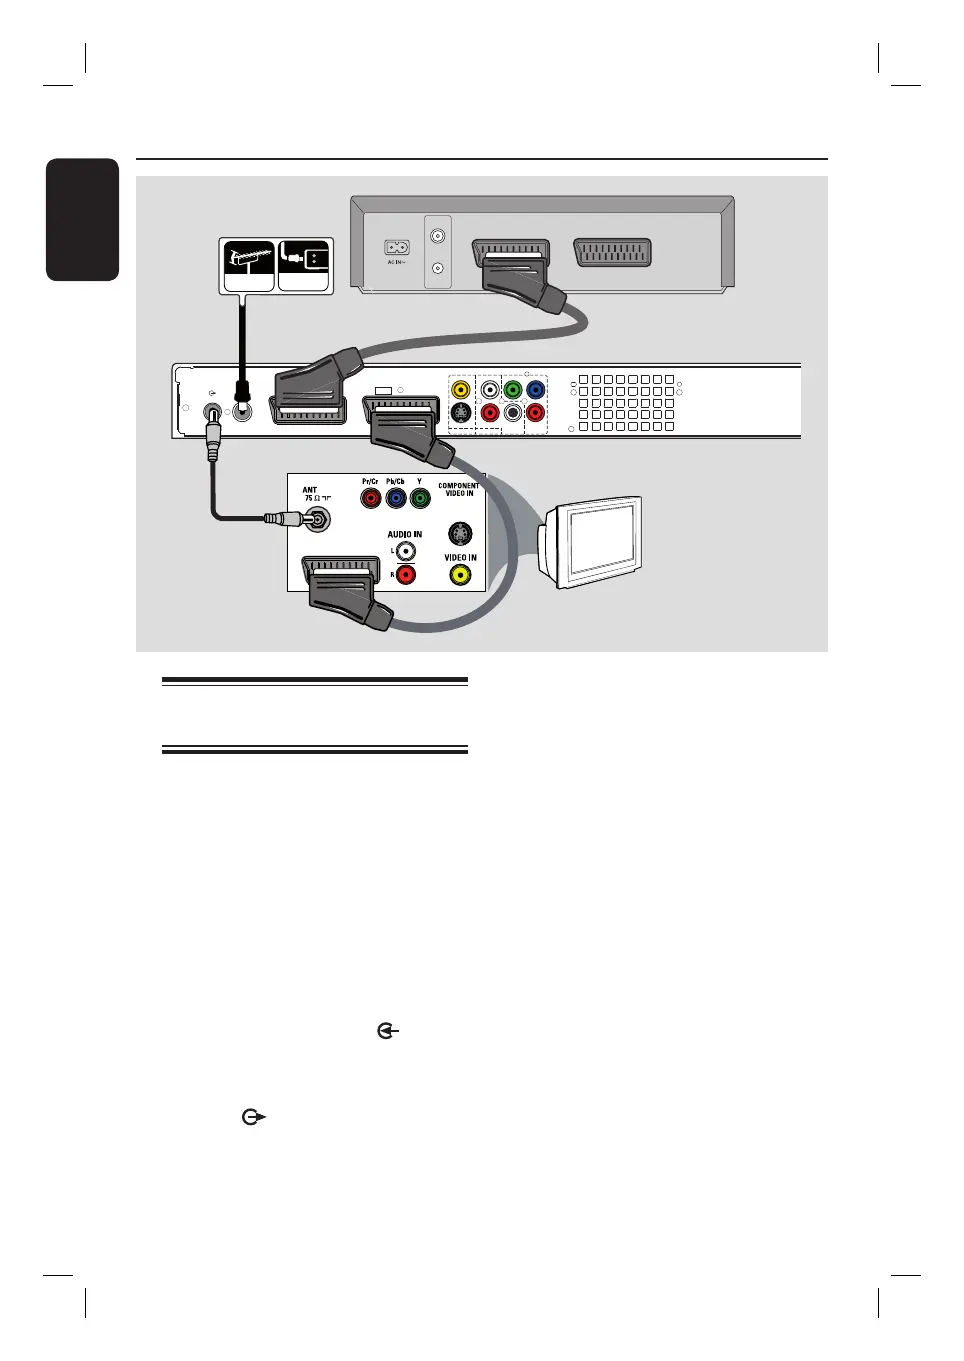
Step 2: Optional Connections (continued)
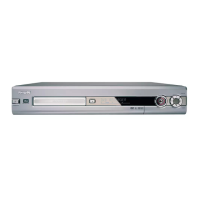
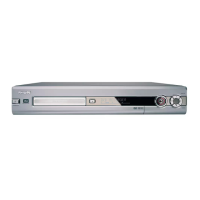
Back of a VCR
(Example only)
Connecting to a VCR or
other similar device
This connection enables you to record
from a video tape to the hard disk. The
connected VCR can be used for playback
even when the recorder is turned off.
Note:
Your new recorder can replace the VCR
for all your recording needs. Just unplug
all the connections to your VCR.
A
Connect the existing antenna cable (it can
be from the off-air wall socket or Cable
Box) to the ANTENNA-IN socket
on the recorder.
B
Connect an RF antenna cable from the
TV-OUT socket on the recorder to
the antenna input socket on your TV
(usually labelled as ANT, ANTENNA IN,
RF IN).
C
Connect a scart cable (not supplied) from
the EXT1 TO TV socket on the
recorder to the corresponding scart
input socket on the TV.
D
Connect another scart cable (not
supplied) from the EXT2 TO VCR/
SAT socket on the recorder to the scart
output socket on the VCR (usually
labelled as TV OUT or TO TV).
Helpful Hints:
– Most commercial video cassettes and
DVDs are copy-protected and therefore
cannot be recorded.
– Connect the recorder directly to the TV. If
there is a VCR or an additional device in
between, the picture quality may be poor
because of the copy protection system built
into this recorder.
CableAntenna
HDR3500_05_eng_30381.indd 20HDR3500_05_eng_30381.indd 20 2008-02-27 10:51:37 AM2008-02-27 10:51:37 AM