English
33
About timer recording
Use the timer recording to automatically
start and stop a recording at a scheduled
date/time. When a timer recording has
been scheduled, the recorder tunes to
the correct TV programme at the
speci ed time and begins recording.
This recorder can schedule up to 8
recordings at a time. During recording,
it is not possible to change the recorder’s
channel.
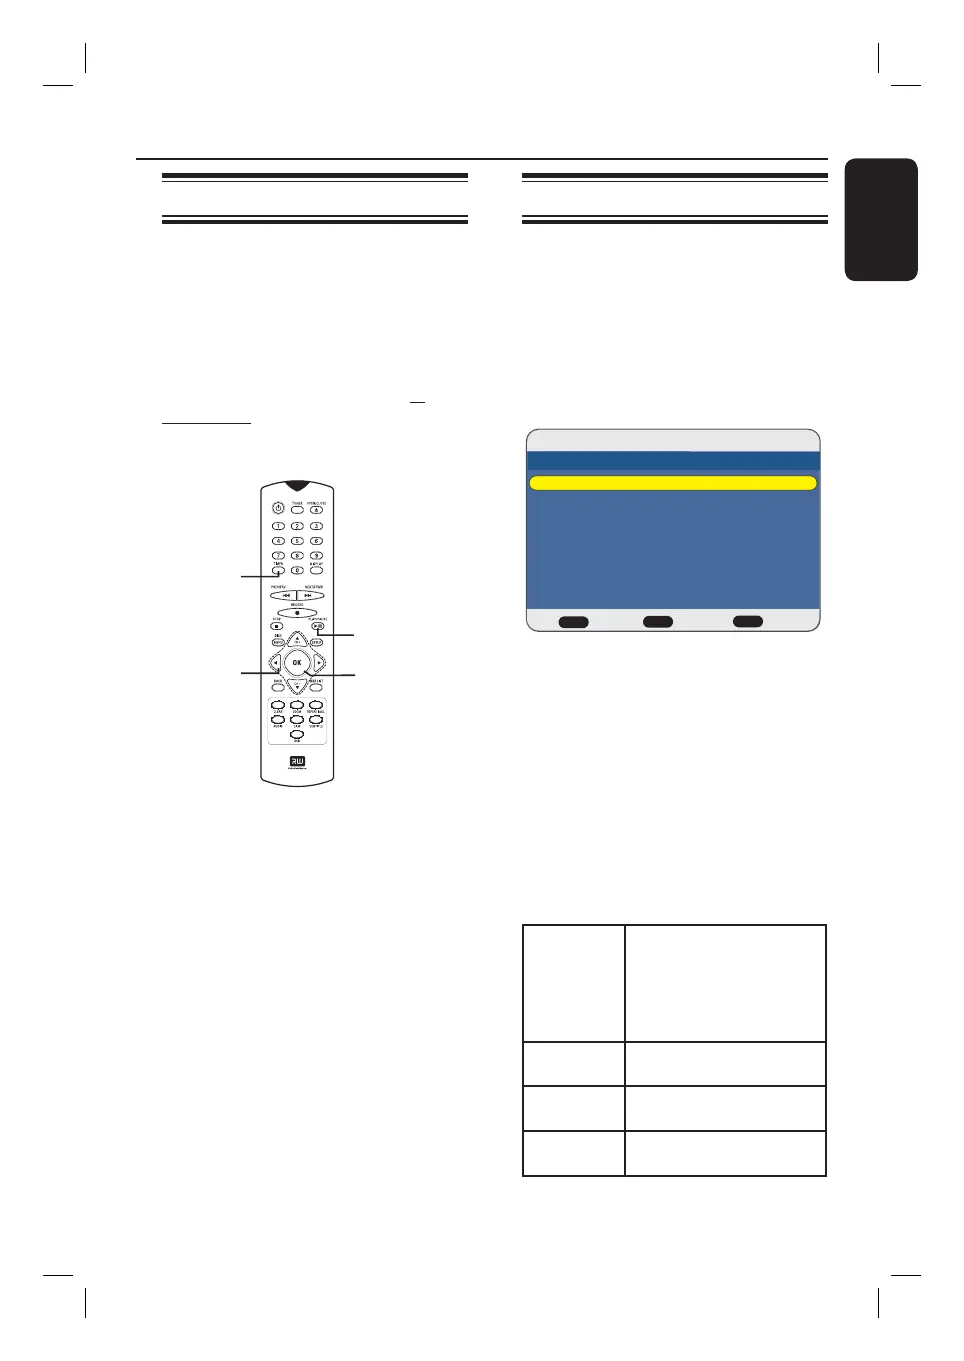
TIMER
PLAY/PAUSE
OK
About ‘VPS/PDC’
[VPS/PDC is not available in some countries.
‘PDC’ (Programme Delivery Control) is not
available to users in the UK].
‘VPS’ (Video Programming System) or
‘PDC’ (Programme Delivery Control) is
used to control the start and duration of
TV channel recordings. If a TV
programme starts earlier or ends later
than was scheduled, this recorder will
then turn on and off at the correct time.
VPS/PDC is intended to record the entire
programme. To set a timer that is longer/
shorter than the VPS/PDC broadcast
time, you must turn off the VPS/PDC.
Timer Recording
Schedule a timer recording
Before you start...
Ensure that the recorder system clock is
correct.
A
Turn on the TV to the correct viewing
channel for the recorder.
B
Press TIMER on the remote control.
The timer recording list appears.
Timer Recording List
BACK TIMER
Back ExitEdit
OK
- -/- - - -:- - - -:- - - - - - - - - - - -
Target Date Start End Source Quality VPS/PDC Repeat Status
16/07/2007 12:40:00
C
Select an empty list in the menu and
press OK to access timer entry eld.
Make sure that the yellow bar is
placed at an empty list.
D
Use ST keys to toggle between the
values of each eld. Use W X keys to
move to the previous/next the entry
eld.
You may also use the numeric keypad on
the remote control to key in the setting
value.
{ Target }
Select the recording
destination.
* If you have selected
{ DVD }, insert a
recordable DVD into the
recorder.
{ Date }
Enter the date for
recording (day/month).
{ Start }
Enter the start time of
recording (hours : minutes).
{
End }
Enter the end time of
recording (hours : minutes).
HDR3500_05_eng_30381.indd 33HDR3500_05_eng_30381.indd 33 2008-02-27 10:51:40 AM2008-02-27 10:51:40 AM