PianoDisc Installation Guide 13
. . . . .
Step 3: Measure the keyframe cut
A. Remove all keys from the keyframe, except end keys of each section.
• Be careful to keep them in the correct order, 1 through 88.
• If the numbers are not readily discernible on the key tops, re-number them with a
ballpoint pen.
• Keys are not interchangeable.
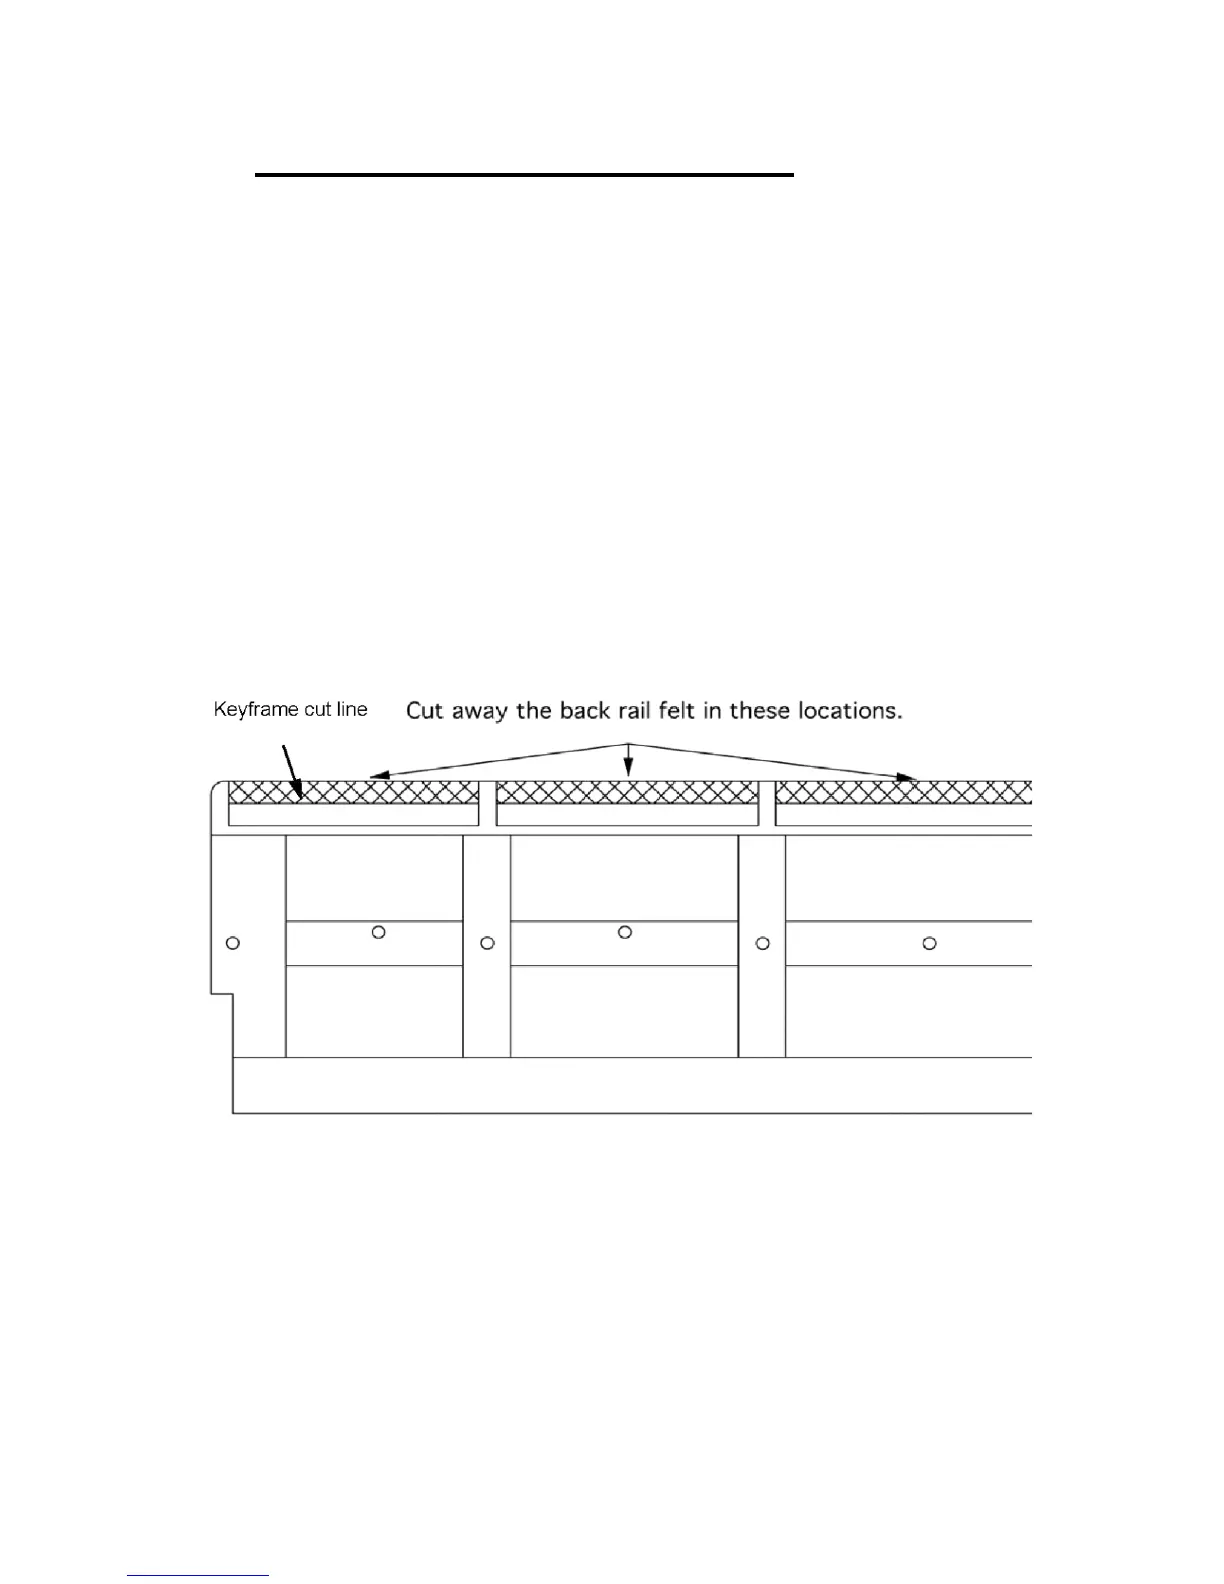
B. Measure from the back end of the first and last key in each section (i.e. 1
and 28). Measure 3/4” (19 mm) toward the front of the key and mark the
point on the keyframe felt.
• With a straight edge, draw a line in each section, connecting the points marked
on the key felt in the above paragraph.
• Cut away the back rail felt with a felt knife or razor blade, using pieces of wood to
hold the felt while cutting.
• If a straight edge of appropriate length is not available, span the marks with
masking tape, tacky side towards the felt. This will cause the tape to adhere to
the felt, thereby providing a straight edge for cutting.
Figure 3