PianoDisc Installation Guide 45
. . . . .
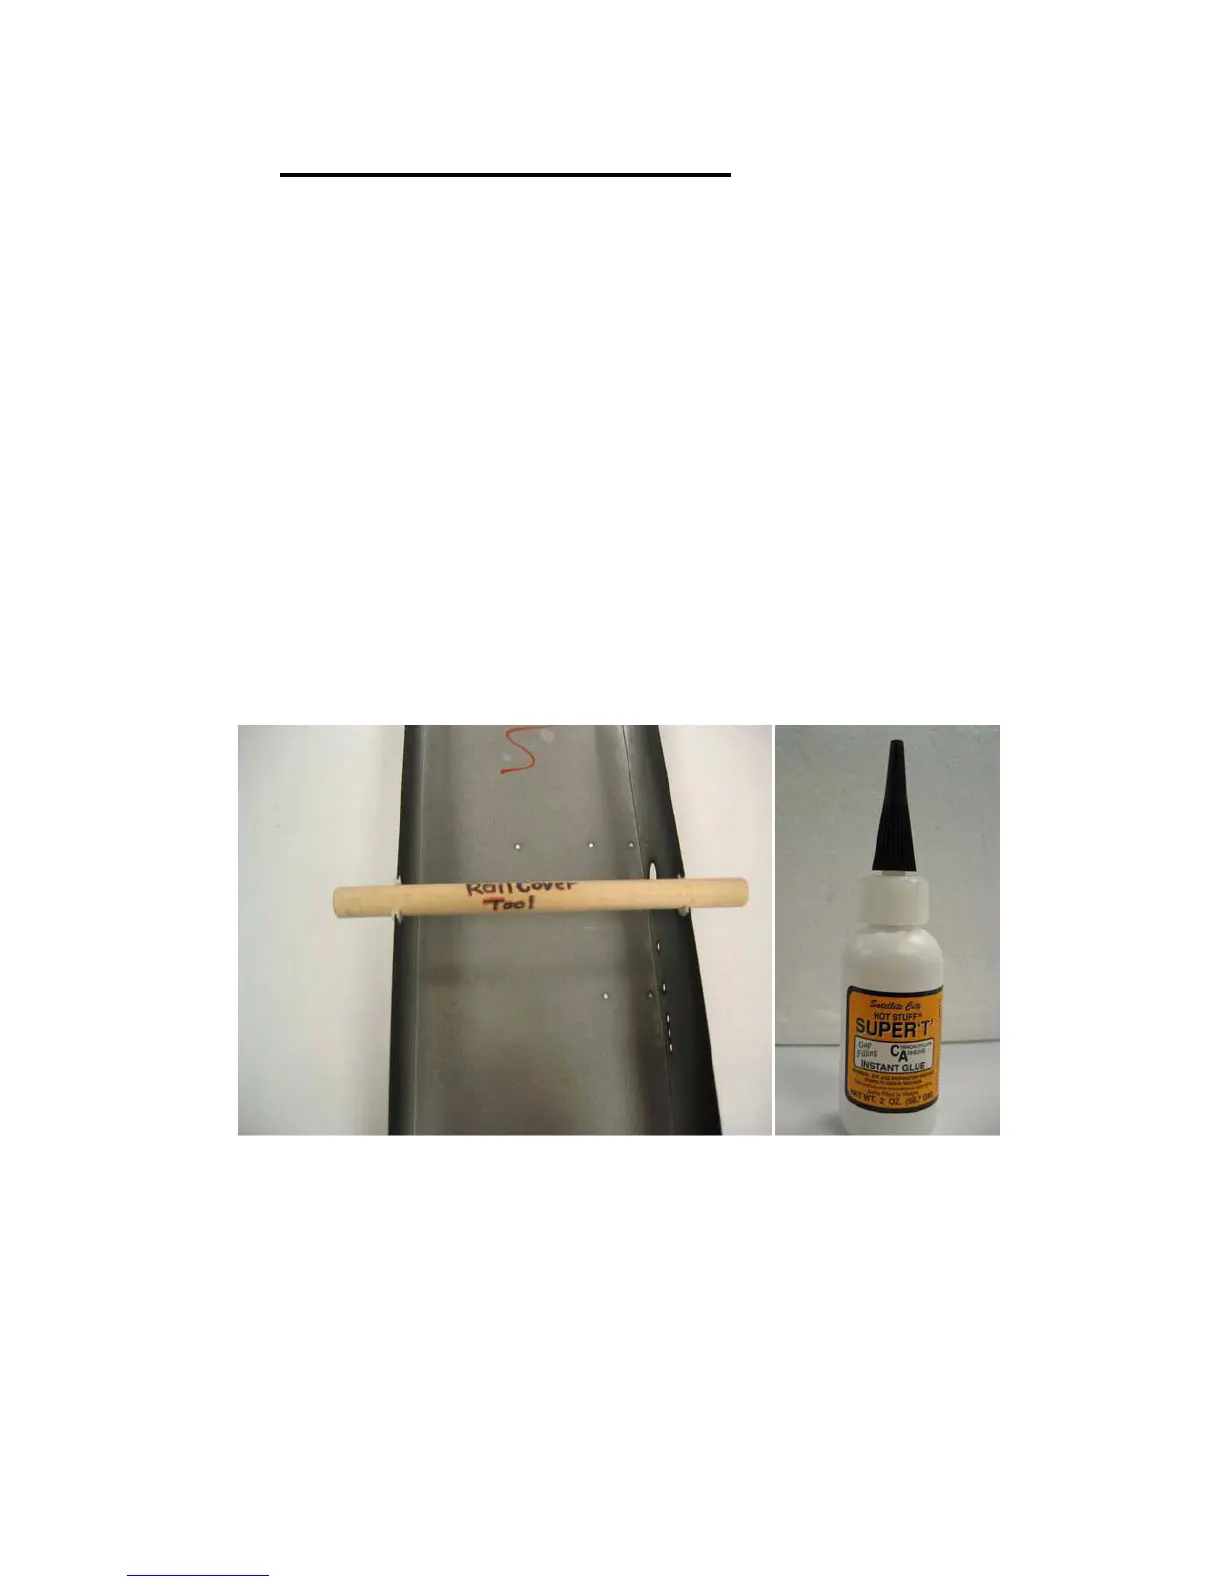
Step 23: Prepare the rail cover
A. Clip the nylon grommet into 2 pieces. Place each piece over the half
moon cutout of the rail cover, use a 5/8”x8” (16mm x 204 mm) dowel to
force the nylon grommet into the half moon cutouts. Place a couple of drops
of super glue or C & A glue on each nylon grommet to secure. Place the
glue on the inside of cover. Cut off the excess with a pair of side cutters and
use a die grinder with a barrel sander to remove the sharp edge. (See
Figure 28)
B. Install the two black rubber grommets into the 1” (25 mm) access holes.
C. Place the plastic plugs in the rail cover if record is not installed. The plastic
plugs are included in the kit.
D. If you are installing record on this piano, the record board can be installed at
this time. Locate the mounting screw baggie. Place the 4 screws into the
bottom of the rail cover. Place the spacers on the screws (do not tighten
yet), set the record board on the spacers, put on lock washers and nuts.
Now tighten the screws against the spacers first, then tighten the nut on the
inside.
Figure 28