PianoDisc Installation Guide 23
. . . . .
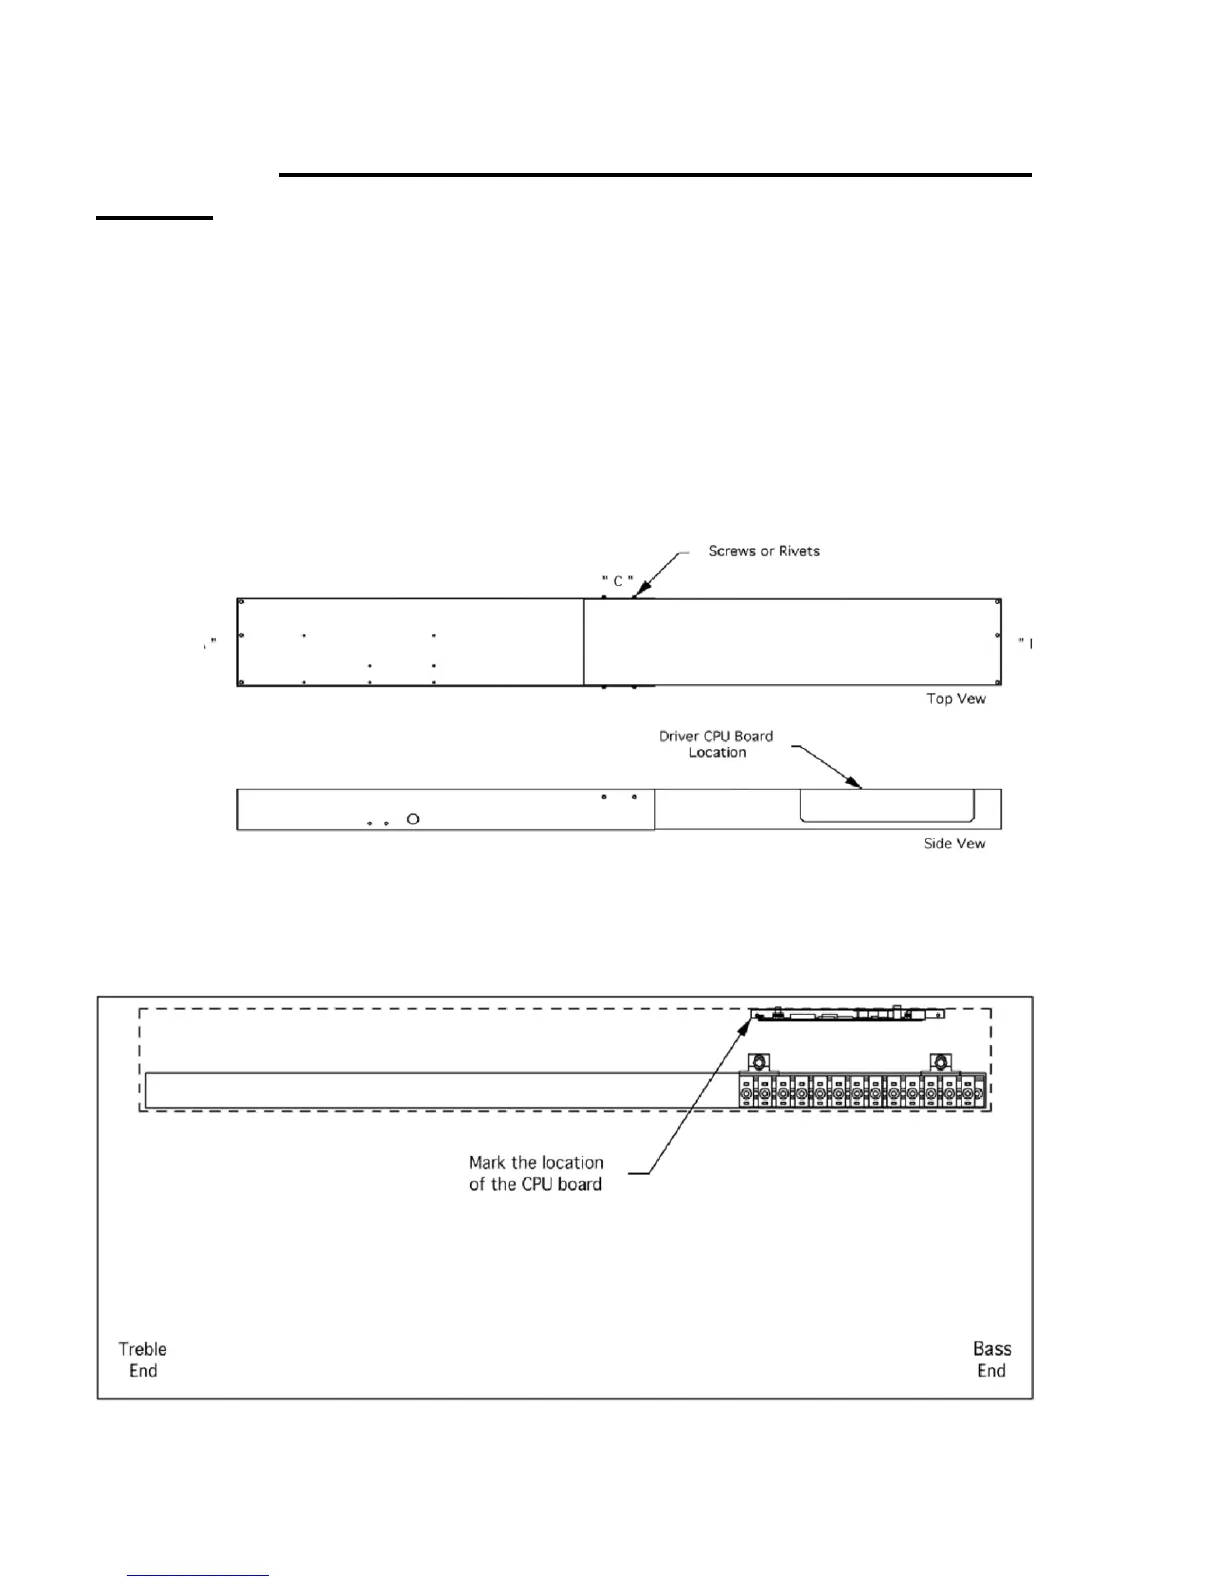
Step 13: Making, mounting, and marking rail
cover
A. Attach the solenoid rail cover halves with screws or rivets, so that the total
length is equal to the rail slot plus 1/4” (6 mm).
• The screws or rivets should be at the top edges of the rail cover, so interference
with the solenoids or wiring is minimal.
B. Position the rail cover onto the piano, leaving 1/8” (3 mm) spacing at each
end of slot, at “A” and “B” (see Fig. 10).
• Position side “C” of rail cover to barely cover the front edge of the slot; attach the
cover with the screws supplied.
Figure 10
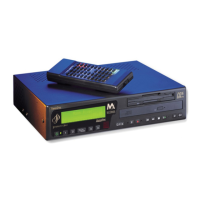
C. Using a pencil, out-line the complete perimeter of the rail cover. Also mark
the CPU board cover cutout and the cable cutouts. (See Fig. 11)
Figure 11