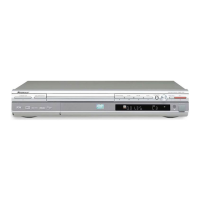
Recording
06
45
En
Basic recording from the TV
Follow the instructions below to record a TV program.
Recording starts immediately and continues until the
disc is full or you stop the recording.
1 Load a recordable disc.
• If you load a new blank DVD-RW disc, the recorder
takes a short while to initialize the disc.
2 Use the REC MODE button to set the picture
quality/recording time.
• See
Setting the picture quality/recording time
above
for detailed instructions.
3 Use the CHANNEL +/– buttons to select the TV
channel to record.
The front panel display shows the channel number:
• While the recorder is stopped, you can also use the
number buttons on the remote to select the channel.
(For channel 6, press
6
then
ENTER
; for channel 24,
press
2, 4
then
ENTER
)
• You can also use the front panel controls: Press
FUNCTION
repeatedly until the display shows
‘
CHANNEL
‘ then use the
SMART JOG
dial to select
the channel number.
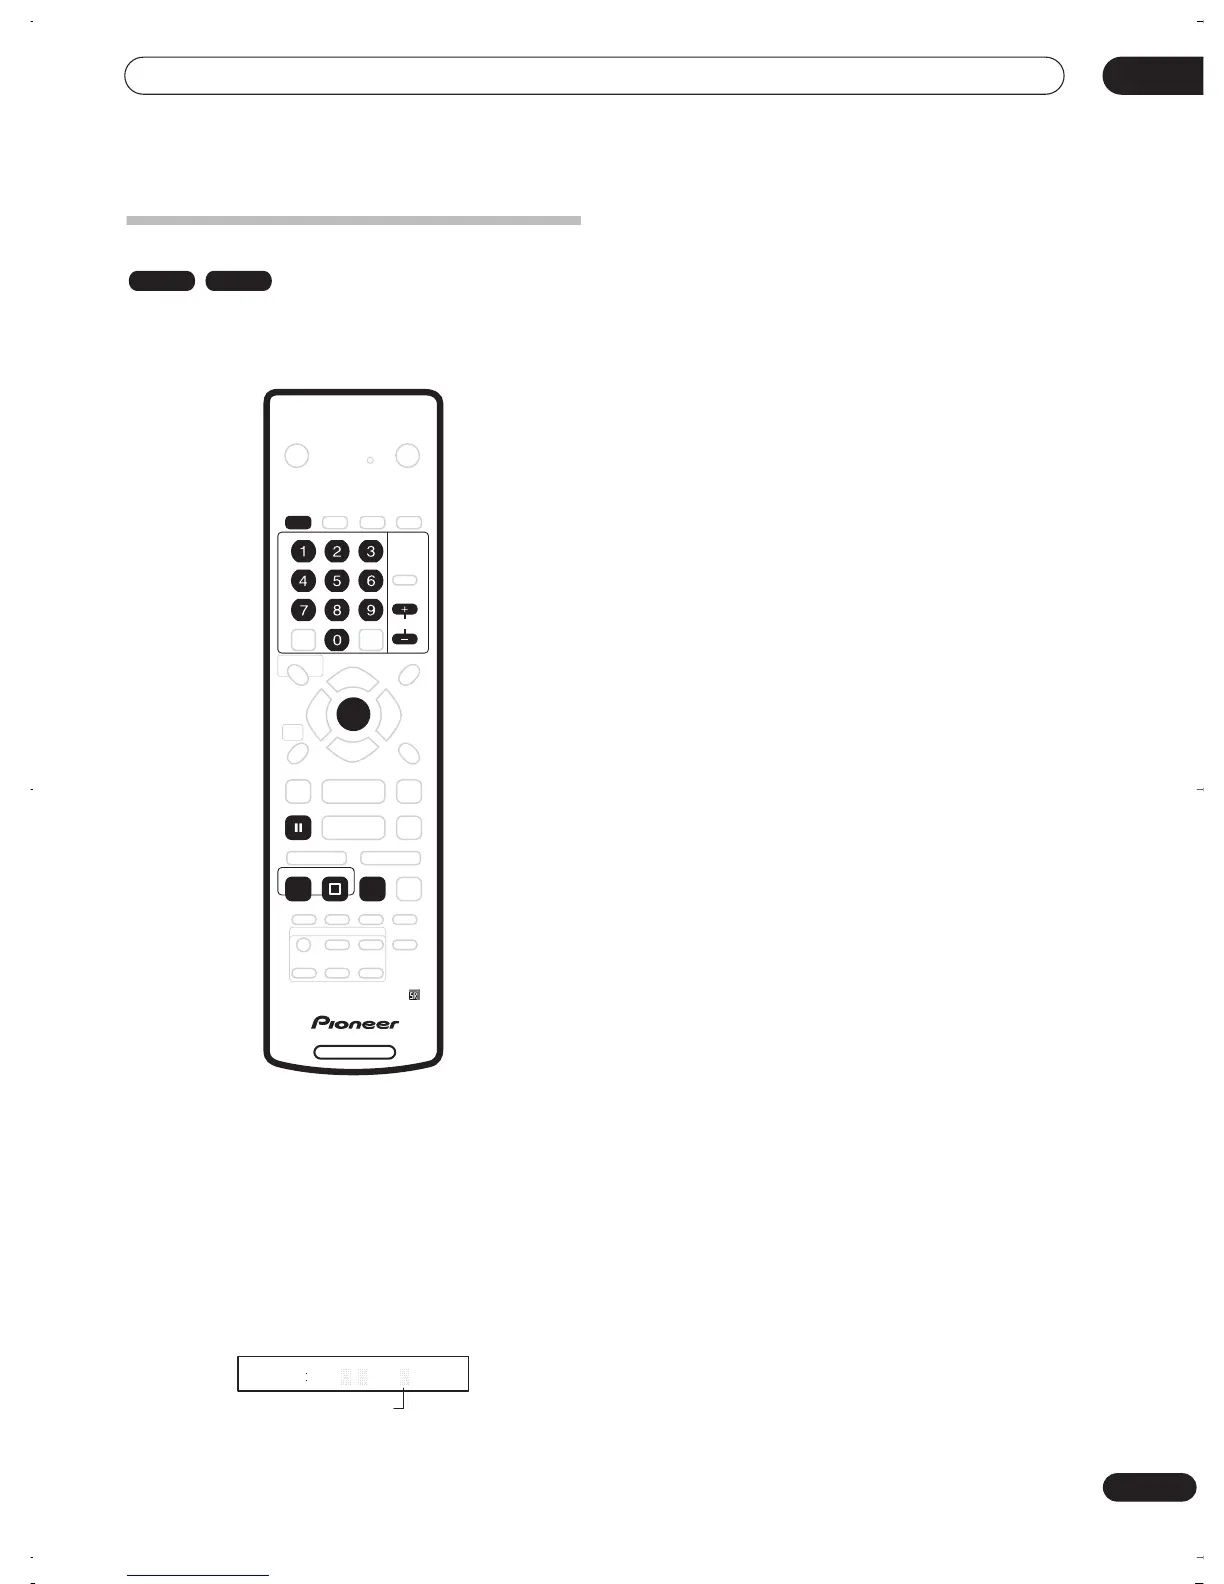
4 Use the AUDIO button to select the audio
channel to record.
See
Changing audio channels
on page 27 for more on
this.
5 Press
REC to start recording.
If you want to set a recording time, press the
REC
button repeatedly. The recording time increases in 30
minute increments, up to a maximum of 6 hours. You can
see the recording time on-screen and in the front panel
display. When the recording ends, the recorder
automatically switches into standby if no other operation
is being performed.
• To cancel the set recording time, press
REC
.
• If you want to pause recording at any time, press
PAUSE
. Press again to restart the recording. (If
recording in VR mode, a new chapter is started after
recording restarts)
6 To stop the recording, press
STOP REC.
• If you set the recording time in the previous step, you
can still stop the recording anytime by pressing
STOP REC
.
• Recording will stop automatically when there is no
more space on the DVD.
VR mode Video mode
DVD RECORDER
AUDIO
ENTER
CHANNEL
REC
PAUSE
STOP REC
REC MODE
23 30 7
Channel preset
PR
DVR-03_RD.book 45 ページ 2003年9月18日 木曜日 午後9時2分