Chapter D - ADJUSTMENT & CALIBRATION
D-36 Planmeca Proline XC X-ray unit
AUTOMATIC EXPOSURE CONTROL (AEC) CALIBRATION
Technical Manual
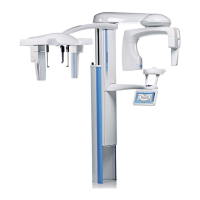
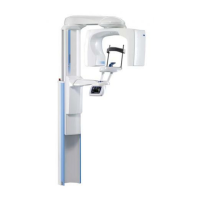
Planmeca Proline XC panoramic unit:
Adjust the primary collimator position: loosen the two screws that hold the primary collimator
plate in position and move the plate until the beam is correctly positioned. The primary colli-
mator adjustment in horizontal direction is described in section “Radiation beam too far to the
right or left” on page D-10.
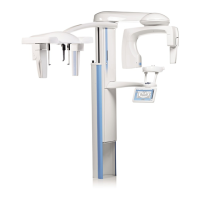
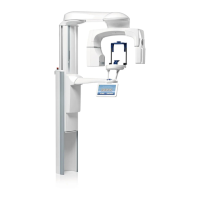
Planmeca Proline XC pan/ceph unit:
Adjust the position of the beam in the Primary collimator mode as described in section “Radi-
ation beam too far to the right or left” on page D-13.
Check the X-ray beam position with the beam alignment tool after the adjustment. If the beam
image is not within the borders of the rectangle marked on the alignment tool, adjust the
beam position slightly.
6.2 Base value adjustment
The default kilovolt value, i.e. the value that is used when the AEC exposure starts, is 68 kV.
The film density is adjusted by changing the default milliampere value. The adjustment range
is from -3 to +3. The density value 0 corresponds the mA value 8. Changing the density value
will change the mA value as follows: one density step equals to one mA step. The negative
value decreases the mA value from the value 8mA, whereas the positive value increases it.
To find the exposure values that give the film density closest to value 1.0 ±0.1 OD the test
exposures are taken. The films are either compared to the reference film which density is
approx. 1.0 OD (supplied with the system), or the film density is measured using a film densi-
tometer.
It is recommended to start with exposure values 68kV and 7mA and check the film density. In
case other exposures are needed, decrease/increase the mA value until the correct film den-
sity is achieved.
Place the AEC calibration filter to the front of the primary collimator.
kV mA
Density
value
68 5 -3
68 6 -2
68 7 -1
68 8 0
68 9 1
68 10 2
68 11 3

 Loading...

