ELECTRICAL
10.30
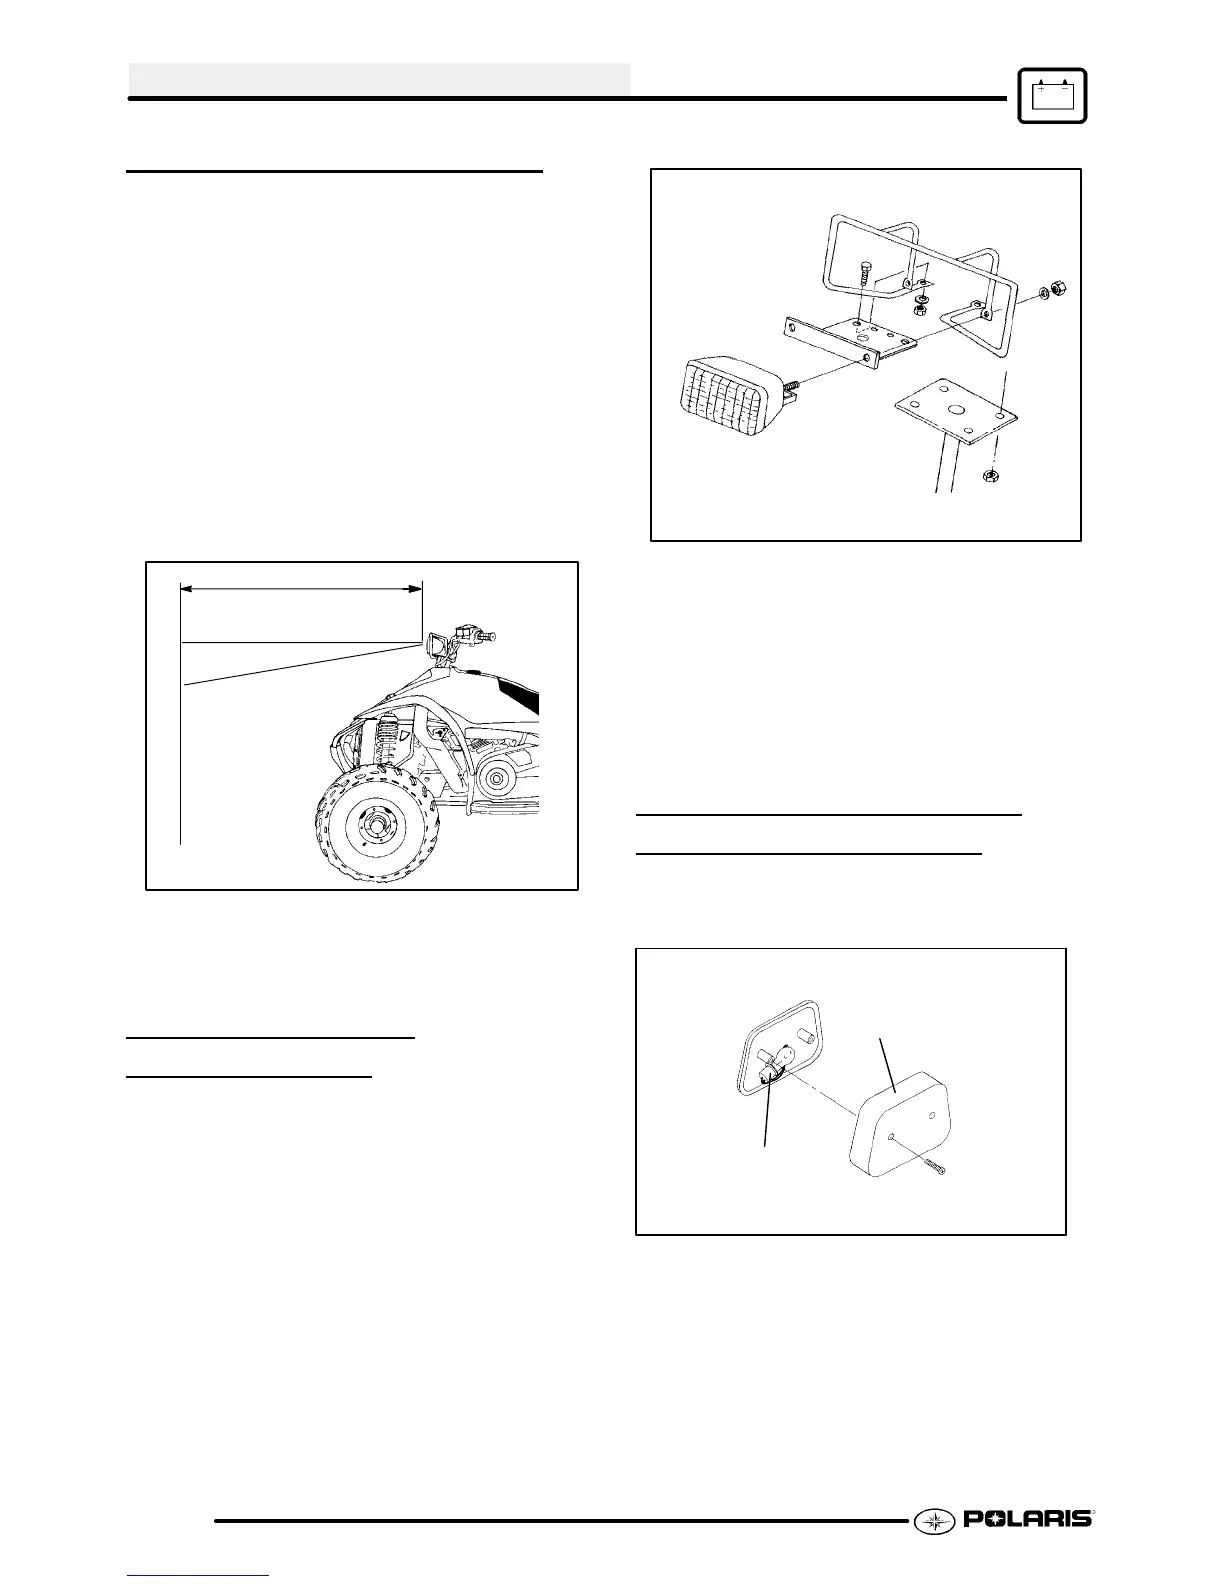
HEADLIGHT ADJUSTMENT
The headlight beam can be adjusted up and down.
1. Place the vehicle on a level surface with the
headlight approximately 25’ (7.6 m) from a wall.
2. Measure the distance from the floor to the center
of the headlight and make a mark on the wall at
the same height.
3. Start the engine and turn the headlight switch on
the High Beam setting.
4. Observeheadlight aim. Themostintensepartof
the headlight beam should be aimed 2″ (5.1 cm)
below the mark placed on the wall in step 2.
NOTE: Rider weight must be included on the
seat.
25’ (7.6 m)
Lamp Center Height
2″ (5.1 cm)
Below lamp
center height
5. Loosennut and bolt securinglamp tohandlebars.
6. Adjust beam to desired position.
7. Tighten nut and bolt.
HEADLIGHT LAMP
REPLACEMENT
NOTE:Donot touch a halogen lampwith barefingers.
Oilfromyourskinleaves aresidue, causingahotspot
which will shorten the life of the lamp. Hold the bulb
by the base only.
1. Grasp base of bulb at back of housing and turn.
Carefully remove bulb from housing.
2. Gently pull back locking tabs on wire harness
terminal until base of bulb is released. Unplug
bulb from harness.
3. Plug new bulb into wire harness, making sure it
snaps into place.
4. Carefully insert bulb into back of housing. Turn
90° to lock into place. The harness connector
should be pointing down.
TAILLIGHT/BRAKELIGHT
LAMP
REPLACEMENT
If the taillight/brakelight does not work, the lamp may
need to be replaced.
Lens Cover
Bulb
1. From the rear of the taillight remove two screws
holding lens cover in place and remove lens
cover.
2. Test thetaillight/brakelight toseethatit’ sworking.
3. Remove lamp and replace it with recommended
lamp. Apply Dielectric Grease PN 2871329.
4. Reinstall the lens cover removed in Step 1.

 Loading...