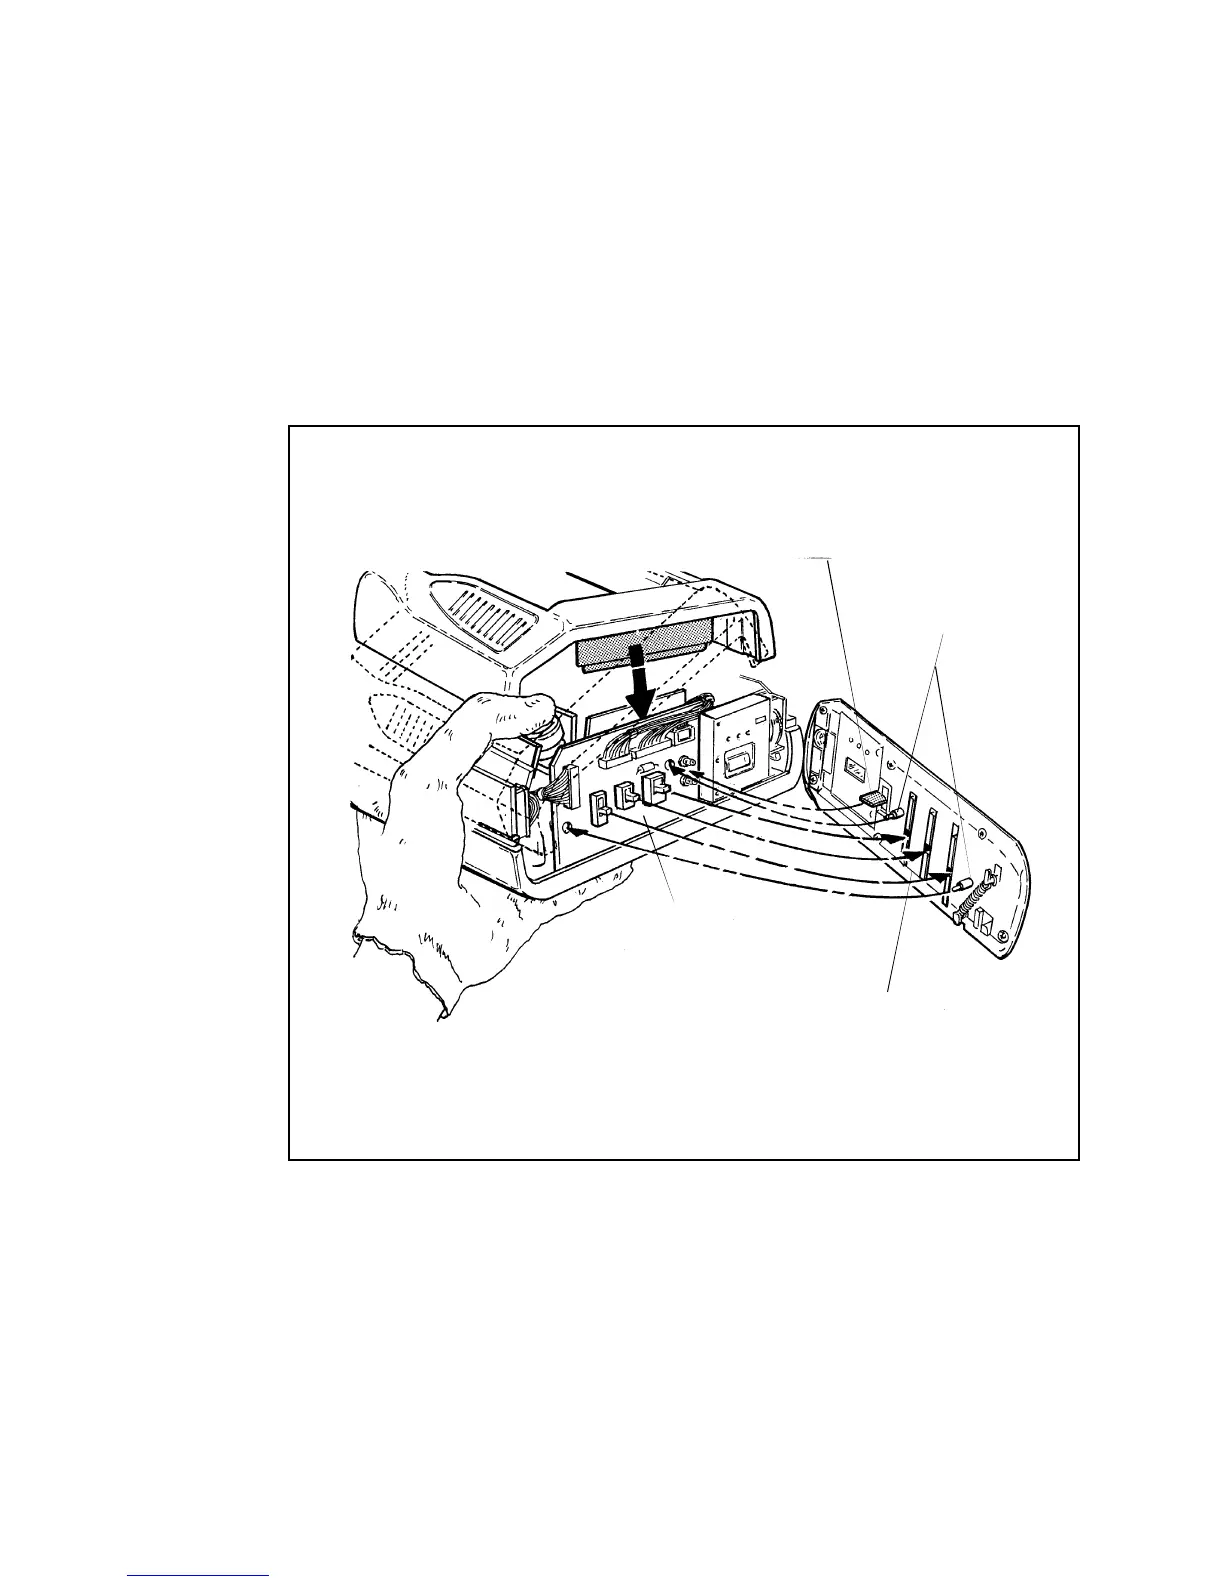
3 - 23
c. Note the molded projecting fin on the inside of the Rear Panel, which
shields CHARGE LED-1 from READY LED-2 on the Interface PC
Board.
d. Slide the Rear Panel down into position, positioning the lip along its
bottom edge on the inside of the Bottom Cover.
e. Check that the OPEN latch button and the three switch buttons operate
properly.
Figure 3-20. Replacing Rear Panel Assembly
SWITCHES
INTERFACE BOARD
FIN
PINS
SWITCH
SLIDES

 Loading...