3 - 22
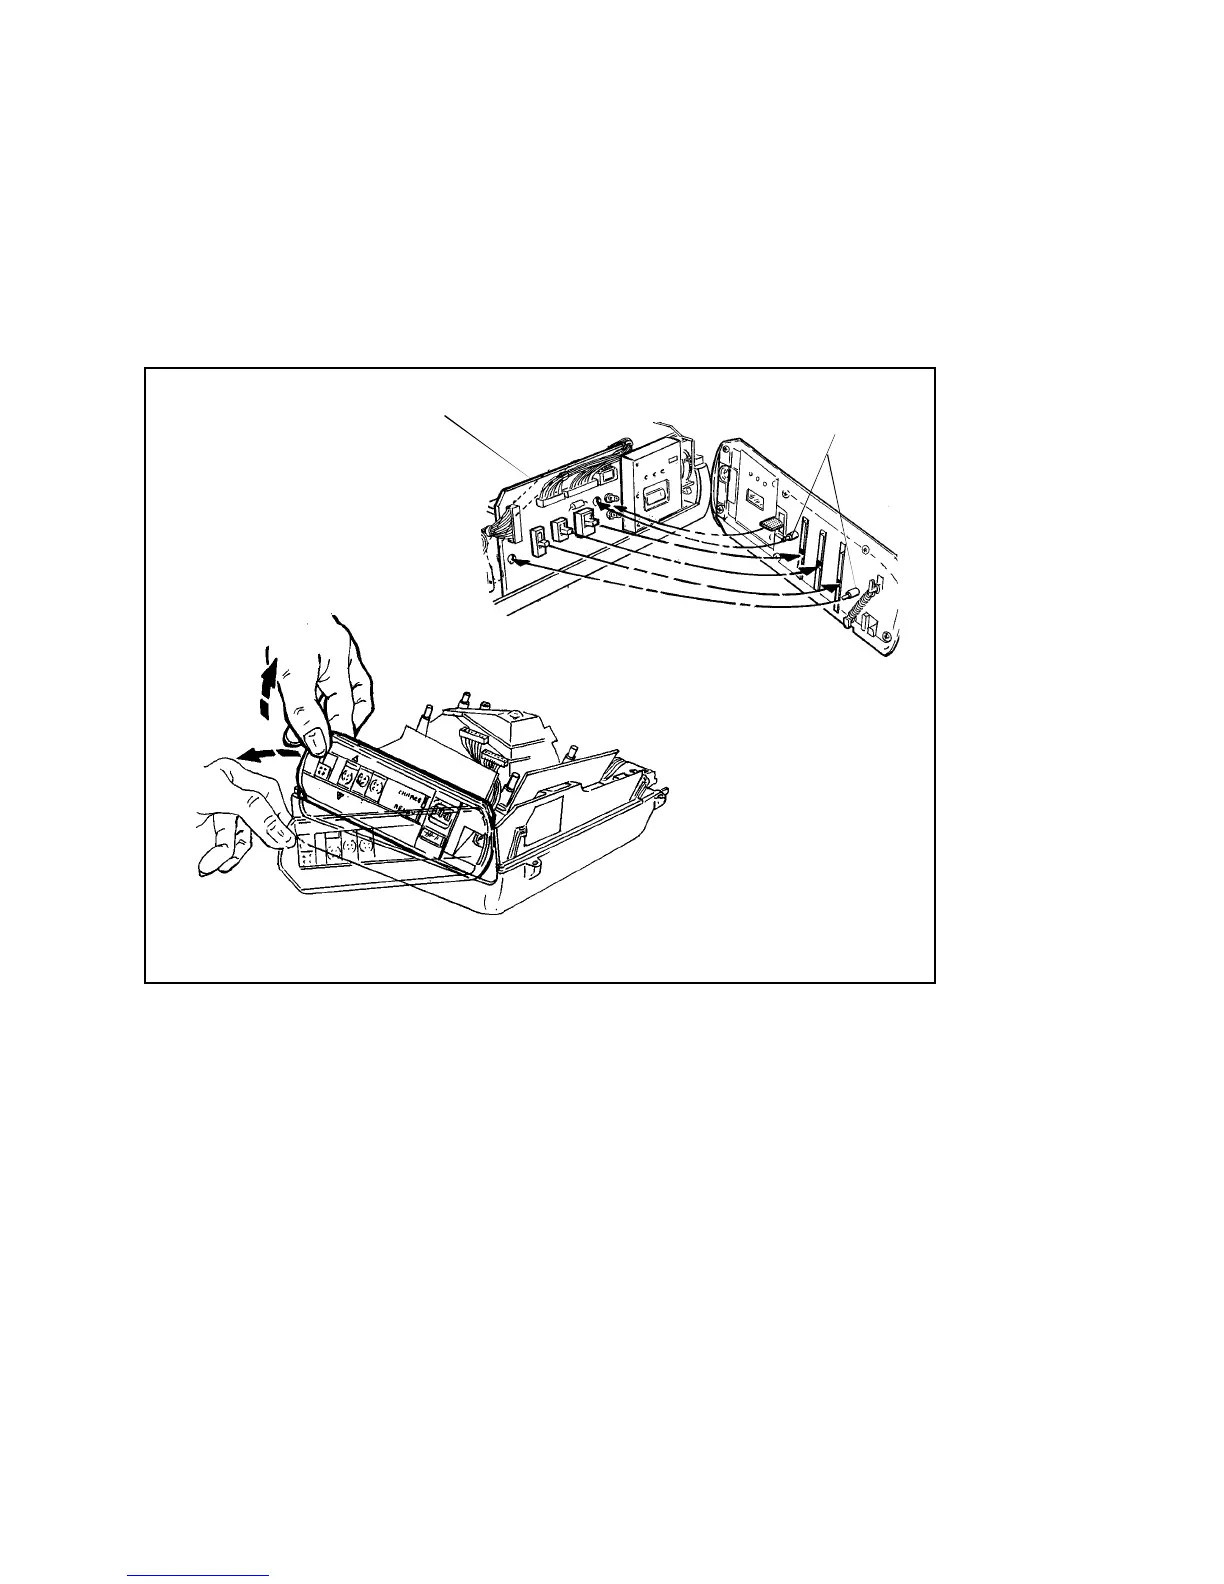
Rear Panel
1. Removal
Using a greenstick, pry the Rear Panel upward, then tilt it backward to
disengage the two locating pins on its inside surface from their holes in the
Interface PC Board (Figure 3-19).
Figure 3-19. Removing Rear Panel Assembly
2. Replacement (Figure 3-20)
Note: Use care and do not force the Rear Panel into position: several
components must be properly aligned before the Rear Panel can be
correctly re-installed.
a. Set all three slide switches on the Interface PC Board in the DOWN
position.
b. Align the two molded pins on the inside of the Rear Panel with their
corresponding holes in the Interface PC Board.
INTERFACE BOARD
LIFT AND TIP
REAR PANEL
BACKWARD
PINS
 Loading...