2 - 14
— (Optional.) Enter a Label for the contact. You can enter a maximum of
32 symbols, letters, or numbers.
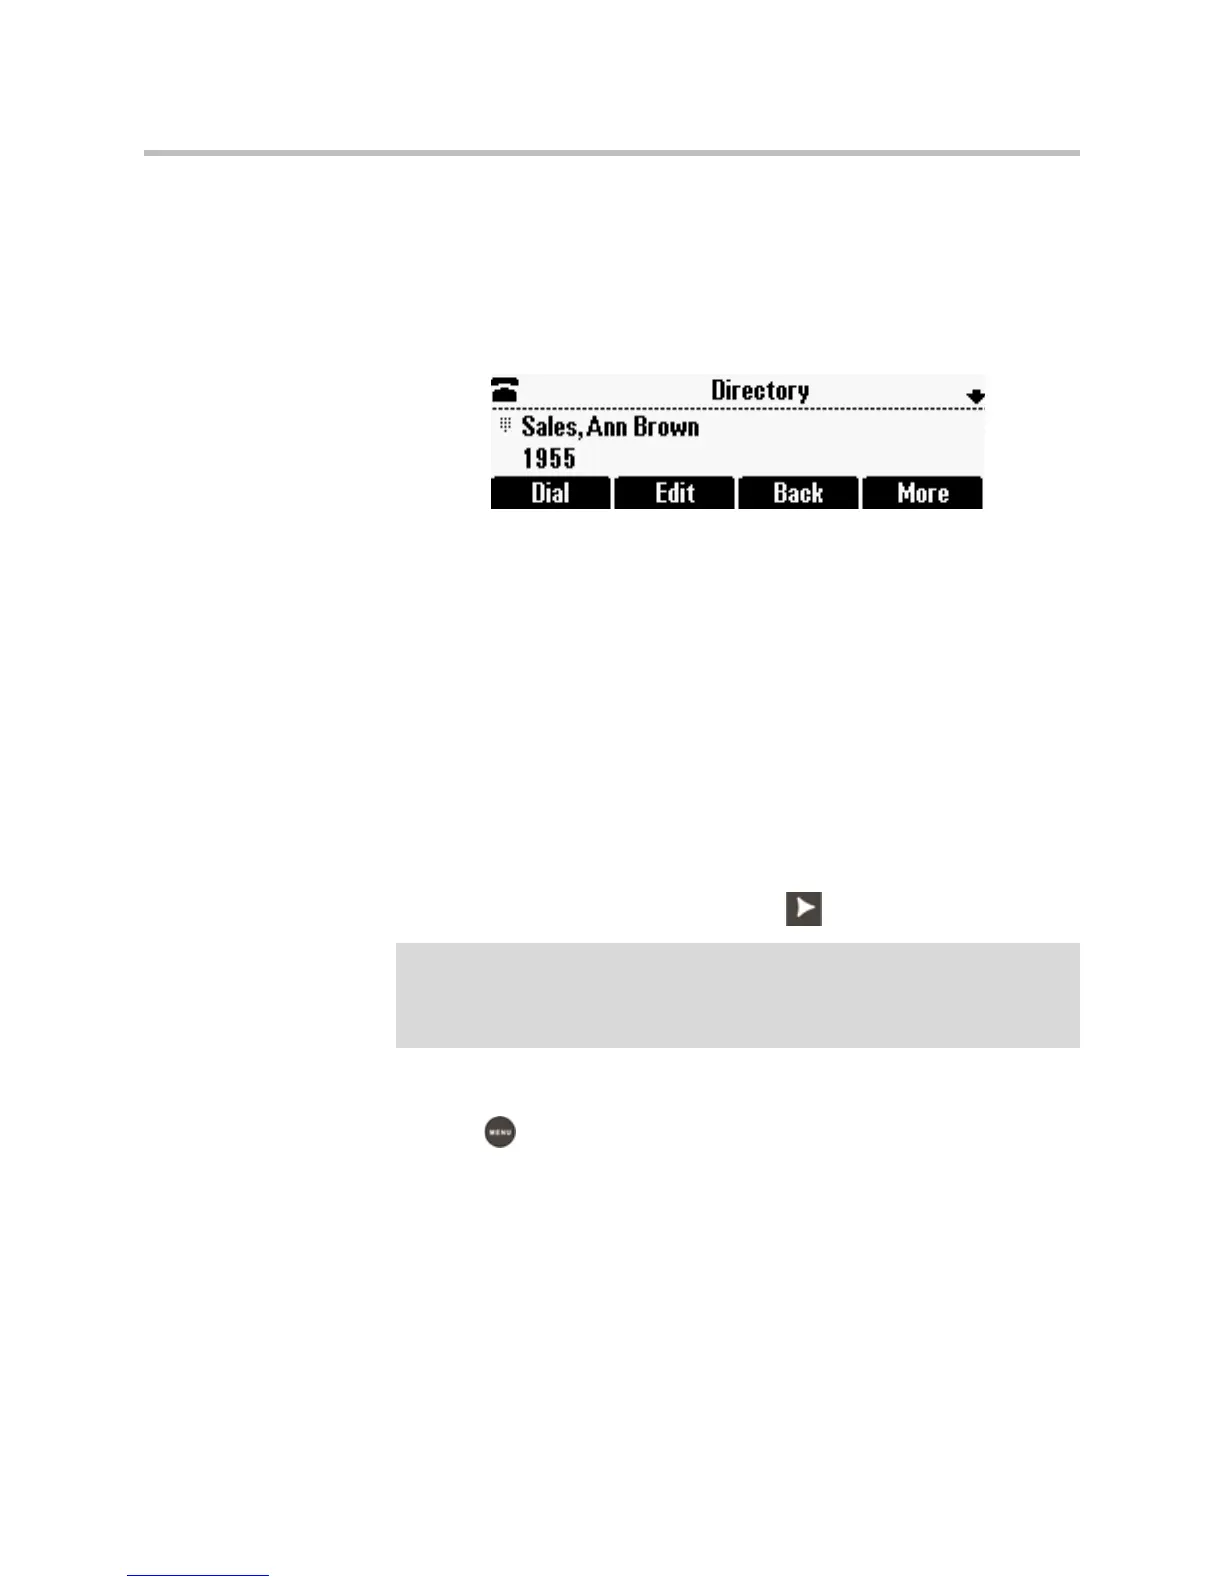
If you specify a label, the label will be the first item that displays for
the contact in the Contact Directory and on the Speed Dial Info screen
(before the contact’s first and last names, if specified). For example, in
the following figures, Ann Brown has been assigned the label “Sales.”
— (Optional.) Set the Ring Type.
For information on setting the ring type, see Updating the Ring Tone
on page 2-7.
— (Optional.) Assign a Divert Contact.
The Divert Contact identifies the third party to which you want this
contact’s calls sent. You can enter a maximum of 32 characters.
— (Optional.) Change the Auto Reject and Auto Divert settings.
If you set the Auto Reject field to enabled, each time the contact calls,
the call will be directed to your voice mail system (if a voice mail
system is set up). If you set the Auto Divert field to enabled, each time
the contact calls, the call will be directed to a third party you specify
in the Divert Contact field.
To toggle between the Enabled and Disabled settings for the Auto
Reject and Auto Divert fields, press .
4. Press the Save soft key.
5. Press to return to the idle screen.
Note
If you do not have a voice mail system set up, enabling the Auto Reject field will
have no effect. Each time the contact calls, your phone will ring (unless you choose
to divert the contact’s calls, or enable call forwarding or Do Not Disturb on your
phone).