Using Advanced Configuration Wizard
1. Click NAS tab > Wizard.
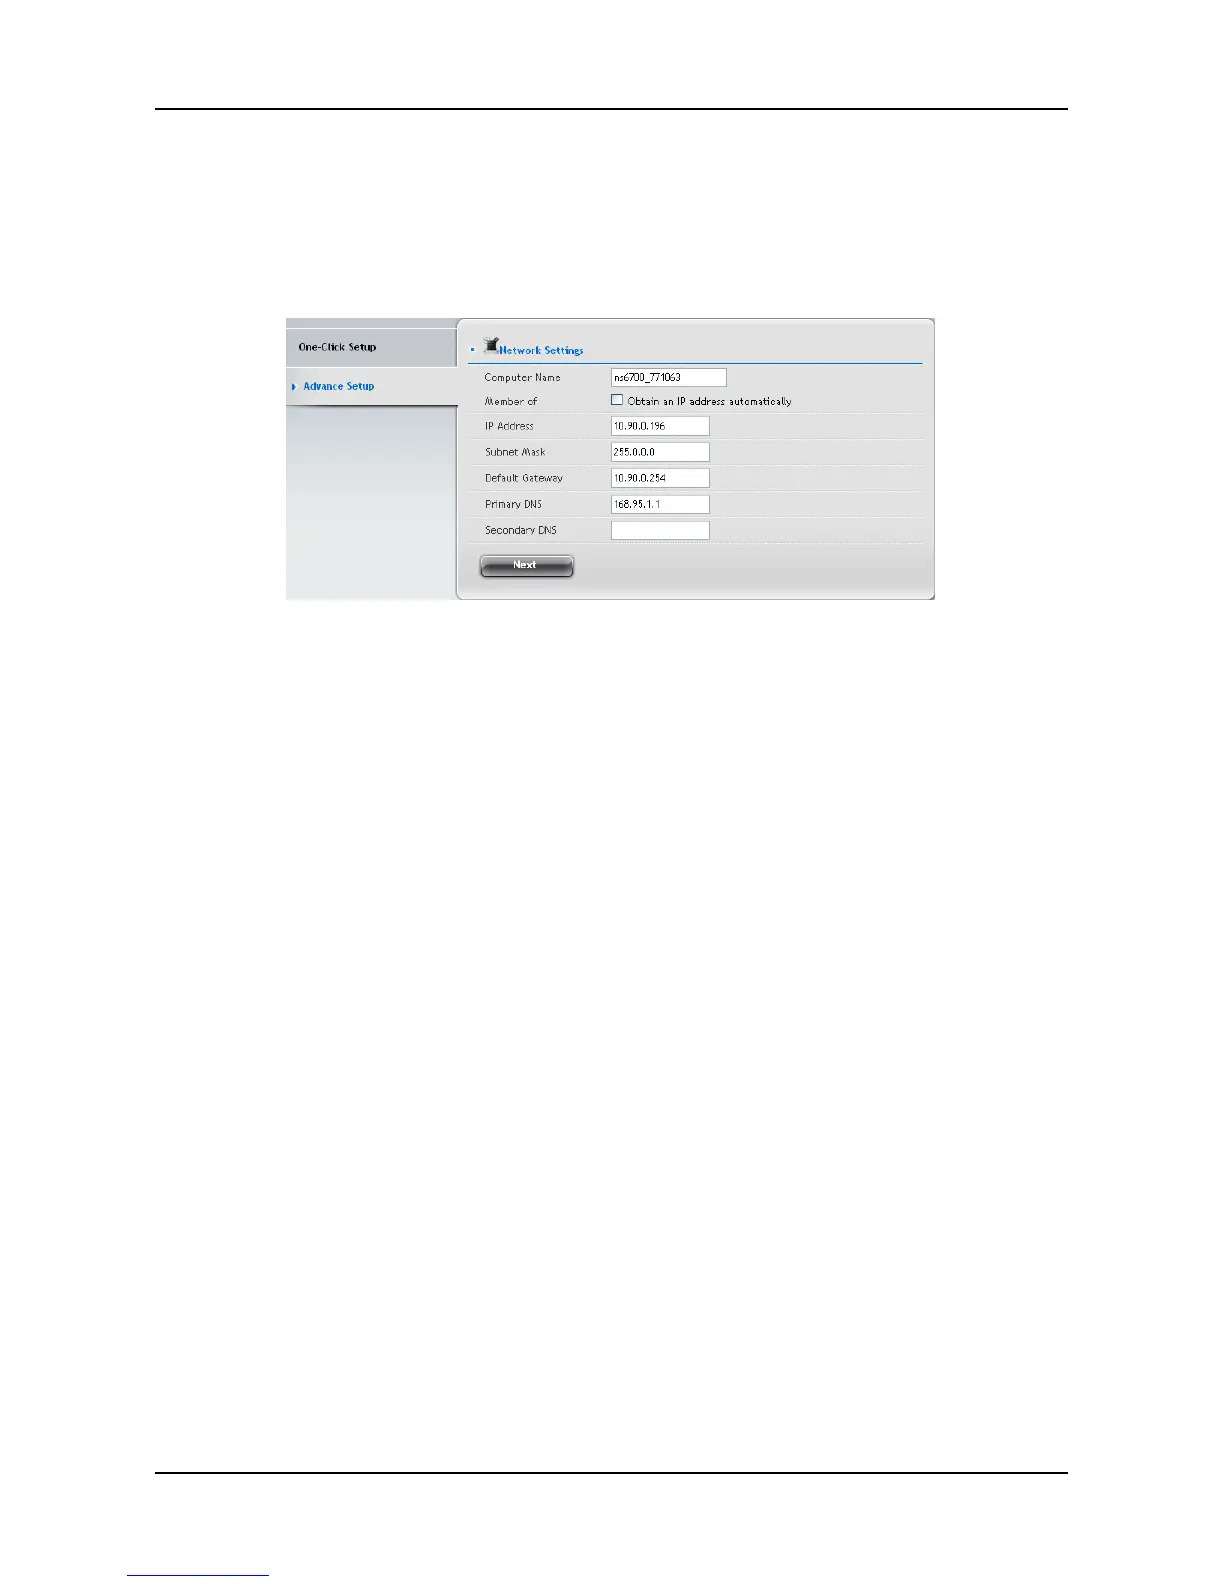
2. Click the Advance Setup button. The Advanced Configuration box
displays:
3. Complete the required settings in the Network Settings window,
including:
− Computer Name
− Obtain an IP address automatically
− IP Address
− Subnet Mask
− Default Gateway
− Primary DNS
− Secondary DNS
When done, click the Next button.
4. Select Storage Type: Data Protection or Maximum Capacity, and then
click the Next button.
5. The Summary window displays the general information of the system,
including:
− Computer Name
− IP Address
− Storage Type
To accept the proposed configuration, click the Submit button.
67
 Loading...