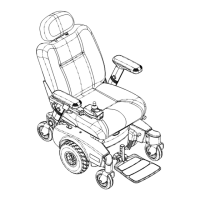
SECTION 12—ELECTRONICS
Part No. 1125085 75 Pronto
®
M50
™
, M51
™
and M61
™
with SureStep
™
SECTION 12—ELECTRONICS
WARNING
After ANY adjustments, repair or service and BEFORE use, make sure that all
attaching hardware is tightened securely - otherwise injury or damage may result.
Before performing any maintenance, adjustment or service verify that On/Off
switch on the joystick is in the OFF position.
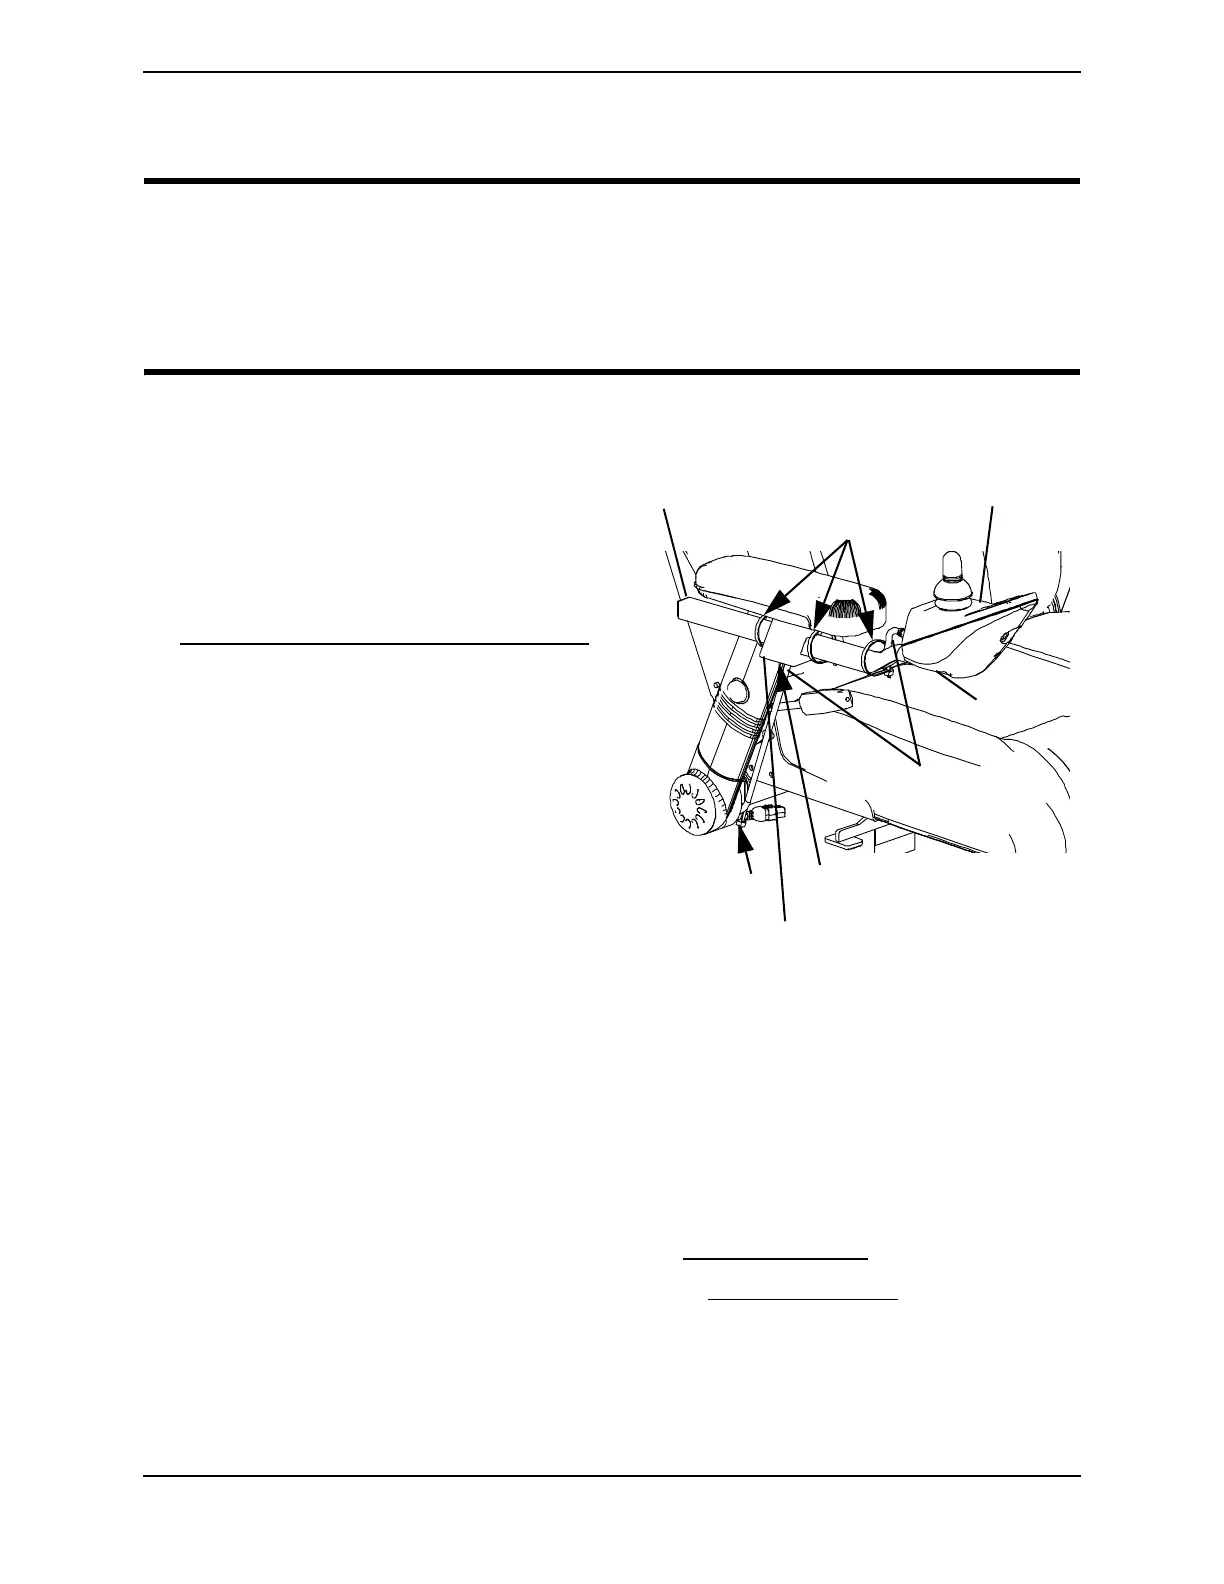
Removing/Installing the Joystick
Office Style Seat
NOTE: FIGURE 12.1.
Removing
1. Disconnect the joystick. Refer to
Disconnecting/Connecting the Joystick
on page 78.
2. Cut the tie-wraps that secure the
joystick cable to the arm.
3. Using an Allen wrench, loosen the
adjustment screw to release the joystick
mounting tube from the mounting
bracket. Refer to Detail “A” of
FIGURE 12.1.
4. Remove the joystick and joystick
mounting tube from the mounting
bracket.
Installing
1. Slide joystick mounting tube through
the mounting bracket to the desired
position.
FIGURE 12.1 Removing/Installing the
Joystick - Office Style Seat
2. Using an Allen wrench, tighten the adjustment screw to secure the joystick mounting
tube to the mounting bracket.
3. Adjust the arm to the highest position. Refer to Adjusting Height on page 41.
4. M61 Wheelchairs Only - Elevate the seat. Refer to Elevating the Seat
on page 32.
5. Tie-wrap the joystick cable to the arm as shown in FIGURE 12.2.
NOTE: Ensure the joystick cable is routed on the inside of the arm.
NOTE: Attach lower tie-wrap while arm is adjusted to the highest position to allow the cable to
move with the arm.
Tie-wrap HERE
Joystick
Cable
oyst
c
Joystick Mounting
Tube
Tie-wrap HERE
Adjustment Screw
(Hidden from View)
Mounting Bracket