Tsunami QB-8100 Series (100 Mbps/5 Mbps Models) Installation and Management Guide 118
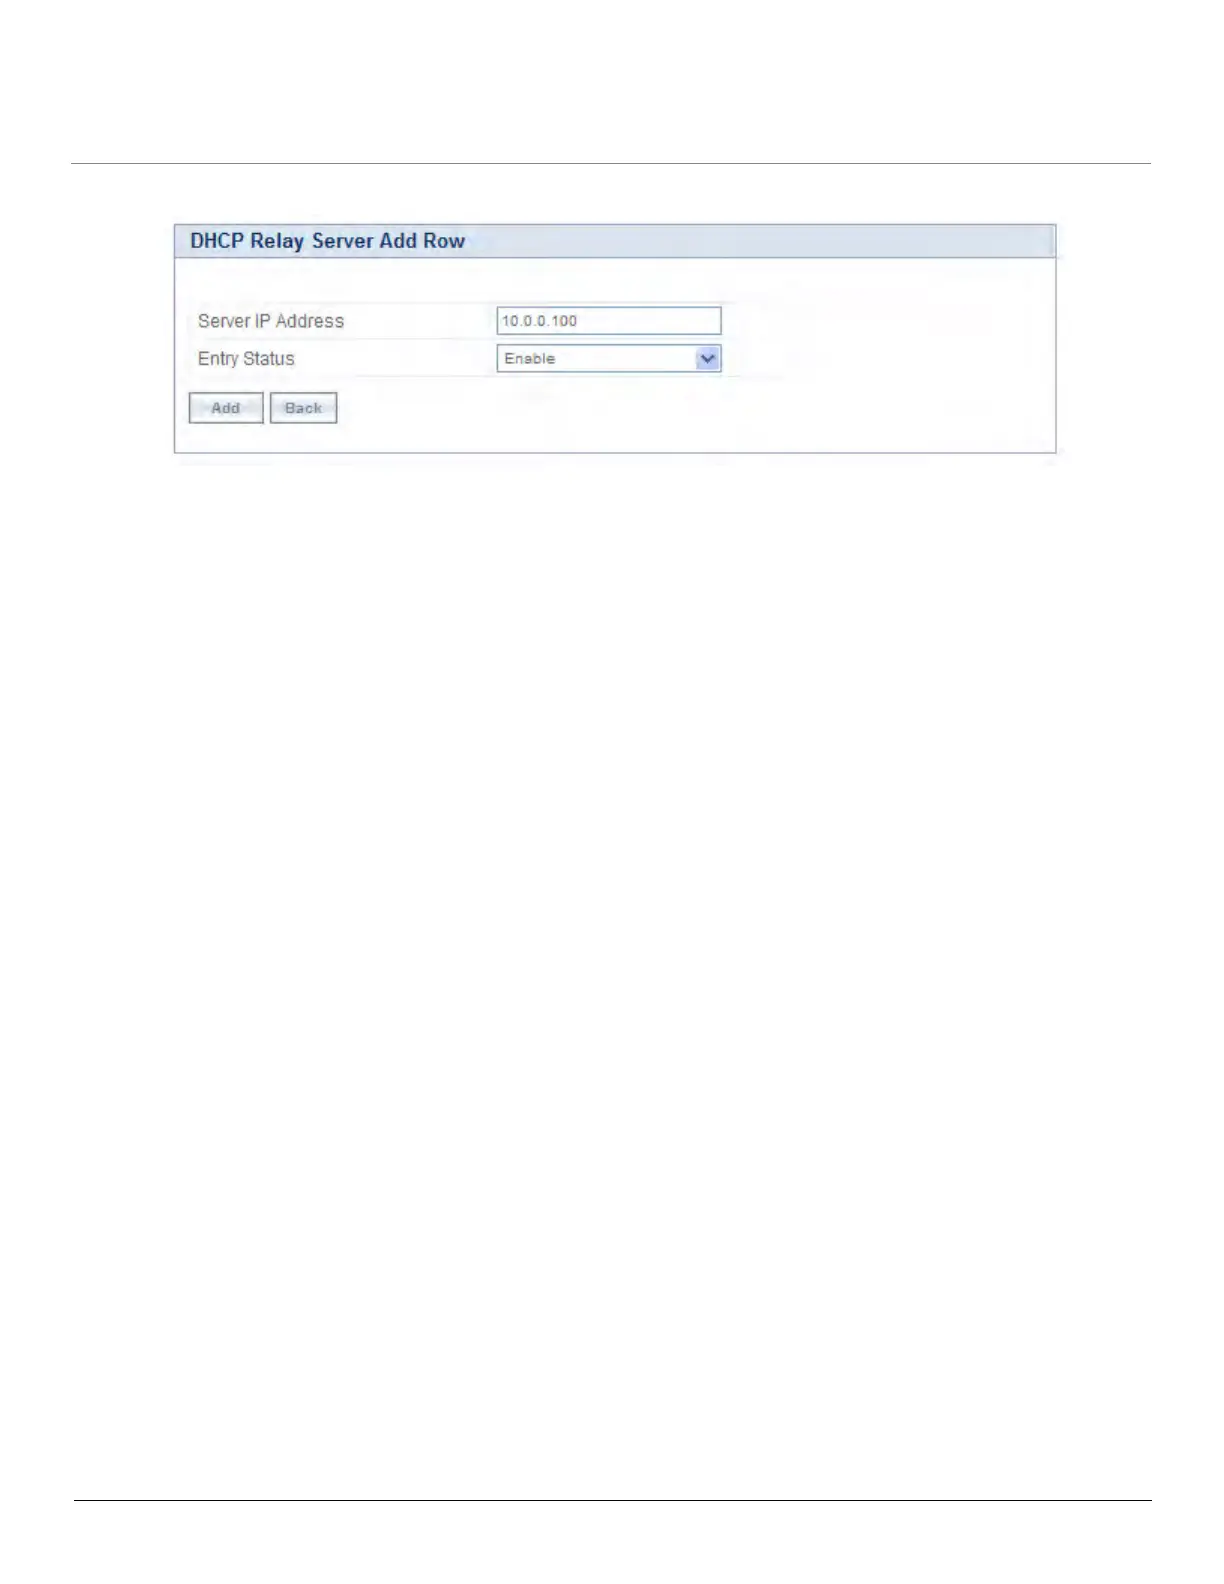
1. Click Add in the DHCP Relay Server screen. The DHCP Relay Server Add Row screen is displayed as shown below.
Figure 4-62 DHCP Relay Server Add Row
2. Enter the Server IP Address and then click Add.
3. To enable DHCP Relay, click Enable for DHCP Relay Status. Before enabling, there must be at least one IP address
configured in the DHCP Relay Server Table.
4. Click OK. To apply the changes, click COMMIT.
NOTE: To enable the DHCP Relay, the NAT functionality must be disabled.
 Loading...