153
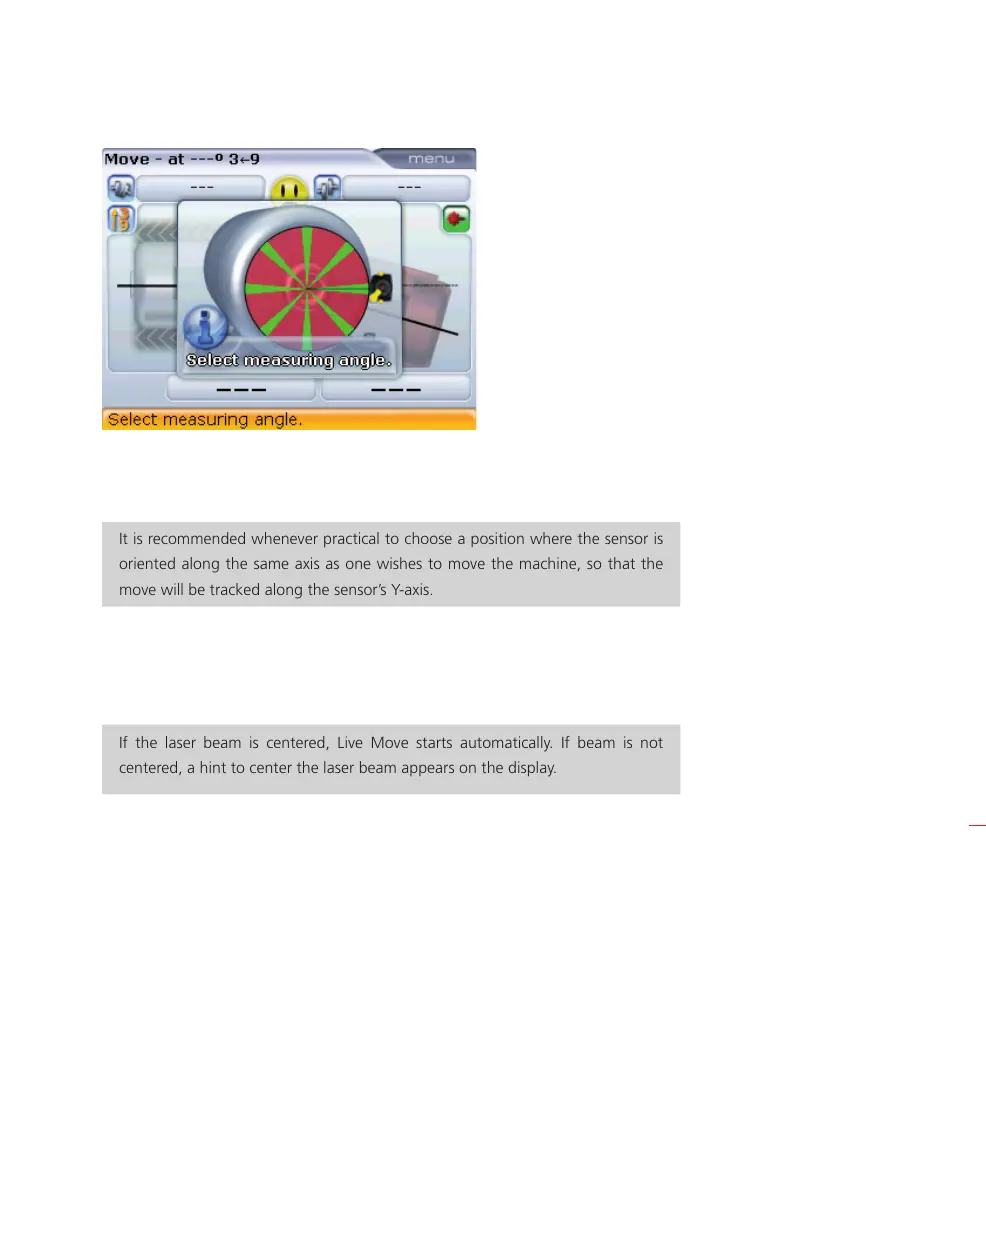
4. Rotate shaft to any of the eight positions highlighted in green. These are 1:30,
3:00, 4:30, 6:00, 7:30, 9:00, 10:30 and 12:00.
It is recommended whenever practical to choose a position where the sensor is
oriented along the same axis as one wishes to move the machine, so that the
move will be tracked along the sensor’s Y-axis.
5. Use
i to position the sensor on the screen to correspond to the position of the
sensor and laser on the shafts.
6. Press
e to start Live Move.
If the laser beam is centered, Live Move starts automatically. If beam is not
centered, a hint to center the laser beam appears on the display.
7. Loosen the flange bolts. Move the machine laterally in the direction of the bold
yellow arrow as indicated in the Live Move display.
8. Corrections should be brought as close as possible to zero. The smiley changes
from a sad face to OK to a happy face. At the same time the OPTALIGN smart
computer LEDs change from red to amber to green and to blue.
If for any given reason
one would like to initially
perform Live Move in a
different view as presently
displayed, the “Move”
screen context menu item
‘Change view’ is used to
select the required view.
HNote
H
Note
Vertical flanged machines