6 First steps
6.1 Printer unpacking and proper handling
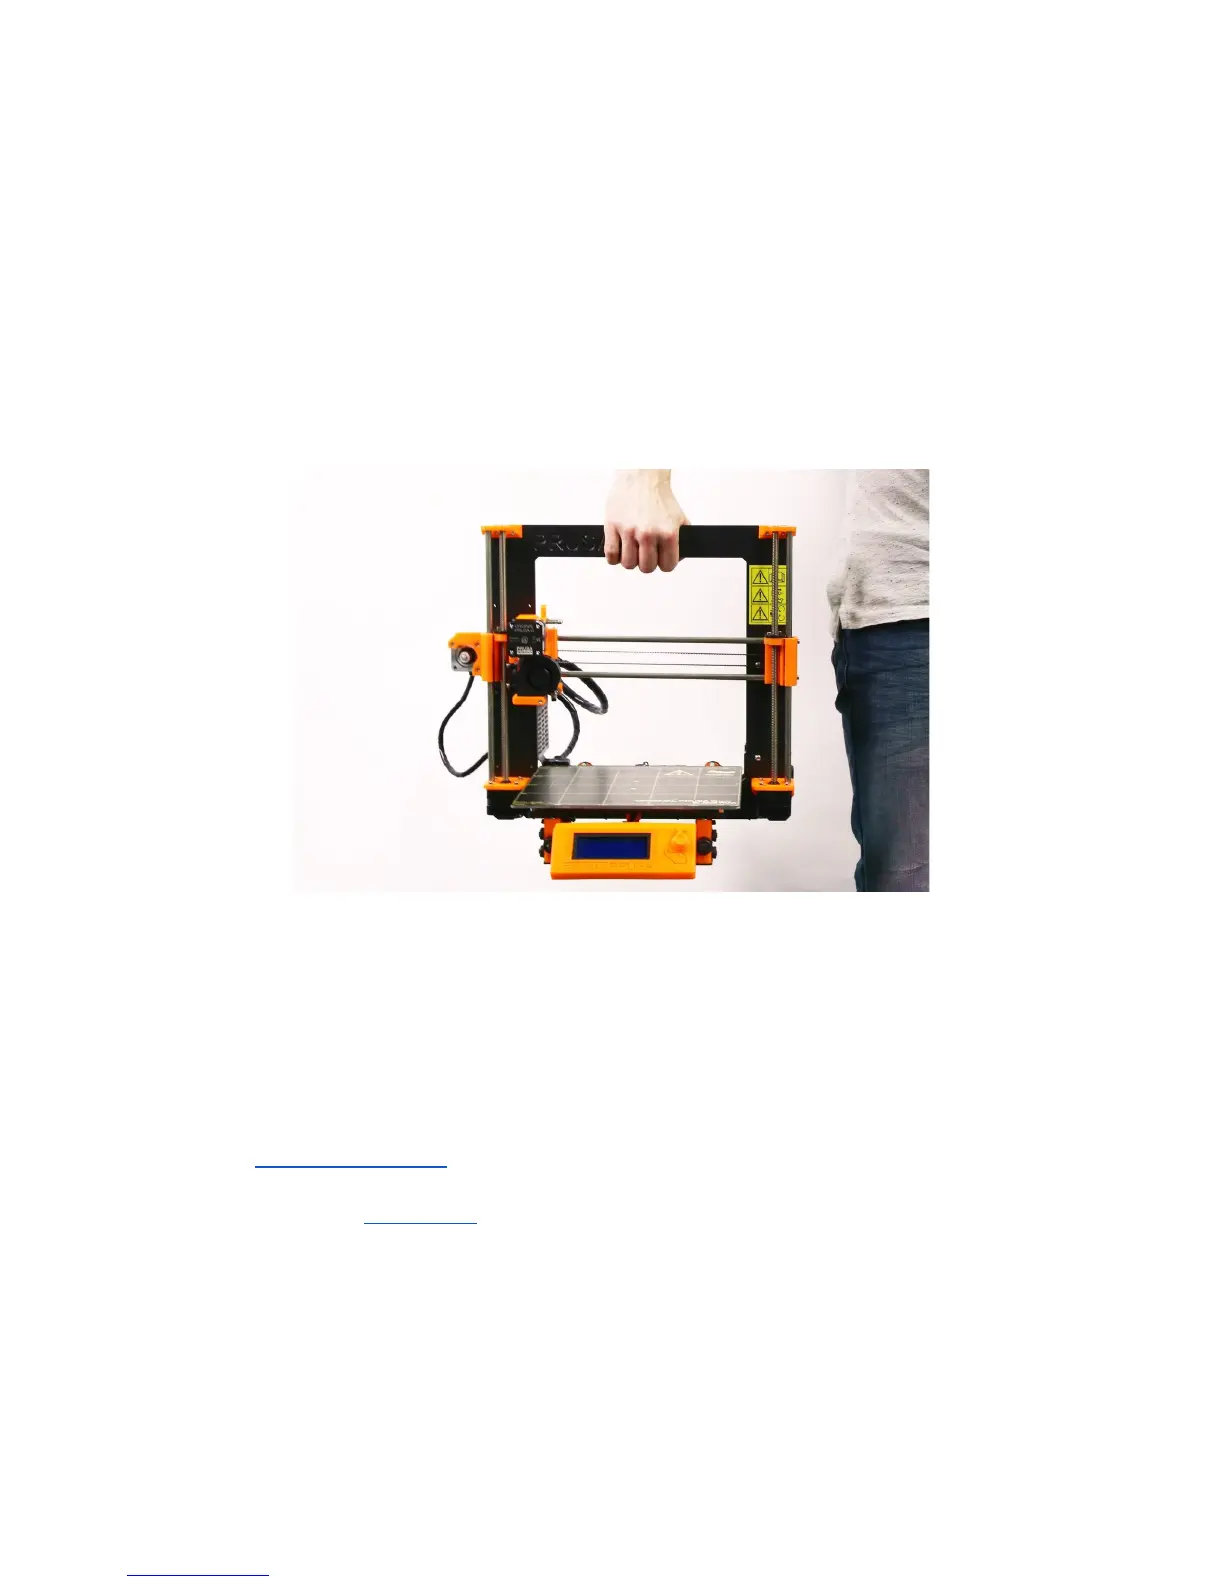
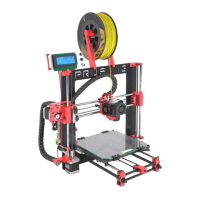
Holding the upper frame, take the printer and pull it out from the box. Be careful when
handling the printer not to damage the electronics and thus the proper printer functionality.
Anytime you move the printer, always hold the upper frame with hotbed upright pointing
away from you as pictured in pict. 3.
When unpacking the fully assembled version, remove
the top foam from the box and gently lift the printer up. Parts of the printer are secured by
more foam which needs to be removed. Some parts are additionally secured with the white
zip-ties, cut those off too.
Pict.
3
-
Proper
handling
of
a
printer
Both the assembled version and the kit version come with a few things you might need
during the printer use.
- USB Cable - used for uploading a new firmware or alternatively printing from the
computer.
- Acupuncture needle - used for cleaning the nozzle when stuck. See the chapter
11.3 Nozzle cleaning for more information.
- Glue stick - Used for better Nylon adhesion or as a separator for Flex materials. See
the chapter 11 Materials for more information.
- Test protocol - All the components of every printer are tested. The electronic parts
are even connected as in a final assembly and battery of tests is ran. Only when all
tests pass the electronics get a serial number and protocol + S/N stickers are printed.
Test protocol shows all the test results of your printer components.
10