Table of contents
About the author 3
Table of contents 4
2 Product details 6
3 Introduction 6
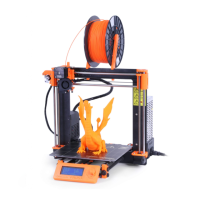
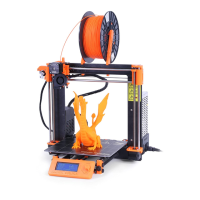
4 Original Prusa i3 MK2S printer 8
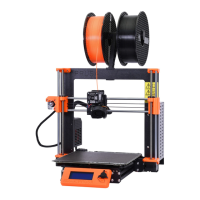
5 Original Prusa i3 MK2S printer kit 9
6 First steps 10
6.1 Printer unpacking and proper handling 10
6.2 Printer assembly 11
6.3 Setup before printing 11
6.3.1 Calibration flow 11
6.3.2 PEI print surface preparation 12
6.3.3 Increasing the adhesion 13
6.3.4 Selftest (kit only) 13
6.3.4.1 Selftest error messages and resolution (kit only) 14
6.3.5 Calibrate XYZ (kit only) 15
6.3.5.1 Calibrate XYZ error messages and resolution (kit only) 16
6.3.5.1 Y axis alignment (kit only) 19
6.3.6 Calibrate Z 19
6.3.7 Mesh bed levelling 20
6.3.8 Loading the filament into the extruder 21
6.3.8.1 Unloading the filament 22
6.3.9 First layer calibration (kit only) 22
6.3.9.1 Bed level correction (kit only) 23
6.3.10 Fine-tuning the first layer 23
6.3.10.1 Print prusa logo 23
6.3.10.2 Check probe height (kit only) 24
7 Printing 25
7.1 Removing objects from the printer. 25
7.2 Printer Control 26
7.2.1 LCD screen 26
7.2.2 Print statistics 26
7.2.2 Silent vs. Hi-power mode 27
7.2.3 Factory reset 27
7.2.4 LCD layout 28
7.2.5 Print speed versus print quality 30
7.2.6 USB cable and Pronterface 30
7.3 Printer addons 32
7.3.1 Different nozzles 32
7.3.1.1 Hardened steel nozzle 33
4