The belt pulley is loose and slips on the motor shaft. It is important to tighten the first
grub screw on the flat piece of shaft, then continue with the second grub screw.
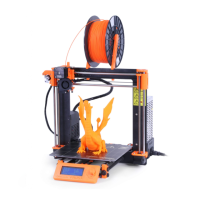
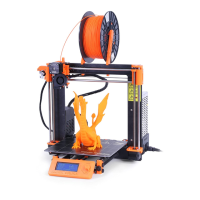
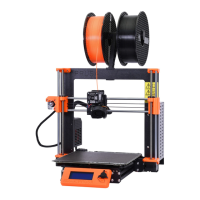
6.3.5 Calibrate XYZ (kit only)
The Original Prusa i3 MK2S comes with a full mesh bed leveling feature, however
for this to work we need to first calibrate the distance between tip of the nozzle
and P.I.N.D.A (Prusa INDuction Autoleveling) probe.
The process is fairly straightforward, so let’s get to it. We also suggest to check
out our Guide for New User first at www.prusa3d.com/buildvideomk2 with calibration tips.
The purpose of the X/Y/Z calibration routine is to measure the skew of the X/Y/Z axes and to
find the position of the 9 calibration points on the print bed for the proper bed leveling. You
can run the XYZ calibration from Calibration menu on LCD panel. This should not be
necessary on the assembled printers as those are factory calibrated.
Place a sheet of a regular office paper (for example the checklist
shipped with every order) and hold it under the nozzle during the first
round (first 4 points being checked) of calibration. If the nozzle catches
on the paper during the process, power off the printer and lower the
P.I.N.D.A. probe slightly. See the P.I.N.D.A. probe response diagram in
6.3.10.2 Check probe height. The paper will not affect the calibration
process. The nozzle must not touch the print surface or deflect the bed
by any means. If everything went correctly, continue with the calibration
process.
Initiating this routine performs a series of measurements in three rounds: In the first round, 4
sensor points on the print bed are searched for carefully as to not touch the print bed by the
nozzle. In the second round, all 9 sensor points are found. In the last round the height above
the 9 sensor points is measured and stored into a non-volatile memory for reference, this
finished the Z axis calibration.
The progress and results of each step are displayed on the LCD. In case of errors found, the
XYZ calibration is interrupted and the reason for error is shown to guide in troubleshooting.
At the start of the XYZ calibration procedure the printer prompts you by a following message:
"Calibrating
X/Y.
Move
Z
carriage
up
to
the
end
stoppers.
Click
when
done.”
After that, the printer asks you to confirm this step: "Are
left
and
right
Z
carriages
all
up?"
Please make sure you really move the Z carriage up to the end stoppers until you hear a
rattling sound as the Z stepper motors skip steps. This procedure ensures, that 1) the X axis
15